LNMP代表Linux+Nginx+MySQL+PHP网站服务器架构。本文主要目的是为大家提供一种非常简单的方法,在阿里云上部署LNMP栈。
通过<阿里云ROS资源编排服务>,将VPC、NAT Gateway、ECS创建,LNMP栈部署过程自动化,使大家能够非常方便地部署一个LNMP栈。
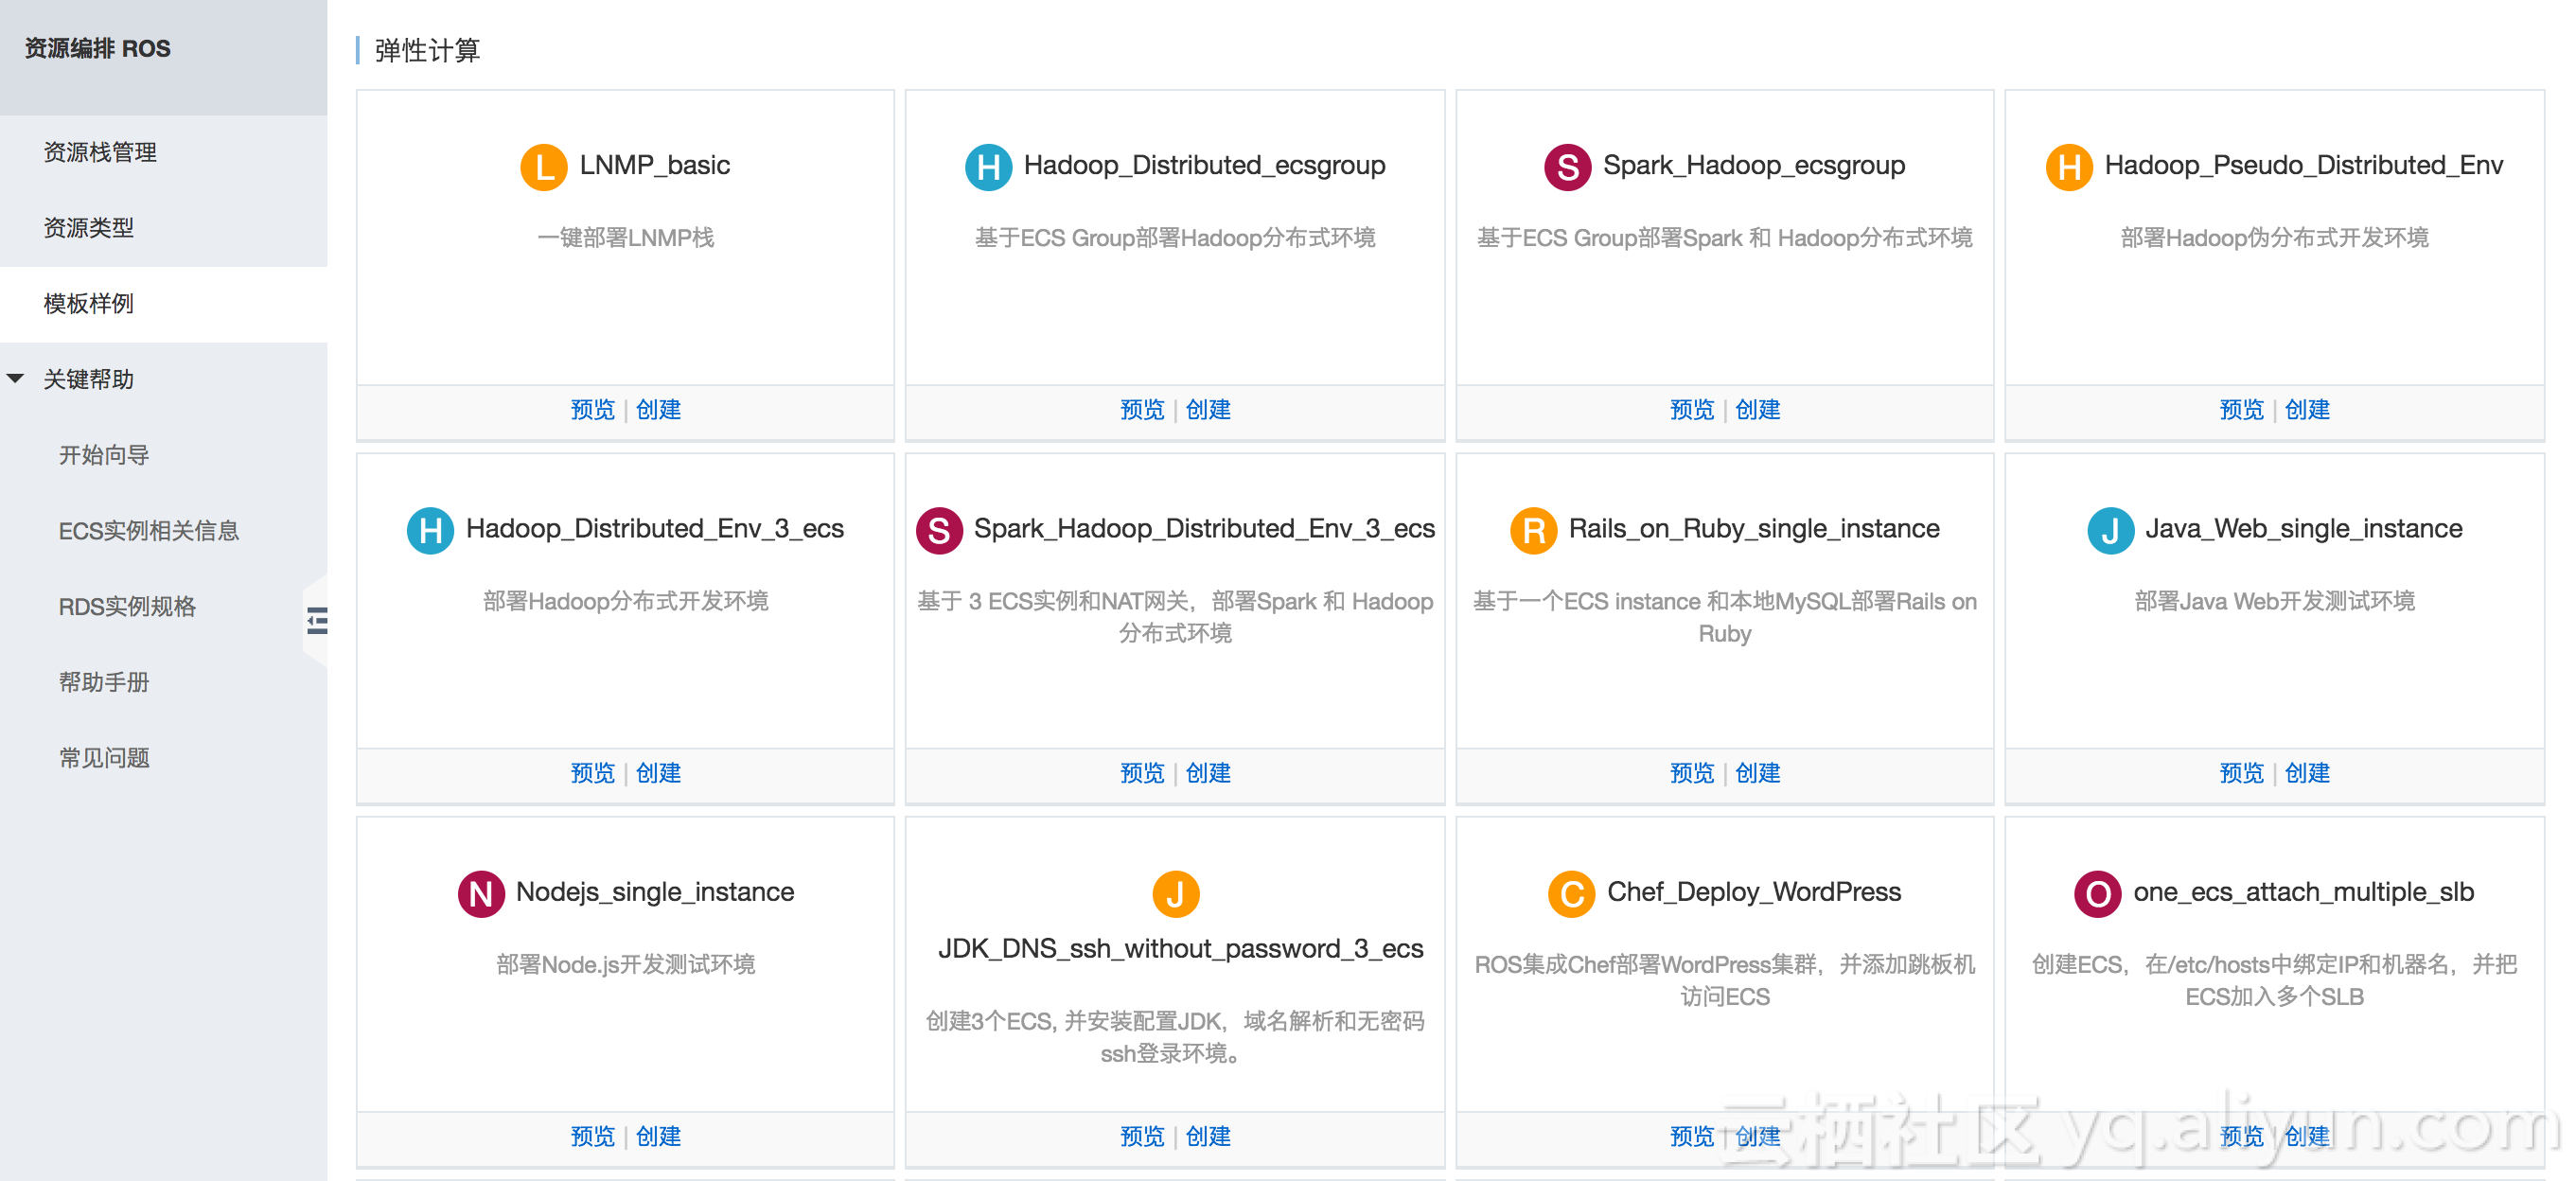
急速部署LNMP栈
一键部署LNMP栈>>
注意:
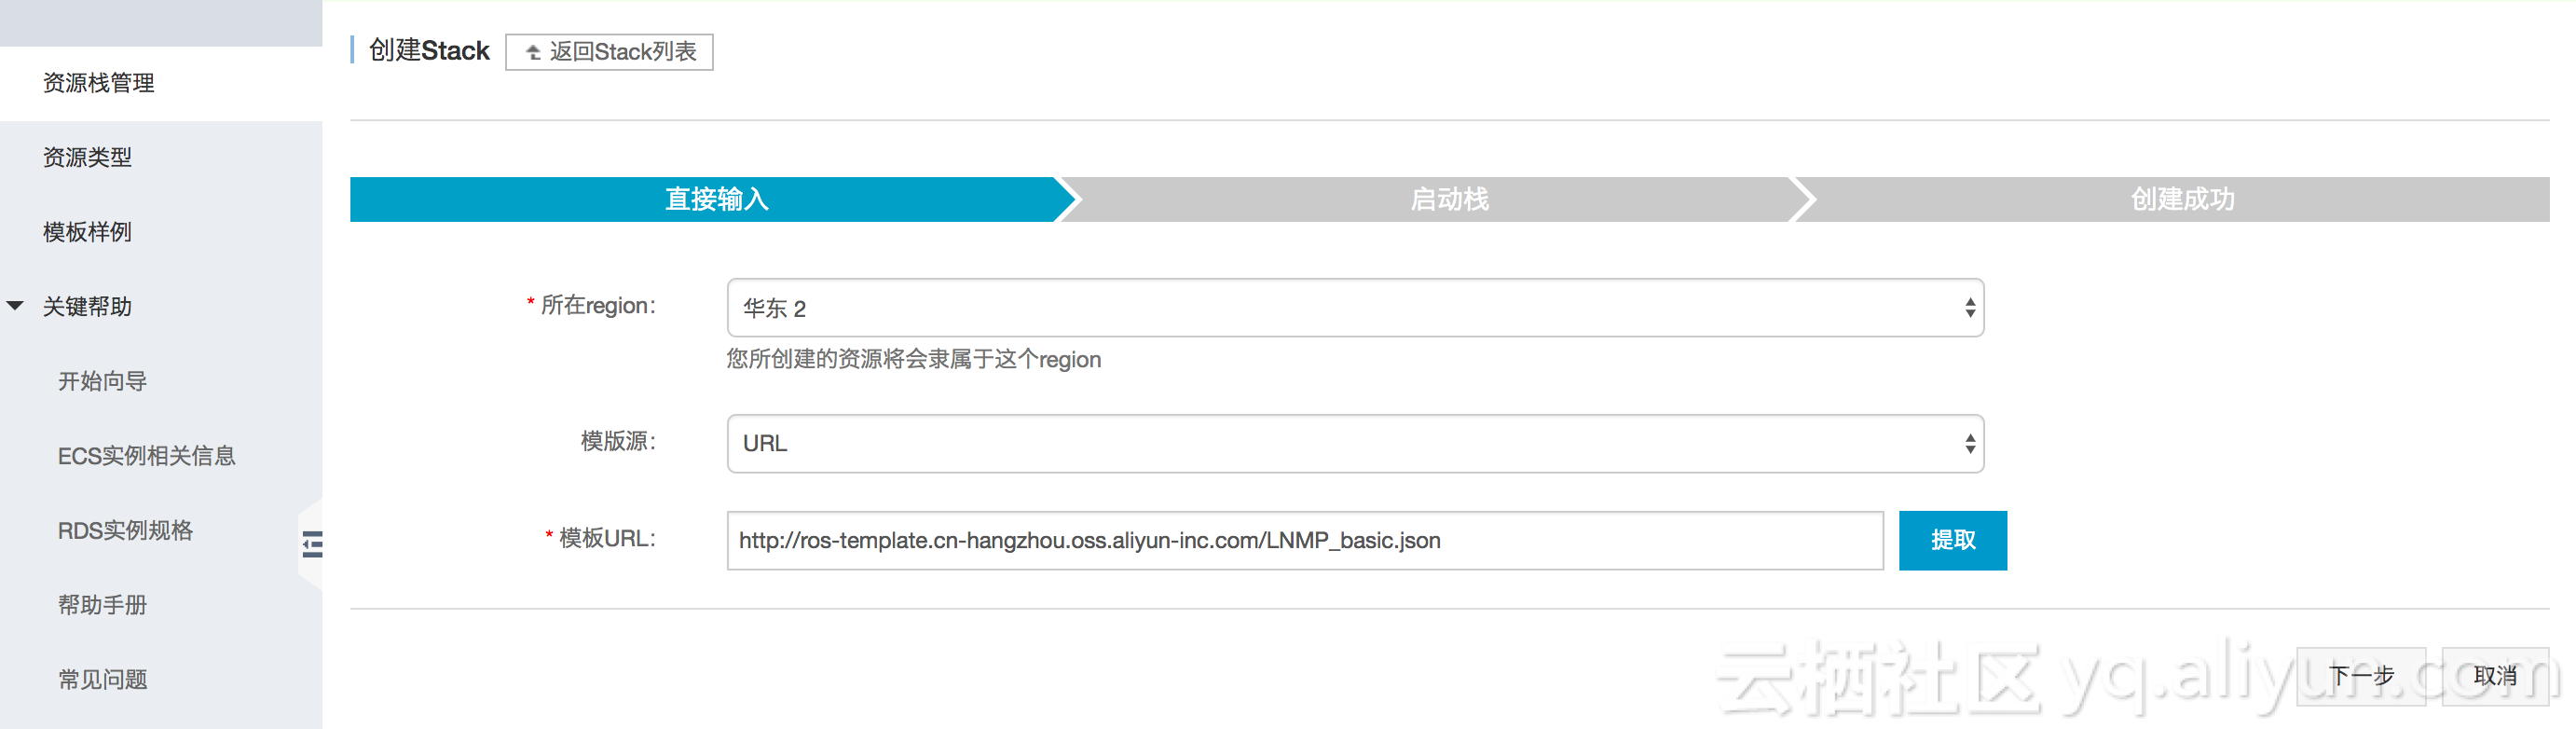
- 必须确保可以正确下载nginx-.rpm安装包,我们可以选择类似如下的URL:
- http://nginx.org/packages/centos/7/noarch/RPMS/nginx-release-centos-7-0.el7.ngx.noarch.rpm
- CentOS-7
- 我们选择的数据中心在上海/北京。
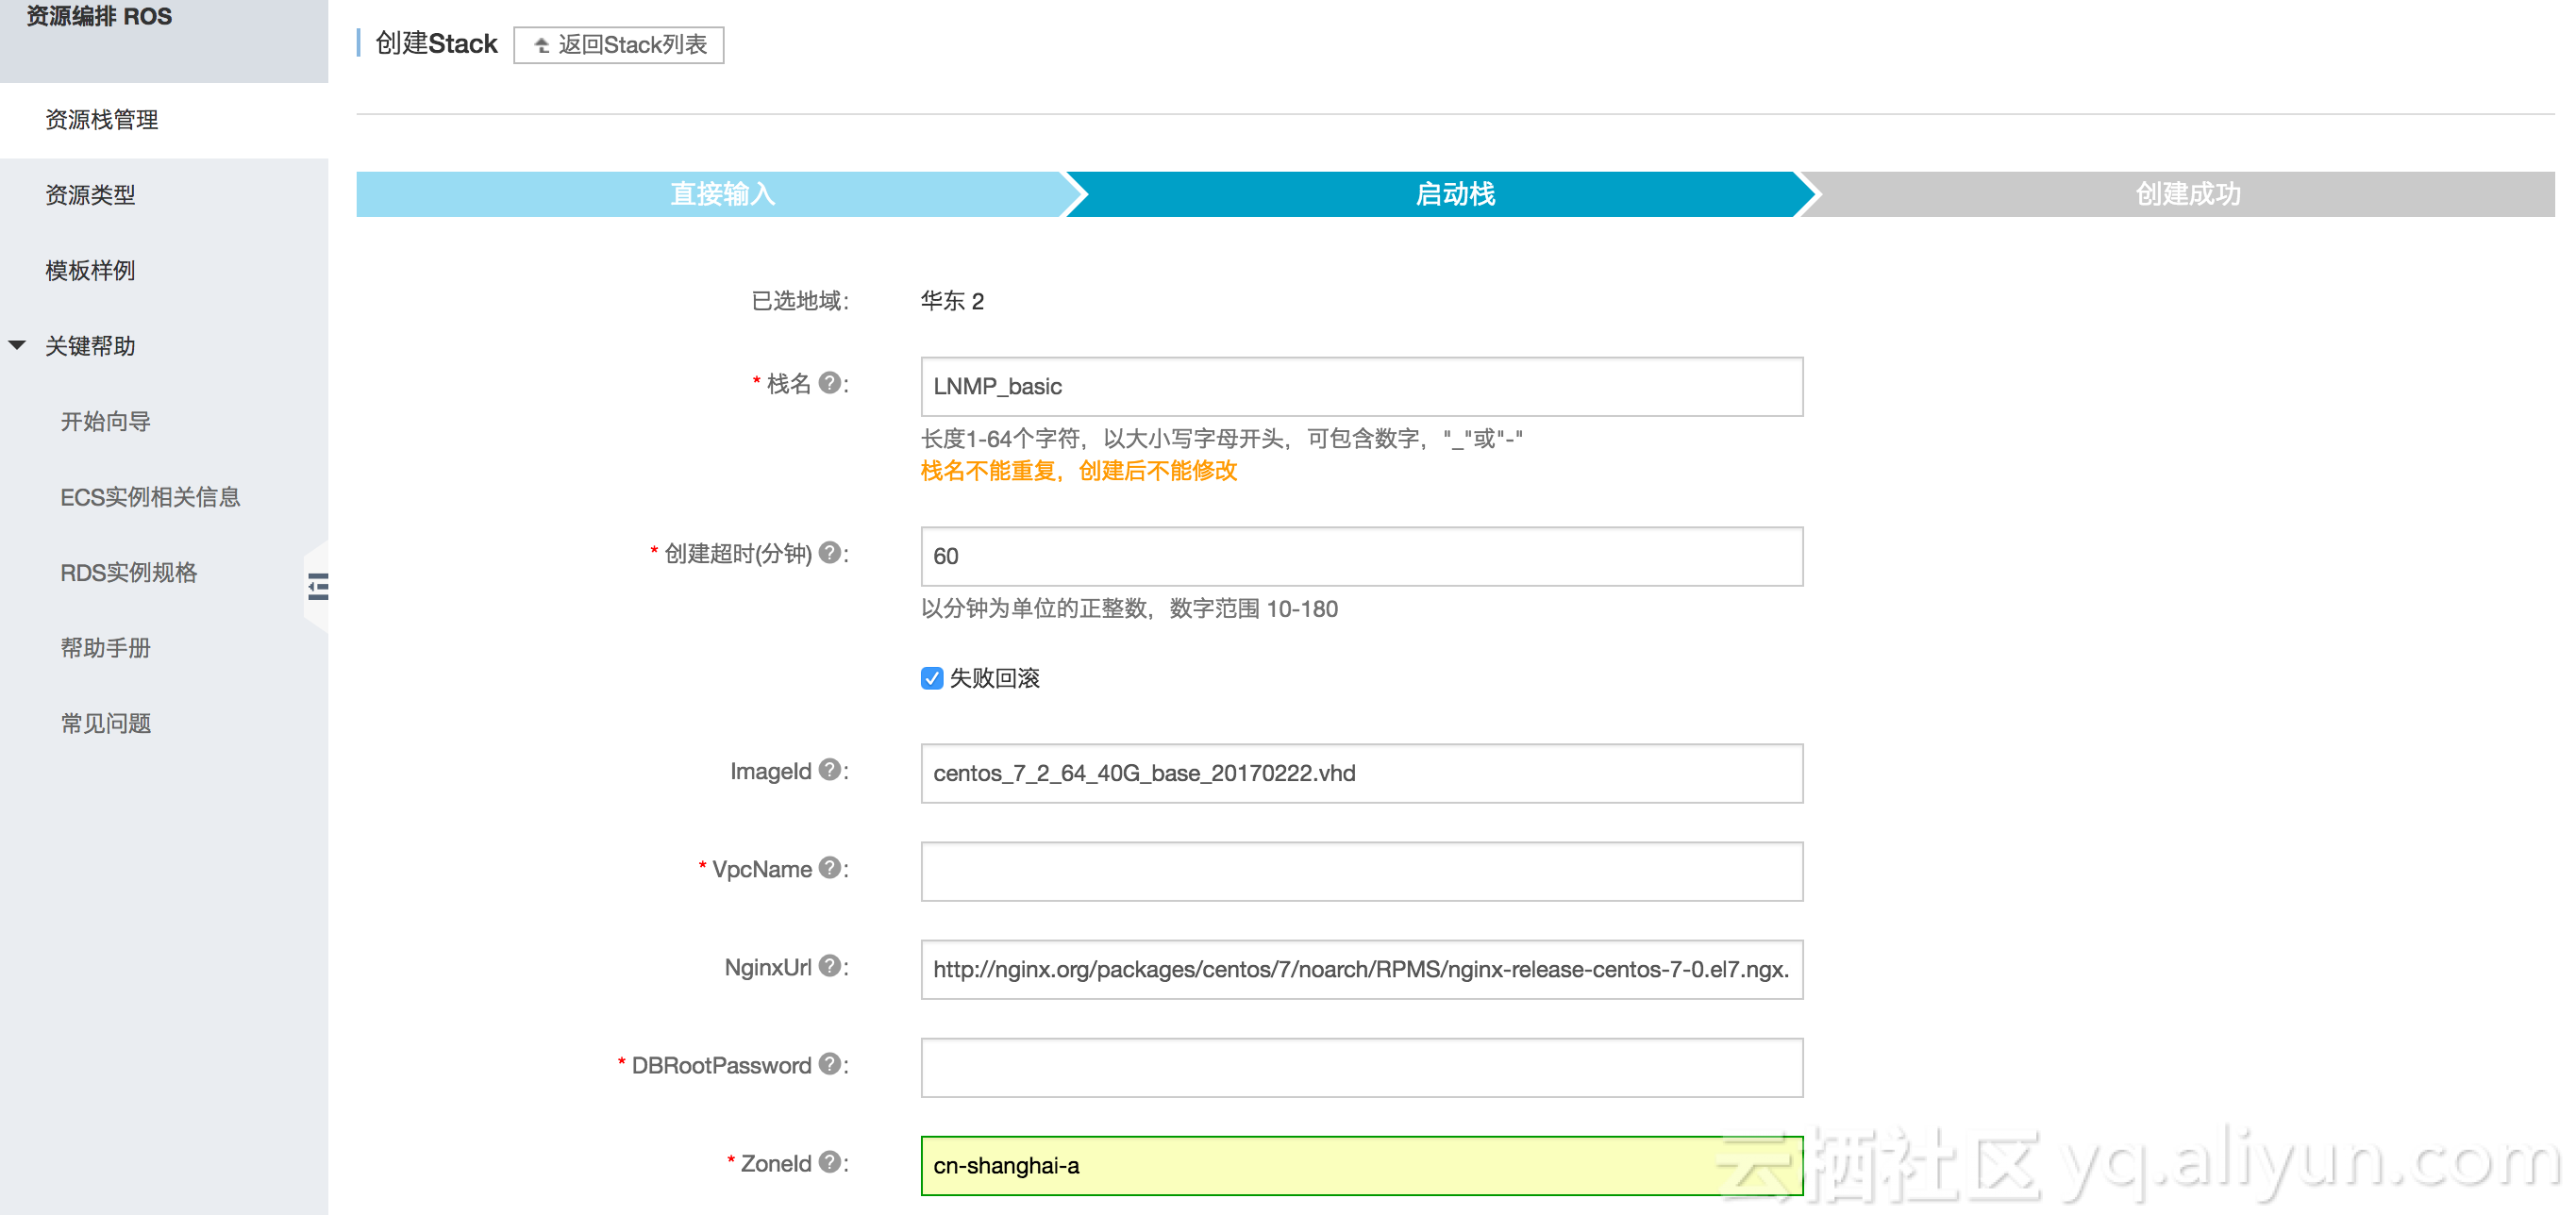
ROS模板安装LNMP栈
安装LNMP:关闭防火墙,关闭SELinux,安装nginx,MySQL和PHP。UserData如下:
"systemctl stop firewalld.service \n", "systemctl disable firewalld.service \n", "sed -i 's/^SELINUX=/# SELINUX=/' /etc/selinux/config \n", "sed -i '/# SELINUX=/a SELINUX=disabled' /etc/selinux/config \n", "setenforce 0 \n", "yum install yum-priorities -y \n", "yum -y install aria2 \n", "aria2c $NginxUrl \n", "rpm -ivh nginx-*.rpm \n", "yum -y install nginx \n", "systemctl start nginx.service \n", "systemctl enable nginx.service \n", "yum -y install php-fpm \n", "systemctl start php-fpm.service \n", "systemctl enable php-fpm.service \n", "sed -i '/FastCGI/,/htaccess/s/ #/ /' /etc/nginx/conf.d/default.conf \n", "sed -i '/FastCGI/s/^ / #/' /etc/nginx/conf.d/default.conf \n", "sed -i '/htaccess/s/^ / #/' /etc/nginx/conf.d/default.conf \n", "sed -i '/SCRIPT_FILENAME/s/\\/scripts/\\/usr\\/share\\/nginx\\/html\\//' /etc/nginx/conf.d/default.conf \n", "yum -y install mariadb mariadb-server \n", "systemctl start mariadb.service \n", "systemctl enable mariadb.service \n", "yum -y install php php-mysql php-gd libjpeg* php-ldap php-odbc php-pear php-xml php-xmlrpc php-mbstring php-bcmath php-mhash \n", "MDSRING=`find / -name mbstring.so` \n", "echo extension=$MDSRING >> /etc/php.ini \n", "systemctl restart mariadb.service \n", "mysqladmin -u root password \"$dbrootpassword\" \n", "$(mysql $dbname -u root --password=\"$dbrootpassword\" >/dev/null 2>&1 </dev/null); (( $? != 0 )) \n", "echo CREATE DATABASE $dbname \\; > /tmp/setup.mysql \n", "echo GRANT ALL ON $dbname.* TO \"$dbuser\"@\"localhost\" IDENTIFIED BY \"'$dbpassword'\" \\; >> /tmp/setup.mysql \n", "mysql -u root --password=\"$dbrootpassword\" < /tmp/setup.mysql \n", "$(mysql $dbname -u root --password=\"$dbrootpassword\" >/dev/null 2>&1 </dev/null); (( $? != 0 )) \n", "cd /root \n", "systemctl restart php-fpm.service \n", "systemctl restart nginx.service \n", "echo \\<?php > /usr/share/nginx/html/test.php \n", "echo \\$conn=mysql_connect\\(\"'127.0.0.1'\", \"'$dbuser'\", \"'$dbpassword'\"\\)\\; >> /usr/share/nginx/html/test.php \n", "echo if \\(\\$conn\\){ >> /usr/share/nginx/html/test.php \n", "echo echo \\\"LNMP platform connect to mysql is successful\\!\\\"\\; >> /usr/share/nginx/html/test.php \n", "echo }else{ >> /usr/share/nginx/html/test.php \n", "echo echo \\\"LNMP platform connect to mysql is failed\\!\\\"\\; >> /usr/share/nginx/html/test.php \n", "echo } >> /usr/share/nginx/html/test.php \n", "echo phpinfo\\(\\)\\; >> /usr/share/nginx/html/test.php \n", "echo \\?\\> >> /usr/share/nginx/html/test.php \n",
测试部署结果
创建完成后,查看资源栈概况:
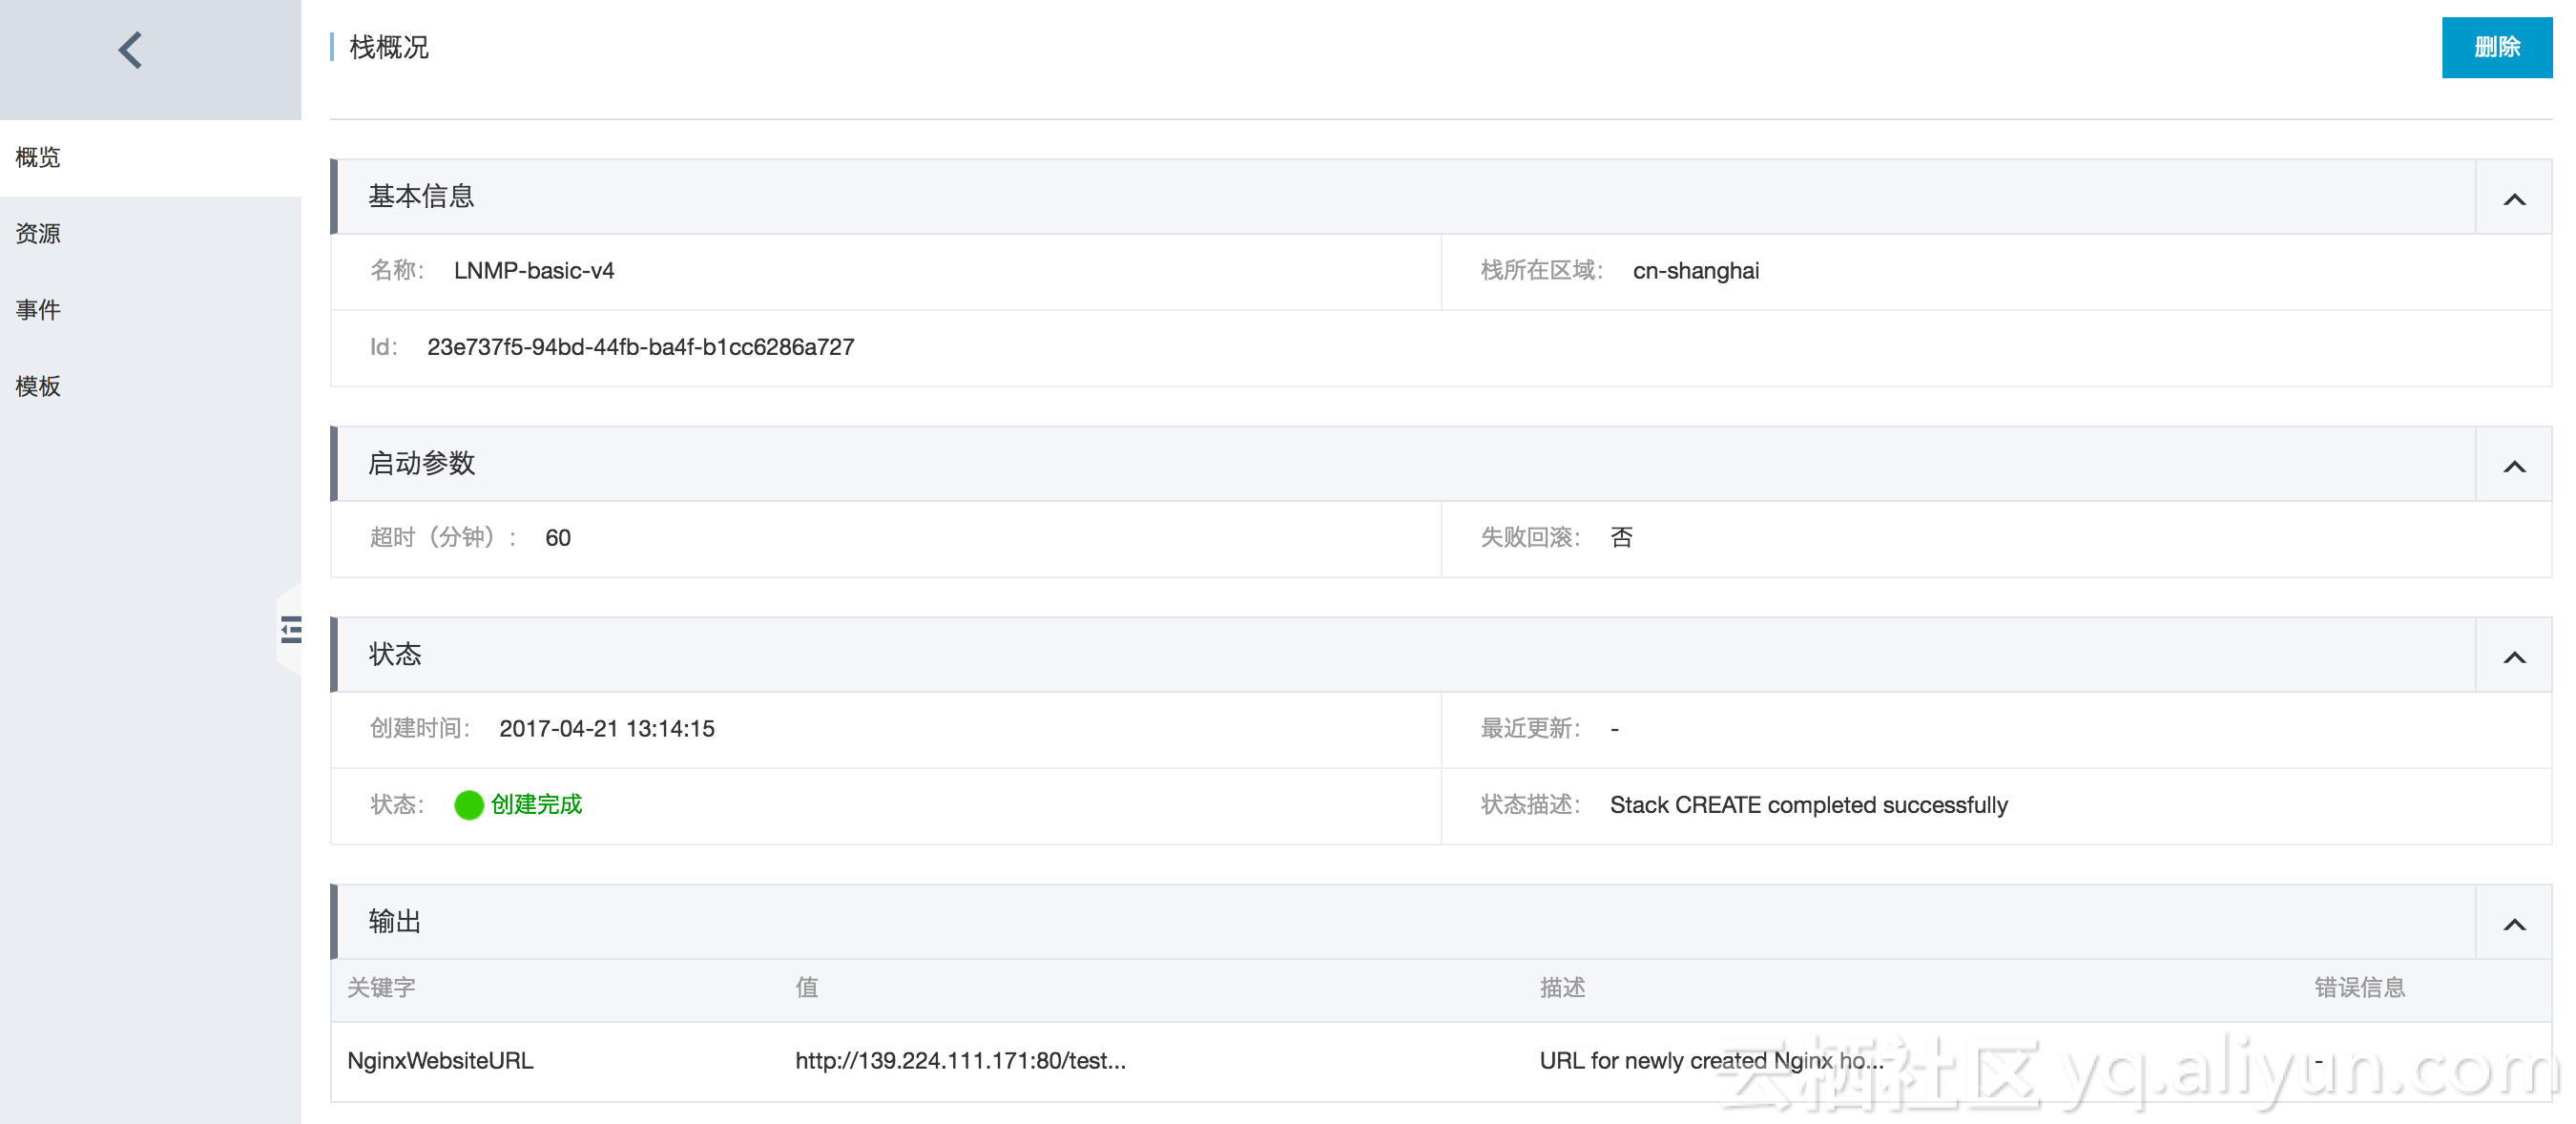
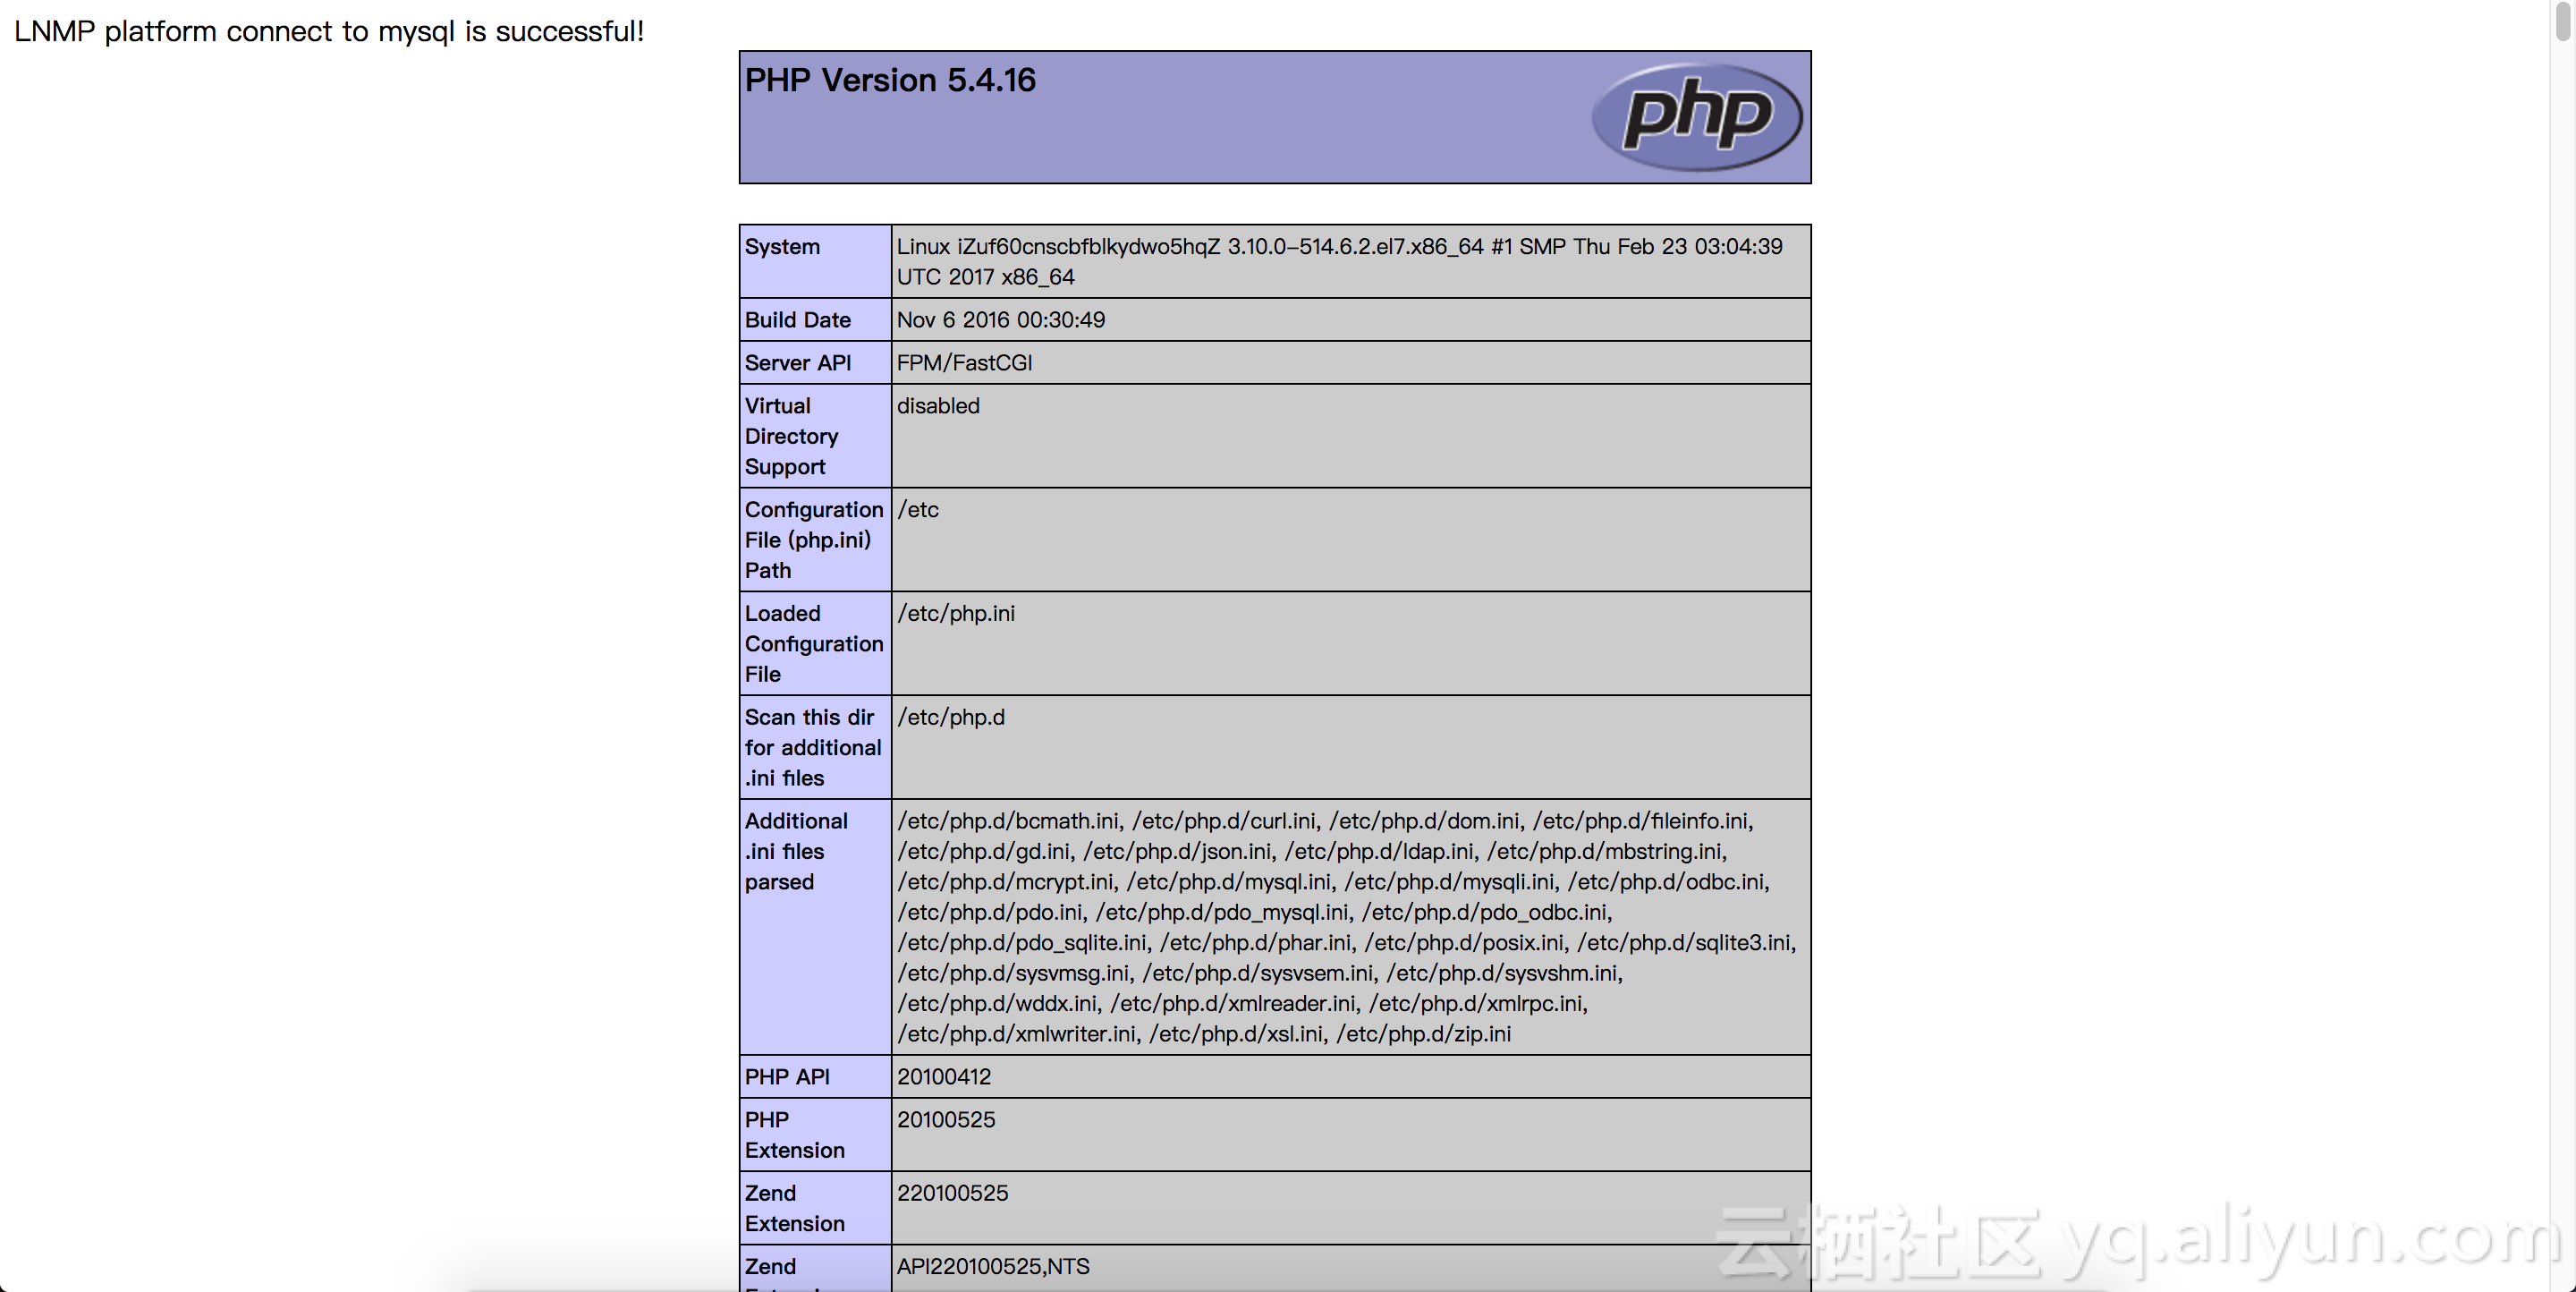
浏览器中输入图中的的NginxWebsiteURL,得到如下结果,则部署成功:
ROS示例模板
LNMP_basic.json