自定义一个布局实现标签流
来源:互联网 发布:北京一元洗车软件 编辑:程序博客网 时间:2024/05/22 14:53
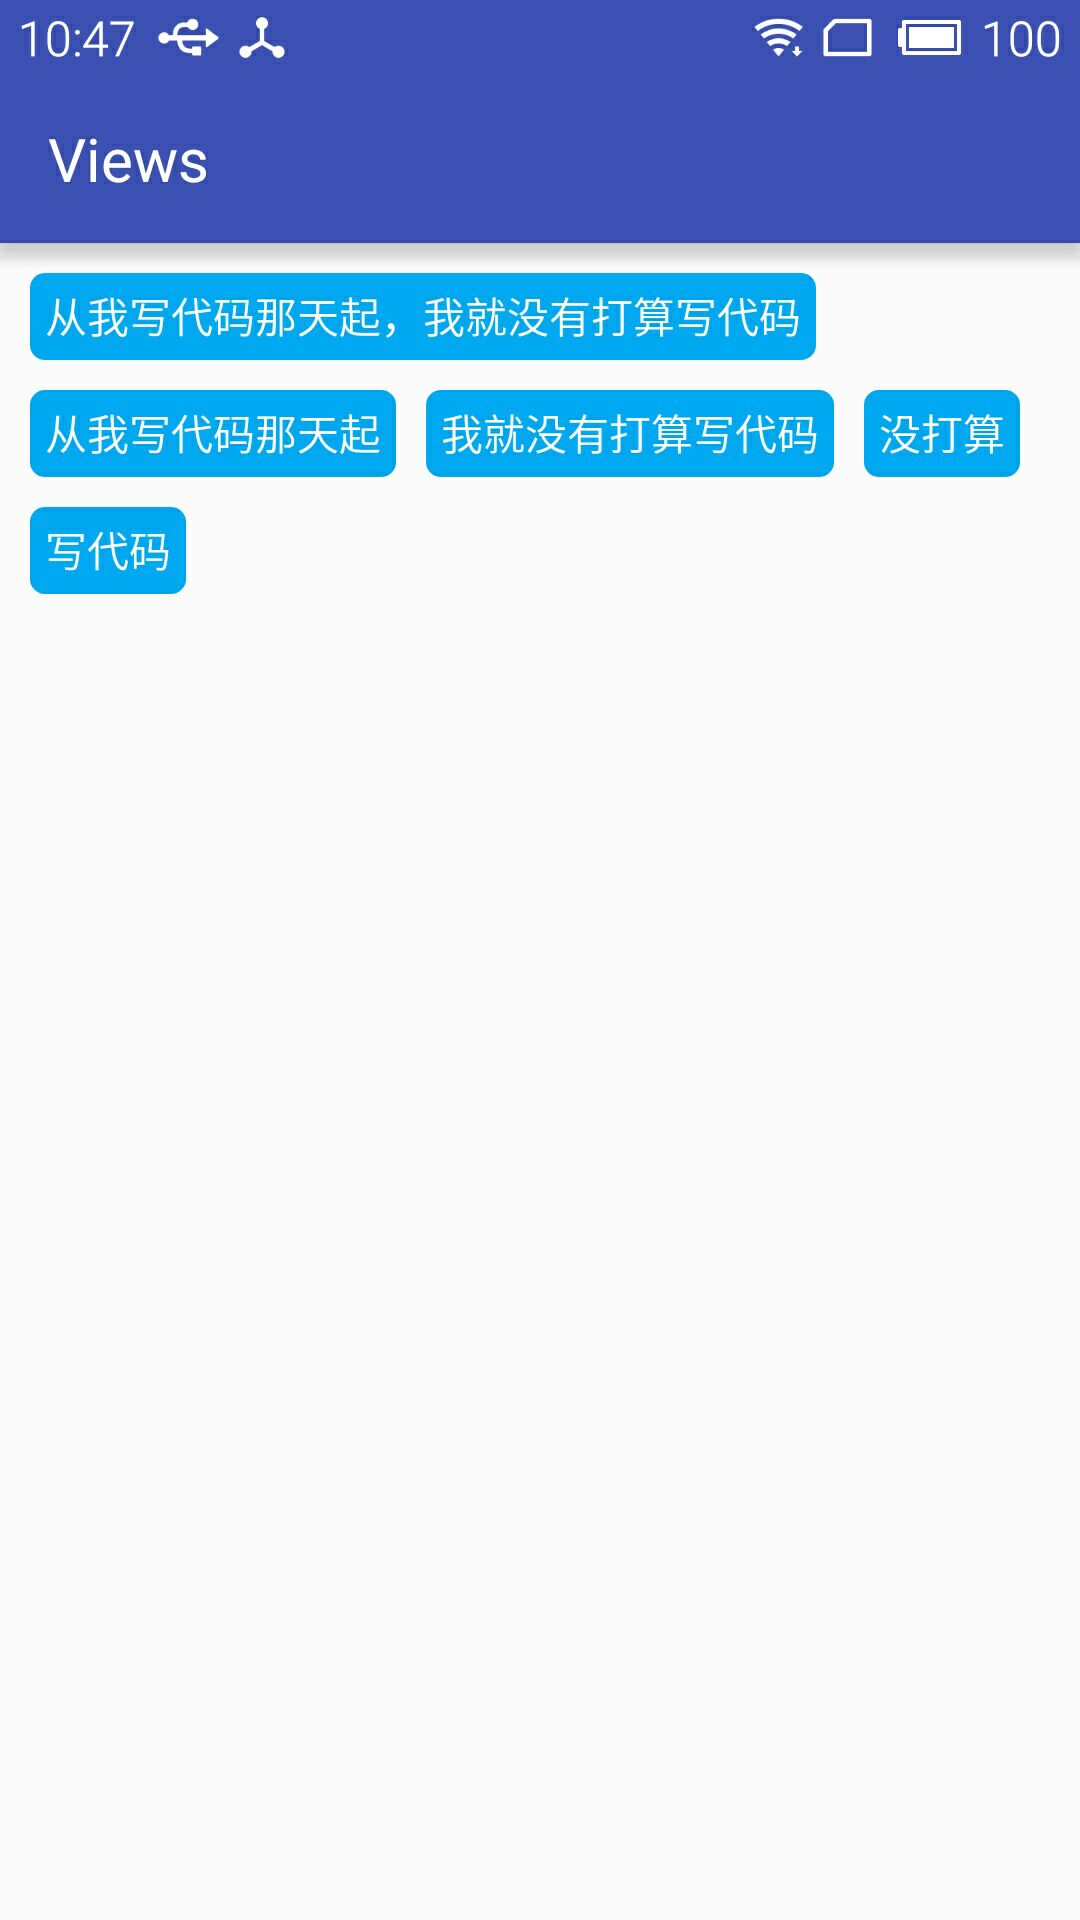
盗个图来展示下效果
自定义布局代码:
public class TagsLayout extends ViewGroup { private int childHorizontalSpace; private int childVerticalSpace; public TagsLayout(Context context, AttributeSet attrs) { super(context, attrs); TypedArray attrArray = context.obtainStyledAttributes(attrs, R.styleable.TagsLayout); if (attrArray != null) { childHorizontalSpace = attrArray.getDimensionPixelSize(R.styleable.TagsLayout_tagHorizontalSpace, 0); childVerticalSpace = attrArray.getDimensionPixelSize(R.styleable.TagsLayout_tagVerticalSpace, 0); attrArray.recycle(); } } /** * 负责设置子控件的测量模式和大小 根据所有子控件设置自己的宽和高 */ @Override protected void onMeasure(int widthMeasureSpec, int heightMeasureSpec) { super.onMeasure(widthMeasureSpec, heightMeasureSpec); // 获得它的父容器为它设置的测量模式和大小 int sizeWidth = MeasureSpec.getSize(widthMeasureSpec); int sizeHeight = MeasureSpec.getSize(heightMeasureSpec); int modeWidth = MeasureSpec.getMode(widthMeasureSpec); int modeHeight = MeasureSpec.getMode(heightMeasureSpec); // 如果是warp_content情况下,记录宽和高 int width = 0; int height = 0; /** * 记录每一行的宽度,width不断取最大宽度 */ int lineWidth = 0; /** * 每一行的高度,累加至height */ int lineHeight = 0; int count = getChildCount(); int left = getPaddingLeft(); int top = getPaddingTop(); // 遍历每个子元素 for (int i = 0; i < count; i++) { View child = getChildAt(i); if (child.getVisibility() == GONE) continue; // 测量每一个child的宽和高 measureChild(child, widthMeasureSpec, heightMeasureSpec); // 得到child的lp MarginLayoutParams lp = (MarginLayoutParams) child.getLayoutParams(); // 当前子空间实际占据的宽度 int childWidth = child.getMeasuredWidth() + lp.leftMargin + lp.rightMargin + childHorizontalSpace; // 当前子空间实际占据的高度 int childHeight = child.getMeasuredHeight() + lp.topMargin + lp.bottomMargin + childVerticalSpace; /** * 如果加入当前child,则超出最大宽度,则的到目前最大宽度给width,类加height 然后开启新行 */ if (lineWidth + childWidth > sizeWidth - getPaddingLeft() - getPaddingRight()) { width = Math.max(lineWidth, childWidth);// 取最大的 lineWidth = childWidth; // 重新开启新行,开始记录 // 叠加当前高度, height += lineHeight; // 开启记录下一行的高度 lineHeight = childHeight; child.setTag(new Location(left, top + height, childWidth + left - childHorizontalSpace, height + child.getMeasuredHeight() + top)); } else {// 否则累加值lineWidth,lineHeight取最大高度 child.setTag(new Location(lineWidth + left, top + height, lineWidth + childWidth - childHorizontalSpace + left, height + child.getMeasuredHeight() + top)); lineWidth += childWidth; lineHeight = Math.max(lineHeight, childHeight); } } width = Math.max(width, lineWidth) + getPaddingLeft() + getPaddingRight(); height += lineHeight; sizeHeight += getPaddingTop() + getPaddingBottom(); height += getPaddingTop() + getPaddingBottom(); setMeasuredDimension((modeWidth == MeasureSpec.EXACTLY) ? sizeWidth : width, (modeHeight == MeasureSpec.EXACTLY) ? sizeHeight : height); } @Override protected void onLayout(boolean changed, int l, int t, int r, int b) { int count = getChildCount(); for (int i = 0; i < count; i++) { View child = getChildAt(i); if (child.getVisibility() == GONE) continue; Location location = (Location) child.getTag(); child.layout(location.left, location.top, location.right, location.bottom); } } /** * 记录子控件的坐标 */ public class Location { public Location(int left, int top, int right, int bottom) { this.left = left; this.top = top; this.right = right; this.bottom = bottom; } public int left; public int top; public int right; public int bottom; }}attr声明:<declare-styleable name="TagsLayout"> <attr name="tagVerticalSpace" format="dimension" /> <attr name="tagHorizontalSpace" format="dimension" /> </declare-styleable>
布局中调用:
<test.TagsLayout android:id="@+id/image_layout" android:layout_width="match_parent" android:layout_height="wrap_content" android:layout_margin="10dp" app:tagHorizontalSpace="10dp" app:tagVerticalSpace="10dp" ></test.TagsLayout>java文件使用:
TagsLayout imageViewGroup = (TagsLayout) findViewById(R.id.image_layout); ViewGroup.MarginLayoutParams lp = new ViewGroup.MarginLayoutParams(ViewGroup.LayoutParams.WRAP_CONTENT, ViewGroup.LayoutParams.WRAP_CONTENT); String[] string={"从我写代码那天起,我就没有打算写代码","从我写代码那天起","我就没有打算写代码","没打算","写代码"}; for (int i = 0; i < 5; i++) { TextView textView = new TextView(this); textView.setText(string[i]); textView.setTextColor(Color.WHITE); textView.setBackgroundColor(Color.BLUE);// textView.setBackgroundResource(R.drawable.round_square_blue);这个地方显示你所需要的标签的样式,自己去定义就行了 imageViewGroup.addView(textView, lp); }阅读全文
2 0
- 自定义一个布局实现标签流
- adapter模式实现流式布局(自定义标签效果)
- Android 自定义一个简单而又实用的流式Tag标签布局
- 自定义流式布局,标签展示
- TagGroup自定义标签布局
- android自定义view实现流式布局(FlowLayout)和热门标签
- Android自定义View实现流式布局(热门标签效果)
- 自定义控件:onMeasure 和 onLayout 实现流动标签布局
- 自定义布局子流布局实现标签功能
- Android流式标签布局,自定义标签控件tagView
- 自定义 流式布局实现
- Android 流式布局-动态标签实现
- 实现标签的流式布局
- 安卓中使用流式布局实现标签
- 自定义标签布局(流布局)
- 自定义流式布局(应用:热门标签,照片)
- Android--View自定义—标签<流式布局>
- 鸿洋大婶:自定义ViewGroup------流式标签布局
- 1896: 树的判定(并查集)
- 如何让{dede:channel}有子栏目显示子栏目,无子栏目不显示同级栏目
- ARM裸机开发之基于S3C2451的电子相册开发
- python 中filter()函数
- 如何查看进程的信息(线程数)
- 自定义一个布局实现标签流
- 1046. Shortest Distance (20)
- Python使用requests提交HTTP表单
- python学习
- git使用详解
- Maven[一]:assembly插件
- feign 调用报错sun.security.provider.certpath.SunCertPathBuilderException: unable to find valid certifica
- docker学习(2)--docker镜像、容器、仓库和docker的安装
- keil MDK中如何生成*.bin格式的文件