在MFC中通过opencv显示摄像头视频或者文件视频
来源:互联网 发布:三维软件开发 编辑:程序博客网 时间:2024/05/29 02:38
在MFC中通过opencv显示摄像头视频或者文件视频
这里通过MFC显示摄像头视频,同样要用到CvvImage类,本人用的opencv2.3.1的版本,这里没有这个类,所以仍然需要手动加入这个类的头文件和代码文件。
关于CvvImage类的说明请看:
http://blog.csdn.net/weixingstudio/article/details/7357651
http://blog.csdn.net/weixingstudio/article/details/7357558
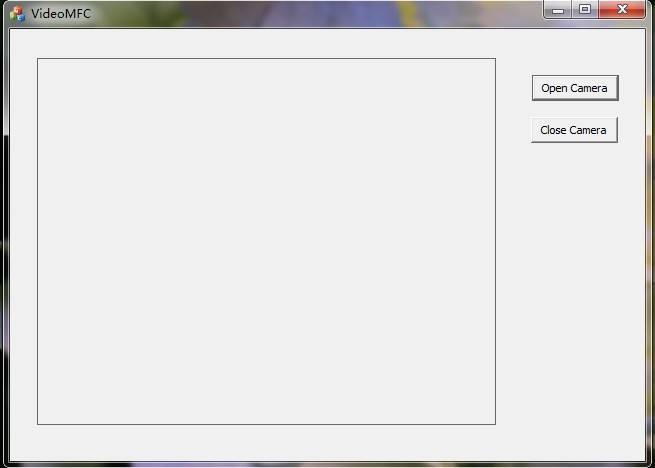
然后就是搭建工程了。这里就不多说界面的设计了。我这里的界面如图所示,有一个开始打开摄像头的按钮,一个关闭摄像头的按钮。有一个PictureBox的控件。
为了能够在PictureBox里面显示图片,我们需要定义一些变量来获取PictureBox的句柄。在主窗口的cpp文件中,添加如下的全局变量:
这里特别注意,这些变量一定要是全局变量。再来看一下这些变量的添加位置:
然后在窗口的初始化函数中进行句柄的初始化:
这个函数,BOOL CVideoMFCDlg::OnInitDialog()
初始化代码:
这里的初始化代码只有Todo后面的是自己添加的,目的是获得图像控件的句柄,将来好在上面显示图像。这一步也可以放在具体的显示图像的时候在进行,但是就需要每显示一帧,都获得一次句柄。
在控制台程序中,我们可以很简单的通过for(;;)的空循环来不停的实现获取摄像头的每一帧,但是我发现这么做在MFC里面是不可行的。一个是因为MFC是用户界面程序,如果这么写的话,所有的界面都会卡住,而且这么写的话其他的功能按钮就失去作用了。
这里为了实现获取摄像头的每一帧,我们要通过设定一个时间事件,让每隔一定时间,比如20ms,就调用一个函数,通过这个时间调用来获取摄像头的帧。
这样,我们就可以实现在图像控件中显示视频,并且用户界面不会卡住了。
看一下打开摄像头按钮的代码:
这里有一个SetTimer();函数,这个函数就是调用win32函数实现每隔指定的时间调用一次我们指定的事件。这个函数有两种用法,一种是指定一个回调函数,一个是通过MFC的ClassWizard指定的回调函数。
SetTimer()的具体用法请见:http://baike.baidu.com/view/998104.htm
这里我们使用了通过MFC的ClassWizard设定回调函数。
在VS中,用户界面设计右击打开Class Wizard, 切换到Message选项卡,然后找到WM_TIMER这个message, 双击右边的OnTimer句柄,然后进入回调函数的代码。
回调函数的代码如下:
关闭摄像头代码:
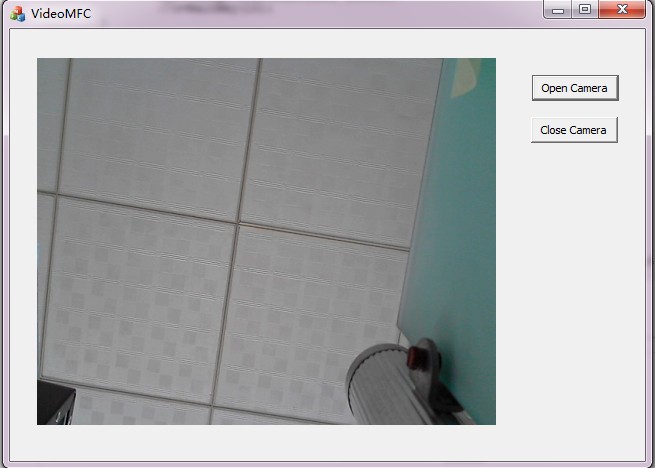
系统运行截图:
如果需要保存摄像头视屏的操作,请看链接中的文章:http://blog.csdn.net/weixingstudio/article/details/7588505
整个工程的下载地址:http://download.csdn.net/detail/weixingstudio/4284066。在这个工程中保存视频的功能。
- 在MFC中通过opencv显示摄像头视频或者文件视频
- 在MFC中通过opencv显示摄像头视频或者文件视频
- 在MFC中通过opencv显示摄像头视频或者文件视频
- 在MFC中通过opencv显示摄像头视频或者文件视频
- 利用opencv类库在MFC显示摄像头视频并且保存摄像头视频
- 利用opencv类库在MFC显示摄像头视频并且保存摄像头视频
- 用OpenCV在MFC Dialog中Picture控件上显示摄像头采集实时视频
- 使用Opencv调用摄像头并在MFC中进行视频显示
- 在MFC控件中显示opencv库中的图像或者视频
- 在MFC控件中显示opencv库中的图像或者视频用的CvvImage
- 在MFC控件中显示opencv库中的图像或者视频用的CvvImage
- VS2008+MFC+opencv 显示视频图像/捕捉摄像头视频界面
- 在VS中通过MFC图片控件显示视频
- 在mfc中用opencv显示视频
- opencv 从摄像头显示视频
- opencv打开摄像头显示视频
- (转载)MFC中使用OpenCV捕捉摄像头视频并在Image控件中播放
- mfc中显示opencv单通道视频
- git码云代码上传及分支
- 单调队列【Template】
- 第八周项目1建立顺序串的算法库
- PAT.乙级练习题.1007
- C#基础(4)——break语句、continue语句、while循环、do-while循环、for循环、foreach循环
- 在MFC中通过opencv显示摄像头视频或者文件视频
- Jzoj4742 单峰
- 第k小数(快排)
- MyBatis框架实现简单增删改查
- 快捷键和各种命名规则,通配符,关键字,标示符,变量的命名
- 将svg图形转为图片并下载
- android https——okhttp实现https请求
- [组合数学]51 Nod 1486——大大走格子
- 【bzoj2653】middle