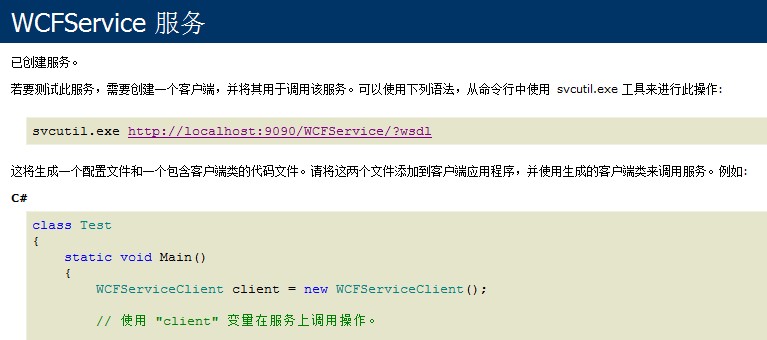
WCF服务以控制台程序为宿主时的跨域访问问题(附源码)
来源:互联网 发布:淘宝全屏店招尺寸 编辑:程序博客网 时间:2024/05/22 00:51
前几天研究SilverLight时碰到了这个问题,本以为很轻松的试验结果很不顺利,查了很多资料才解决了这个问题,在此把解决问题的方法写出来,也方便其它朋友借鉴。
问题是这样产生了,我在测试SilverLight时为了测试与WCF的通讯,创建了一个控制台的应用程序做为WCF服务的宿主程序。
同时创建了一个SilverLight应用程序和一个承载SilverLight的Web程序.
解决方案如图:

控制台程序:
1.添加 WCF服务
命名为WCFService.cs,并添加服务,代码如下:
namespace WCFBase
{
// 注意: 如果更改此处的类名 "WCFService",也必须更新 App.config 中对 "WCFService" 的引用。
public class WCFService : IWCFService
{
public int DoWork(int a,int b)
{
return a + b;
}
public int DoWork2(int a, int b)
{
return a - b;
}
}
}
系统会自动添加App.config文件和相关配置节信息
内容如下:
<?xml version="1.0" encoding="utf-8" ?>
<configuration>
<system.serviceModel>
<serviceHostingEnvironment aspNetCompatibilityEnabled="true"/>
<behaviors>
<serviceBehaviors>
<behavior name="WCFBase.WCFServiceBehavior">
<serviceMetadata httpGetEnabled="true" />
<serviceDebug includeExceptionDetailInFaults="false" />
</behavior>
</serviceBehaviors>
</behaviors>
<services>
<service behaviorConfiguration="WCFBase.WCFServiceBehavior" name="WCFBase.WCFService">
<endpoint address="" binding="basicHttpBinding" contract="WCFBase.IWCFService">
<identity>
<dns value="localhost" />
</identity>
</endpoint>
<endpoint address="mex" binding="mexHttpBinding" contract="IMetadataExchange" />
<host>
<baseAddresses>
<add baseAddress="http://localhost:9090/WCFService/" />
</baseAddresses>
</host>
</service>
</services>
</system.serviceModel>
</configuration>
2.加载WCF服务
打开主程序入口Main方法,代码如下
namespace WCFBase
{
class Program
{
static void Main(string[] args)
{
ServiceHost host = new ServiceHost(typeof(WCFService));
host.Open();
Console.WriteLine("I'am Here.");
Console.ReadKey();
host.Close();
}
}
}
至此运行该控制台程序,WCF服务启可使用。

但当垮域访问时会运行错误,提示没有仅限操作。这时需要如下操作
3.使WCF可以垮域访问
A.在控制台程序根目添加clientaccesspolicy.xml文件
内容如下:
<?xml version="1.0" encoding="utf-8"?>
<access-policy>
<cross-domain-access>
<policy>
<allow-from http-request-headers="*">
<domain uri="*"/>
</allow-from>
<grant-to>
<resource path="/" include-subpaths="true"/>
</grant-to>
</policy>
</cross-domain-access>
</access-policy>
B.添加接口 IDomainService (名称可自定义)
首先要添加System.ServiceModel.Web 引用
代码如下:
using System;
using System.Collections.Generic;
using System.Linq;
using System.Text;
using System.IO;
using System.Xml;
using System.ServiceModel;
using System.ServiceModel.Channels;
namespace WCFBase
{
/**/
/// <summary>
/// 跨域访问策略服务接口
/// 注意:如果你更新了ICrossDomainService接口,需要同时更新App.Config
/// </summary>
[ServiceContract]
public interface IDomainService
{
[OperationContract]
[WebGet(UriTemplate = "ClientAccessPolicy.xml")]
Message ProvidePolicyFile();
}
}
C.实现接口IDomainService
类:DomainService(可自定义)
代码如下:
namespace WCFBase
{
public class DomainService:IDomainService
{
#region IDomainService 成员
public System.ServiceModel.Channels.Message ProvidePolicyFile()
{
FileStream filestream = File.Open(@"ClientAccessPolicy.xml", FileMode.Open);
// Either specify ClientAcessPolicy.xml file path properly
// or put that in /Bin folder of the console application
XmlReader reader = XmlReader.Create(filestream);
System.ServiceModel.Channels.Message result = Message.CreateMessage(MessageVersion.None, "", reader);
return result;
}
//CrossDomainServiceBehavior
#endregion
}
}
D.修改App.config文件
修改后为
<?xml version="1.0" encoding="utf-8" ?>
<configuration>
<system.serviceModel>
<serviceHostingEnvironment aspNetCompatibilityEnabled="true"/>
<behaviors>
<serviceBehaviors>
<behavior name="WCFBase.WCFServiceBehavior">
<serviceMetadata httpGetEnabled="true" />
<serviceDebug includeExceptionDetailInFaults="false" />
</behavior>
</serviceBehaviors>
<endpointBehaviors>
<behavior name="DomainServiceBehavior">
<webHttp/>
</behavior>
</endpointBehaviors>
</behaviors>
<services>
<service behaviorConfiguration="WCFBase.WCFServiceBehavior" name="WCFBase.WCFService">
<endpoint address="" binding="basicHttpBinding" contract="WCFBase.IWCFService">
<identity>
<dns value="localhost" />
</identity>
</endpoint>
<endpoint address="mex" binding="mexHttpBinding" contract="IMetadataExchange" />
<host>
<baseAddresses>
<add baseAddress="http://localhost:9090/WCFService/" />
</baseAddresses>
</host>
</service>
<service name="WCFBase.DomainService">
<endpoint address="" behaviorConfiguration="DomainServiceBehavior"
binding="webHttpBinding" contract="WCFBase.IDomainService" />
<host>
<baseAddresses>
<add baseAddress="http://localhost:9090/" />
</baseAddresses>
</host>
</service>
</services>
</system.serviceModel>
</configuration>
灰色区域为新添加的信息,还没有完成,继续...
E.修改控制台打开主程序入口Main方法
代码如下:
namespace WCFBase
{
class Program
{
static void Main(string[] args)
{
ServiceHost host = new ServiceHost(typeof(WCFService));
host.Open();
ServiceHost crossDomainserviceHost = new ServiceHost(typeof(DomainService));
crossDomainserviceHost.Open();
Console.WriteLine("I'am Here.");
Console.ReadKey();
host.Close();
}
}
}
灰色区域为新添加代码
最终程序结构如下:

到此WCF服务即可实现垮域访问.
注意:需要将clientaccesspolicy.xml文件复制到 WCFBase.exe相同目录下。
4.SilverLight与WCF通讯测试
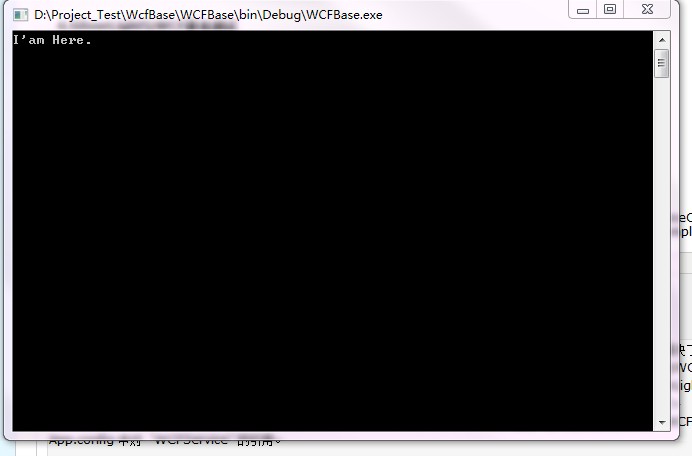
运行控制台程序 WCFBase.exe
如图:

在SilverLight程序中添加"服务引用",地址为http://localhost:9090/WCFService/
SilverLight代码如下
private void btnTest_Click(object sender, RoutedEventArgs e)
{
ServiceReference1.WCFServiceClient wcf = new SilverlightApp.ServiceReference1.WCFServiceClient();
wcf.DoWorkCompleted += new EventHandler<SilverlightApp.ServiceReference1.DoWorkCompletedEventArgs>(wcf_DoWorkCompleted);
wcf.DoWorkAsync(1, 2);
}
void wcf_DoWorkCompleted(object sender, SilverlightApp.ServiceReference1.DoWorkCompletedEventArgs e)
{
MessageBox.Show(e.Result.ToString());
}
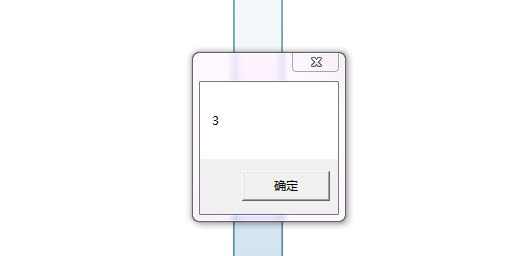
测试截图:

证明SilverLight可以正常调用WCF的DoWork方法,并正确返回结果。
源代码下载:
http://download.csdn.net/source/2014616
- WCF服务以控制台程序为宿主时的跨域访问问题(附源码)
- WCF服务以控制台程序为宿主时的跨域访问问题(附源码)
- 以windows服务为宿主的WCF服务
- WCF服务宿主及其跨域问题
- 使用.NET应用为宿主程序来运行WCF服务
- WCF——1.2 WCF服务、控制台宿主、控制台客户端
- 【菜鸟学WCF】以IIS为宿主创建WCF服务及问题解决
- 宿主程序为windows服务的remoting
- wcf宿主为windows服务时,如何配置log4net
- 使用Winform程序作为WCF服务的宿主
- 使用Winform程序作为WCF服务的宿主
- 使用WindowsService为宿主实装WCF 服务
- 【菜鸟学WCF】以Winform为宿主的wcf简单教程
- WCF服务怎样与宿主程序交互
- WCF服务怎样与宿主程序交互
- WCF服务怎样与宿主程序交互
- WCF基本概念&以winfrom为宿主发布WCF
- 解决在Silverlight中调用WCF控制台程序宿主时跨域问题
- C#反射使用入门
- 远程桌面无法连接的解决办法
- 建在含有null值的字段上的索引会包含null值数据
- AOPのSyncInterceptor
- SEO要学会预测热门关键词
- WCF服务以控制台程序为宿主时的跨域访问问题(附源码)
- ifconfig 用法详解
- 软件工程中使用到的文档
- 无线排队机解决方案
- ZOJ-2109FatMouse' Trade
- 随笔,系统从哪里开始
- BusinessObject Enterprise SDK应用开发(上)
- Oracle总结
- 弄积分的网页


