ARM DS-5初体检
来源:互联网 发布:java dbcp连接池 编辑:程序博客网 时间:2024/05/01 03:30
简介
ARM公司推出ARM®Compiler 5.0版及ARM®DS™-5 专业版(Development Studio 5.0 Professional),后者取代ARM RVDS™系列工具包(RealView Development Suite),成为基于ARM处理器的SoC、ASIC和ASSP设备的参考软件开发工具链。
ARM DS-5专业版以ARM Compiler的成功为基础,同时集成DS-5调试器和Streamline™ 性能分析器,组成基于Eclipse的软件开发工具的完整套件,从而形成一个集成的、强大的、直观的基于Eclipse IDE的开发环境,覆盖从平台构思(bring-up)和初级系统开发(bare metal development)到创建引人注目的基于RTOS、Linux和Android™ 的应用程序。
最小配置
- 双核 2 GHz 处理器或同等处理器
- 2 GB RAM(建议 4 GB)
- 约 1 GB 硬盘空间。
操作系统
- Windows XP Professional Service Pack 3(32 位)
- Windows 7 专业版和企业版(32/64 位)
- Red Hat Enterprise Linux 5 桌面版和工作站选项、标准版(32/64 位)
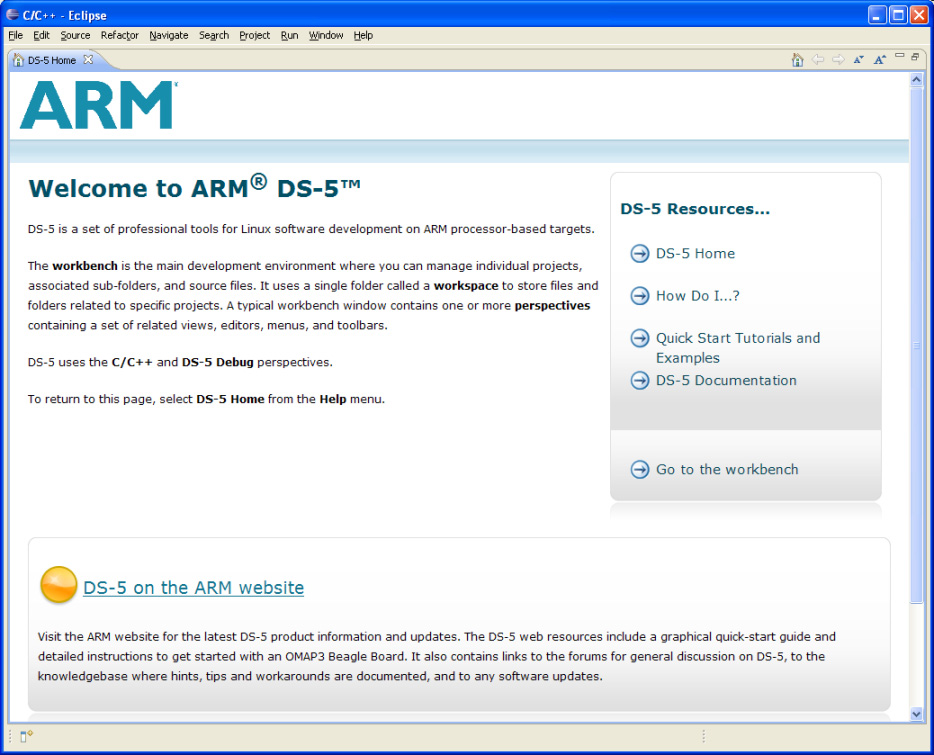
DS-5安装完成后启动Eclipse时的界面如下:
Using the examples in Eclipse
- Start Eclipse
- Create a new workspace directory for the examples. There are two ways to do this:
- Create a new workspace directory during the startup of Eclipse
- Select in Eclipse
- Select to open the Cheat Sheet Selection dialog box.
- Expand the ARM group and select Automatically Importing the DS-5 Example Projects into the Current Workspace.
- Click OK.
- Follow the steps in the cheat sheet to import all the DS-5 example projects into your workspace.
例子导入eclipse后如下图所示:

注意:
1.Download the optional package, Linux_distribution_example.zip, containing the example Linux distribution project and the compatible headers and libraries from the ARM website or from the DS-5 installation media.Import distribution example projects from the relevant ZIP archive files into Eclipse.To build these examples, you must have imported the packageLinux_distribution_example.zip into Eclipse.Thedistribution project does not need to be built (actually, it cannot be built).(必须导入Linux_distribution_example,否则无法编译项目,Optional packages with source files, libraries, and prebuilt images for running the examples. )即,一定要将Linux_distribution_example导入到eclipse中,否则无法编译项目,Linux_distribution不用编译。
2.ARM Linux Distribution Dependencies
3.一定要有Licens,否则无法仿真。(在ARM网站上注册一个账号,然后申请一个Licens!!!)
4.win7下找不到telnet.exe
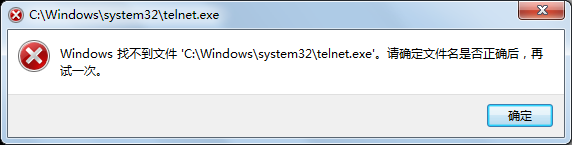
一般情况下win7 系统默认此项不被选中,只要我们在控制面板找到此项然后将前面的对勾点上就可以了。
具体方法:控制面版->程序->程序和功能->打开或关闭Windows功能,勾选“Telnet客户端”“Telnet服务器”即可(调试仿真时需要telnet )。没有telnet也能仿真,不知telnet是否还有其他的作用,待研究。。。
一个简单的例子 Loading the Gnometris application on a Real-Time System Model
俄罗斯方块的仿真
You can load the Gnometris application on to a Real-Time System Model (RTSM) that is running
ARM Linux. An RTSM enables you to run and debug applications on your host workstation
without using any hardware targets.
A preconfigured RTSM connection is available that automatically boots Linux, launches
gdbserver, and then launches the application.
To load Gnometris:
1. Launch Eclipse.
2. Click on the Project Explorer view.
3. Expand the gnometris project folder.
4. Right-click on the launch file, gnometris-RTSM-example.launch.
5. In the context menu, select Debug As.
6. Select the gnometris-RTSM-example entry in the submenu.
7. Debugging requires the DS-5 Debug perspective. If the Confirm Perspective Switch dialog box opens, click on Yes to switch perspective.
完成后界面如下图所示:
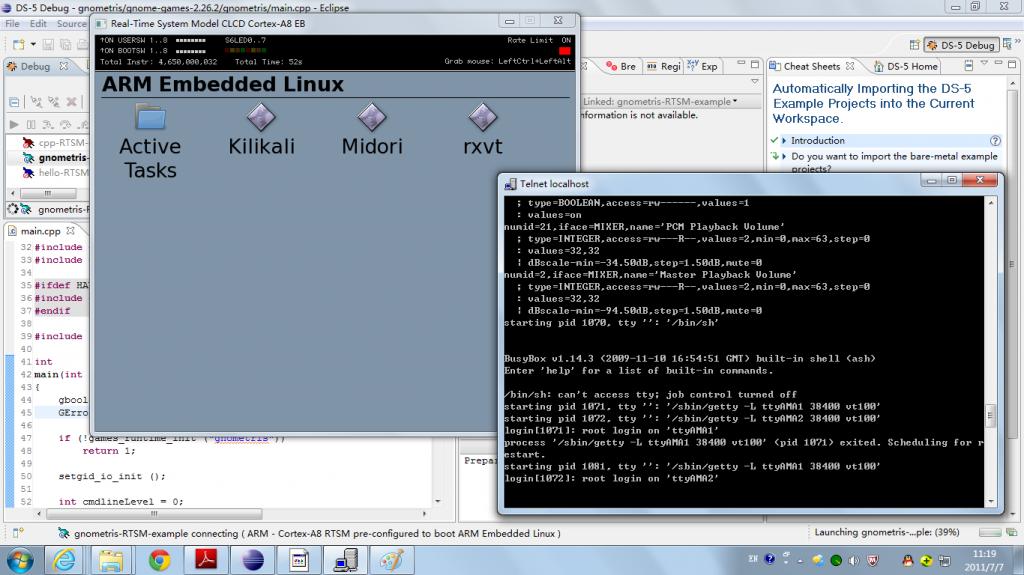
然后点击eclipse中Debug Control中的Run/Continue按钮运行程序。程序运行后的界面如下:

- ARM DS-5初体检
- 初用 ARM DS-5
- 使用 ARM DS-5
- arm ds-5 调试内核
- 搭建ARM DS-5 STREAMLINE
- ARM DS-5入门之 概述
- 1-Windows环境安装ARM DS-5
- ARM DS-5一些方便的快捷键
- DS-5教程-ARM DS-5 添加新芯片至DS-5调试设备列表
- DS-5教程-ARM DS-5 添加新芯片至DS-5调试设备列表
- ARM DS-5入门之DS-5 教程(更新至8,未完,待续!)
- DS-5(ARM Development studio 5)+DSTREAM的使用方法
- DS-5(ARM Development studio 5)+DSTREAM的使用方法
- ARM DS-5安装及使用(android)
- 使用DS-5编译运行arm-Linux应用程序
- 用ARM DS-5进行android linux开发
- DS-5 CE 初体验
- win8初体检
- Linux环境进程间通信
- java中的几个关键字
- ios学习笔记之四种数据持久化方法
- DS-5笔记(Gnometris)
- c & c++中的“指针、指针变量、指针变量的类型”
- ARM DS-5初体检
- Sql函数
- 加入一个多播组(最简单的情况)
- 学习笔记之业务逻辑
- 表单验证 正则表达式实例 Email验证 电话号码验证 中文汉字验证
- 通过产品ID得到collection!!!
- linux c socket 读取网页
- C/S和B/S对比
- ecshop 秒杀 并发时库存会被减到小于0的解决方案