用eclipse创建WebService Step by Step
来源:互联网 发布:java api 1.8中文版 编辑:程序博客网 时间:2024/05/02 15:58
用eclipse创建一个WebService应用非常方便,步骤如下:
1.安装WebService插件。www.eclipse.org网站上有下载,我下载的是wtp-all-in-one-sdk-R-1.5.4-win32,里面就包括了。
2.安装一个web服务器。我这里用的是Tomcat。
3.创建一个Webservice服务。在eclipse中创建一个动态的web工程。New->Project->Dynamic Web Project。创建完成后,写一个service类,比如:
public class LogonService {
public int checkUserRight(String userId, String password) {
//假设进行数据库操作
if (password != null && "fred".equals(userId)) {
return 1;
}
return 0;
}
}
public int checkUserRight(String userId, String password)就是我们要调用的远程方法。
4.在这个类的文件名上点击右键,选择”Web Services"->“Create Web Service”,就会出现下面的界面:
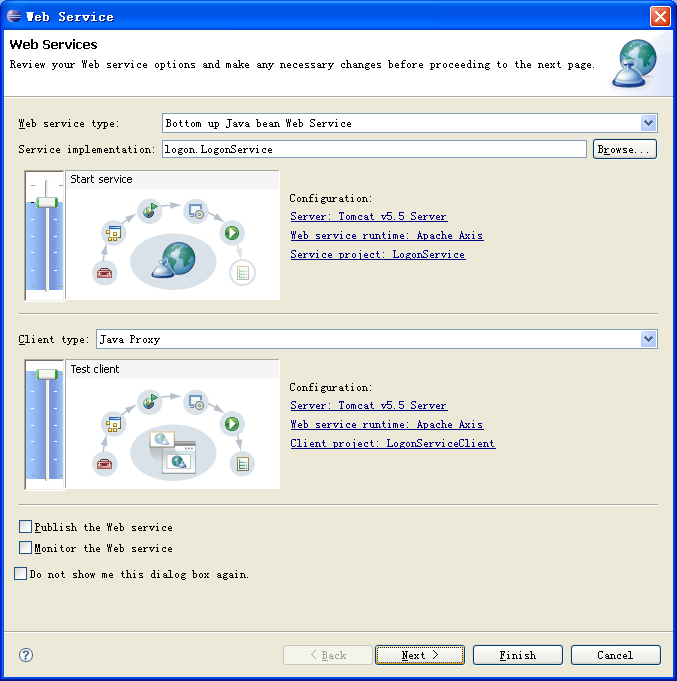
要选上TestClient,这样创建Service的同时,会创建一个Service的test工程。
5.点击next,
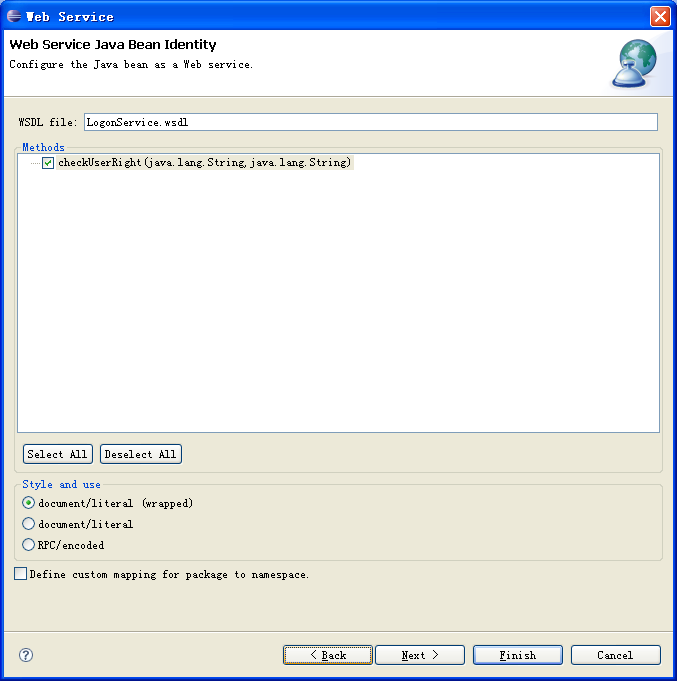
选择方法名称,
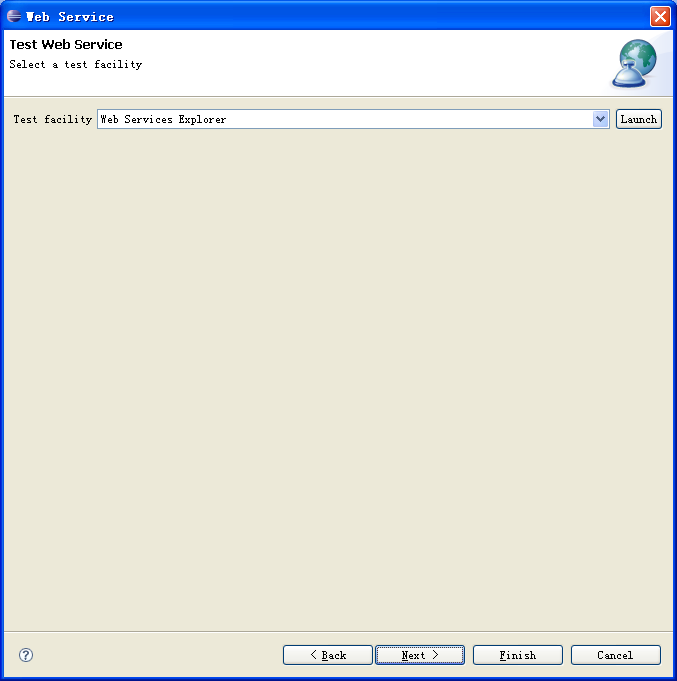
6.点击"next",点击“Start Server”,就会启动Tomcat,并将工程部署上去。

7.如果点击“Launch”会打开刚才创建的WebService的测试界面,可以进行测试。
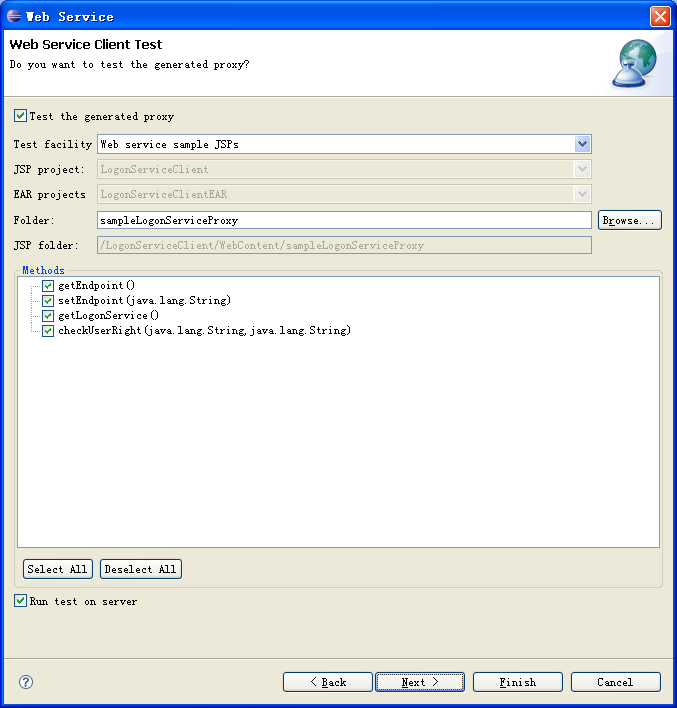
8.这时候,会出现测试创建代理类的界面,代理类会创建在自动生成的测试工程中,也就是LogonWebServiceTest工程中。
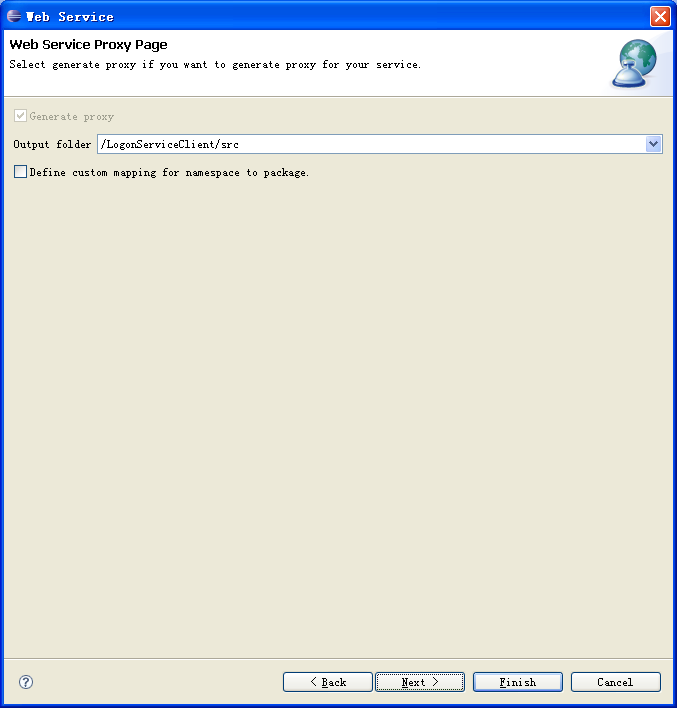
9.点击“next”,会自动生成代理类,并出现选择测试方法的界面。你可以选择相应的方法,这样eclipse会生成相应的页面。
10.点击"Finish"就可以了,这时,会自动启动一个页面
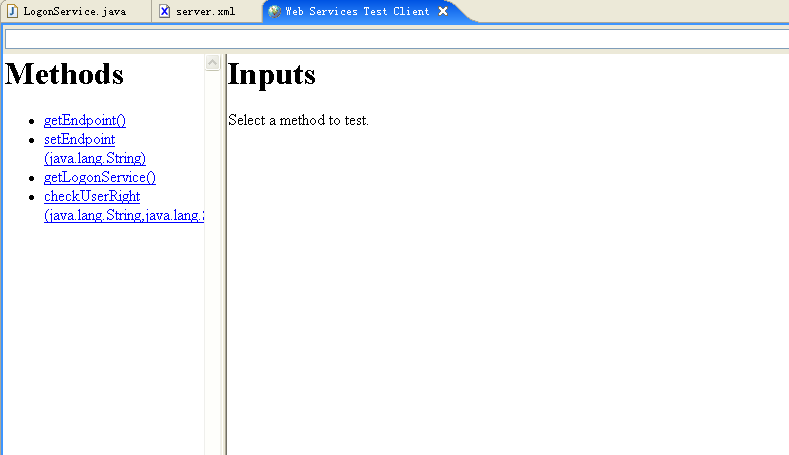
点击左边相应的方法,就可以进行测试了
- 用eclipse创建WebService Step by Step
- 用eclipse创建WebService Step by Step
- 用eclipse创建WebService Step by Step
- 用eclipse创建WebService Step by Step
- 用eclipse创建WebService Step by Step
- 用eclipse创建WebService Step by Step
- 用eclipse创建一个WebService Step by Step
- Eclipse: Step by Step
- Axis创建自己的WebService--Step by Step
- 用eclipse 单步调试php step by step
- eclipse构建Maven项目 (step-by-step)
- 创建Oracle10g ASM数据库Step by Step
- step by step DBCA创建Oracle数据库
- Step by Step 创建一个 Web Service
- Axis创建自己的WebService--Step by Step 续
- NHibernate Step by Step
- OGRE step by step
- step by step
- db2使用命令
- 【转载】PHP 平台终极堡垒 - Zend Platform
- LDD3 第五章 并发与竞争 学习笔记
- ubuntu 编译 Android 出现的若干错误及解决方法
- 每次只能运行一个服务
- 用eclipse创建WebService Step by Step
- libcur libldap 多线程笔记
- python 使用 epoll
- poj 1949 Chores(基础题)
- Direct or Non-direct ByteBuffer
- JQuery获取元素文档大小、偏移和位置和滚动条位置的方法集合
- 更改apache(2.2.17版本)默认文件路径引起的无权限访问问题的解决方法
- org.hibernate.jdbc.BatchedTooManyRowsAffectedException
- flex 入门