部署Oracle 11.2.0.3 RAC
来源:互联网 发布:db2数据库的一些操作 编辑:程序博客网 时间:2024/06/05 02:38
环境介绍:
DNS,NTP,ISCSI共享存储服务器:192.168.1.100 (RHEL6.0 64bit)
rac节点1: 192.168.1.51/192.168.1.151/192.168.122.51 (rhel5.4 64bit)
rac节点2: 192.168.1.52/192.168.1.152/192.168.122.52 (rhel5.4 64bit)
数据库软件版本:11.2.0.3 64bit
一:准备工作
1:配置DNS服务器解析和主机host文件
[root@rhel6 ~]# tail /var/named/named.yang.com
node1 IN A 192.168.1.51
node1-priv IN A 192.168.122.51
node1-vip IN A 192.168.1.151
node2 IN A 192.168.1.52
node2-priv IN A 192.168.122.52
node2-vip IN A 192.168.1.152
rac-scan IN A 192.168.1.50
[root@rhel6 ~]# service named restart
停止 named:.[确定]
启动 named:[确定]
2:配置rac节点的host文件,两个节点的内容保持一致
[root@node1 ~]# cat /etc/hosts
127.0.0.1 localhost.localdomain localhost
192.168.1.51 node1.yang.com node1
192.168.1.151 node1-vip.yang.com node1-vip
192.168.122.51 node1-priv.yang.com node1-priv
192.168.1.52 node2.yang.com node2
192.168.1.152 node2-vip.yang.com node2-vip
192.168.122.52 node2-priv.yang.com node1-priv
192.168.1.50 rac-scan.yang.com rac-scan
3:安装相关的rpm包,调整内核参数,两个节点执行相同的操作
[root@node1 ~]# yum -y install sysstat numactl-devel libaio-devel
[root@node1 ~]# yum -y install compat-*
[root@node1 ~]# grep 'limits.so' /etc/pam.d/login
session required pam_limits.so
[root@node2 ~]# tail /etc/security/limits.conf
oracle hard nproc 204800
oracle soft nofile 204800
oracle hard nofile 204800
oracle soft stack 204800
grid soft nproc 204800
grid hard nproc 204800
grid soft nofile 204800
grid hard nofile 204800
grid soft stack 204800
[root@node1 ~]# tail -11 /etc/sysctl.conf
fs.aio-max-nr = 1048576
fs.file-max = 6815744
kernel.shmall = 2097152
kernel.shmmax = 1029347328
kernel.shmmni = 4096
kernel.sem = 250 32000 100 128
net.ipv4.ip_local_port_range = 9000 65500
net.core.rmem_default = 262144
net.core.rmem_max = 4194304
net.core.wmem_default = 262144
net.core.wmem_max = 1048586
[root@node1 ~]# sysctl -p
4:校对系统时间,两个节点执行相同的操作
[root@node1 ~]# head -2 /etc/sysconfig/ntpd
# Drop root to id 'ntp:ntp' by default.
OPTIONS="-x -u ntp:ntp -p /var/run/ntpd.pid"
[root@node1 ~]# /usr/sbin/ntpdate -u 192.168.1.100
22 Jan 13:45:28 ntpdate[3377]: step time server 192.168.1.100 offset -37.183698 sec
[root@node1 ~]# echo '01 */01 * * * /usr/sbin/ntpdate -u 192.168.1.100' > /var/spool/cron/root
[root@node1 ~]# service ntpd start
[root@node1 ~]# chkconfig ntpd on
5:创建相关用户,设置环境变量,两个节点执行相同的操作(节点2需要相应的修改ORACLE_SID)
[root@node1 ~]# groupadd oinstall
[root@node1 ~]# groupadd asmadmin
[root@node1 ~]# groupadd asmdba
[root@node1 ~]# groupadd asmoper
[root@node1 ~]# groupadd dba
[root@node1 ~]# groupadd oper
[root@node1 ~]# useradd -g oinstall -G asmadmin,asmdba,asmoper grid
[root@node1 ~]# echo 'oracle' |passwd --stdin grid
Changing password for user grid.
passwd: all authentication tokens updated successfully.
[root@node1 ~]# useradd -g oinstall -G dba,oper,asmdba oracle
[root@node1 ~]# echo 'oracle' |passwd --stdin oracle
Changing password for user oracle.
passwd: all authentication tokens updated successfully.
[root@node1 ~]# cat /home/grid/.bash_profile
# .bash_profile
# Get the aliases and functions
if [ -f ~/.bashrc ]; then
. ~/.bashrc
fi
# User specific environment and startup programs
export ORACLE_SID=+ASM1
export ORACLE_UNQNAME=node1
export ORACLE_HOSTNAME=node1.yang.com
export ORACLE_BASE=/u01/app/grid
export ORACLE_HOME=/u01/app/11.2.0/grid
export ORACLE_TERM=xterm
export NLS_DATE_FORMAT="YYYY-MM-DD-HH24:MI:SS"
export TNS_ADMIN=$ORACLE_HOME/network/admin
export ORA_NLS11=$ORACLE_HOME/nls/data
export PATH=$HOME/bin:$ORACLE_HOME/bin:$PATH
export LD_LIBRARY_PATH=$ORACLE_HOME/lib
export CLASSPATH=$ORACLE_HOME/JRE
export TEMP=/tmp
export TMPDIR=/tmp
umask 022
[root@node1 ~]# cat /home/oracle/.bash_profile
# .bash_profile
# Get the aliases and functions
if [ -f ~/.bashrc ]; then
. ~/.bashrc
fi
# User specific environment and startup programs
export ORACLE_SID=node1
export ORACLE_UNQNAME=node1
export ORACLE_HOSTNAME=node1.yang.com
export ORACLE_BASE=/u01/app/oracle
export ORACLE_HOME=$ORACLE_BASE/product/11.2.0/db1
export ORACLE_TERM=xterm
export NLS_DATE_FORMAT="YYYY-MM-DD-HH24:MI:SS"
export TNS_ADMIN=$ORACLE_HOME/network/admin
export ORA_NLS11=$ORACLE_HOME/nls/data
export PATH=$PATH:$HOME/bin:$ORACLE_HOME/bin
export LD_LIBRARY_PATH=$ORACLE_HOME/lib
export CLASSPATH=$ORACLE_HOME/JRE
export TEMP=/tmp
export TMPDIR=/tmp
umask 022
6:安装asm包,两个节点执行相同的操作,创建asm磁盘组
[root@node1 ~]# cat url.txt
http://oss.oracle.com/projects/oracleasm-support/dist/files/RPMS/rhel5/amd64/2.1.7/oracleasm-support-2.1.7-1.el5.x86_64.rpm
http://download.oracle.com/otn_software/asmlib/oracleasmlib-2.0.4-1.el5.x86_64.rpm
http://oss.oracle.com/projects/oracleasm/dist/files/RPMS/rhel5/amd64/2.0.5/2.6.18-164.el5/oracleasm-2.6.18-164.el5-2.0.5-1.el5.x86_64.rpm
http://oss.oracle.com/projects/oracleasm/dist/files/RPMS/rhel5/amd64/2.0.5/2.6.18-164.el5/oracleasm-2.6.18-164.el5-debuginfo-2.0.5-1.el5.x86_64.rpm
http://oss.oracle.com/projects/oracleasm/dist/files/RPMS/rhel5/amd64/2.0.5/2.6.18-164.el5/oracleasm-2.6.18-164.el5debug-2.0.5-1.el5.x86_64.rpm
[root@node1 ~]# wget -i url.txt
[root@node1 ~]# rpm -ivh oracleasm*
warning: oracleasm-2.6.18-164.el5-2.0.5-1.el5.x86_64.rpm: Header V3 DSA signature: NOKEY, key ID 1e5e0159
Preparing... ########################################### [100%]
1:oracleasm-support ########################################### [ 20%]
2:oracleasm-2.6.18-164.el########################################### [ 40%]
3:oracleasm-2.6.18-164.el########################################### [ 60%]
4:oracleasm-2.6.18-164.el########################################### [ 80%]
5:oracleasmlib ########################################### [100%]
[root@node1 ~]# /usr/sbin/oracleasm configure
ORACLEASM_ENABLED=false
ORACLEASM_UID=
ORACLEASM_GID=
ORACLEASM_SCANBOOT=true
ORACLEASM_SCANORDER=""
ORACLEASM_SCANEXCLUDE=""
[root@node1 ~]# /usr/sbin/oracleasm configure -i
Configuring the Oracle ASM library driver.
This will configure the on-boot properties of the Oracle ASM library
driver. The following questions will determine whether the driver is
loaded on boot and what permissions it will have. The current values
will be shown in brackets ('[]'). Hitting <ENTER> without typing an
answer will keep that current value. Ctrl-C will abort.
Default user to own the driver interface []: grid
Default group to own the driver interface []: asmadmin
Start Oracle ASM library driver on boot (y/n) [n]: y
Scan for Oracle ASM disks on boot (y/n) [y]: y
Writing Oracle ASM library driver configuration: done
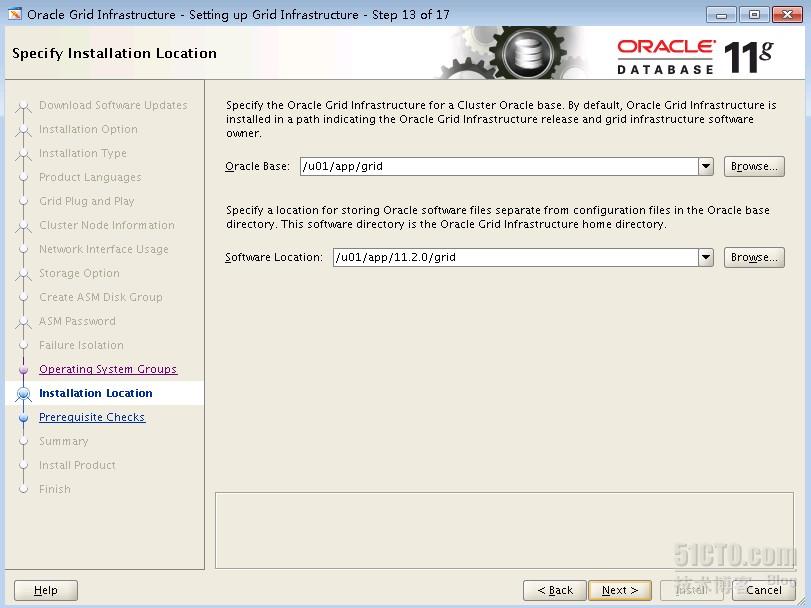
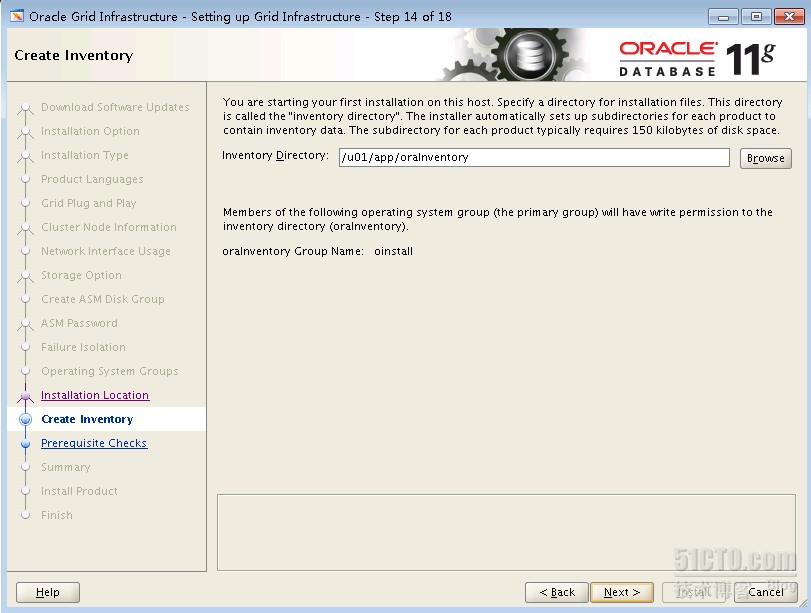
[root@node1 ~]# mkdir -p /u01/app/grid
[root@node1 ~]# mkdir -p /u01/app/11.2.0/grid
[root@node1 ~]# chown -R grid.oinstall /u01
[root@node1 ~]# mkdir -p /u01/app/oracle
[root@node1 ~]# chown -R oracle.oinstall /u01/app/oracle
[root@node1 ~]# chmod -R 775 /u01/
[root@node1 ~]# fdisk -l /dev/sda
Disk /dev/sda: 53.6 GB, 53687091200 bytes
64 heads, 32 sectors/track, 51200 cylinders
Units = cylinders of 2048 * 512 = 1048576 bytes
Device Boot Start End Blocks Id System
/dev/sda1 1 51200 52428784 5 Extended
/dev/sda5 1 1908 1953760 83 Linux
/dev/sda6 1909 3816 1953776 83 Linux
/dev/sda7 3817 5724 1953776 83 Linux
/dev/sda8 5725 34335 29297648 83 Linux
/dev/sda9 34336 51200 17269744 83 Linux
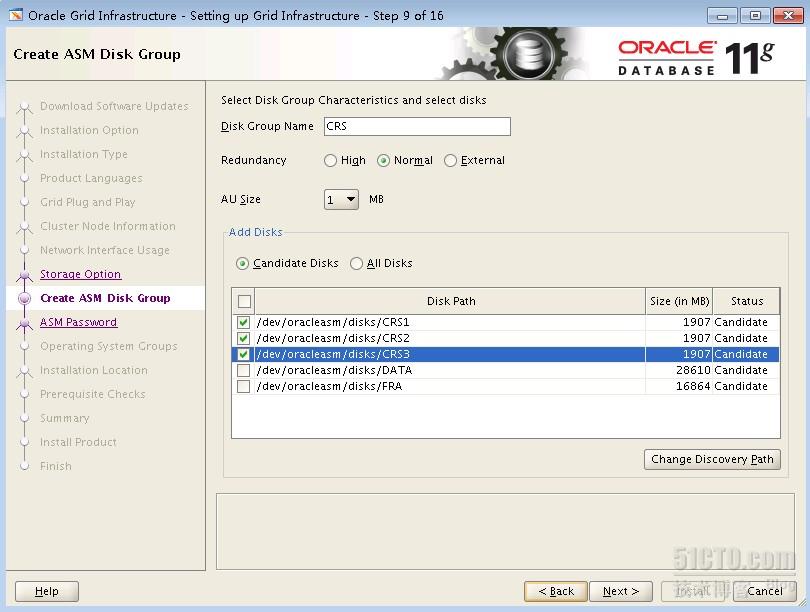
[root@node1 ~]# oracleasm listdisks
CRS1
CRS2
CRS3
DATA
FRA
[root@node2 ~]# oracleasm scandisks
Reloading disk partitions: done
Cleaning any stale ASM disks...
Scanning system for ASM disks...
Instantiating disk "CRS1"
Instantiating disk "CRS2"
Instantiating disk "CRS3"
Instantiating disk "DATA"
Instantiating disk "FRA"
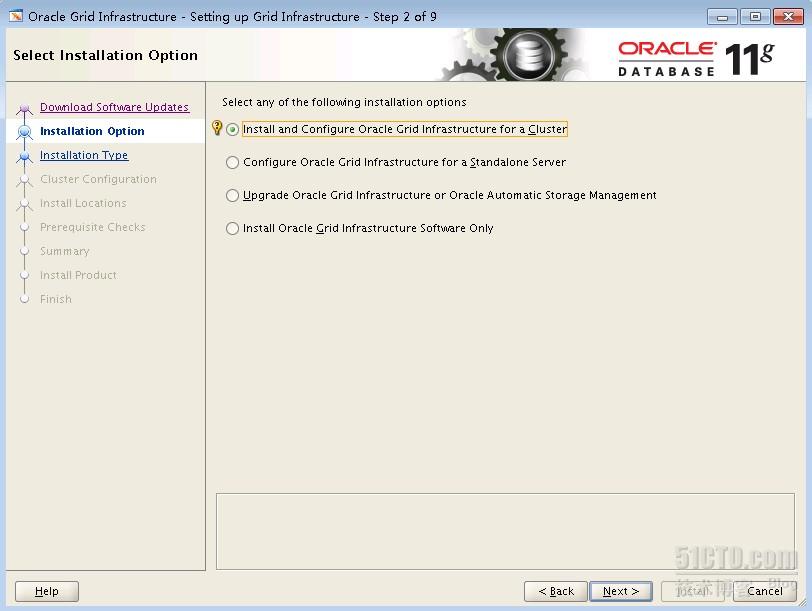
二:开始安装grid infrastructure,安装之前需要在所有的节点上安装cvuqdisk软件包
[root@node1 ~]# rpm -ivh /home/oracle/database/rpm/cvuqdisk-1.0.9-1.rpm
Preparing... ########################################### [100%]
Using default group oinstall to install package
1:cvuqdisk ########################################### [100%]
[root@node1 ~]# su - grid
[grid@node1 ~]$ cd grid
[grid@node1 grid]$ ./runcluvfy.sh stage -pre crsinst -n node1,node2 -fixup -verbose (检查结果需要均为pass)
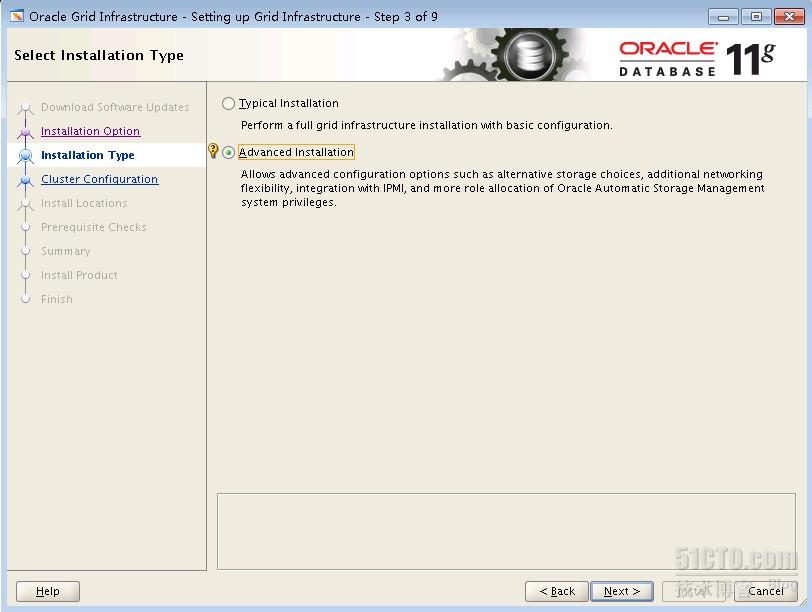
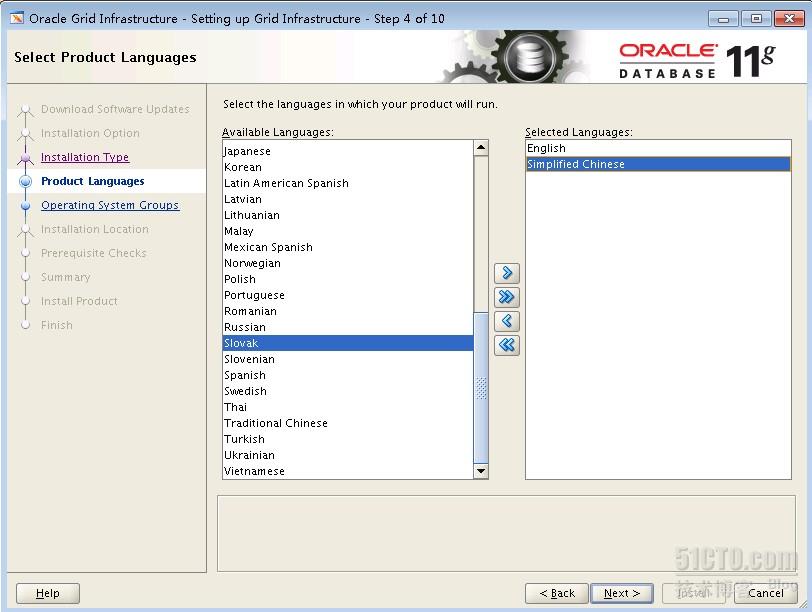
[grid@node1 grid]$ ./runInstaller


在这里可以点击"ssh connectivity"按钮来配置rac各个节点间的oracle用户和grid用户ssh密钥信任
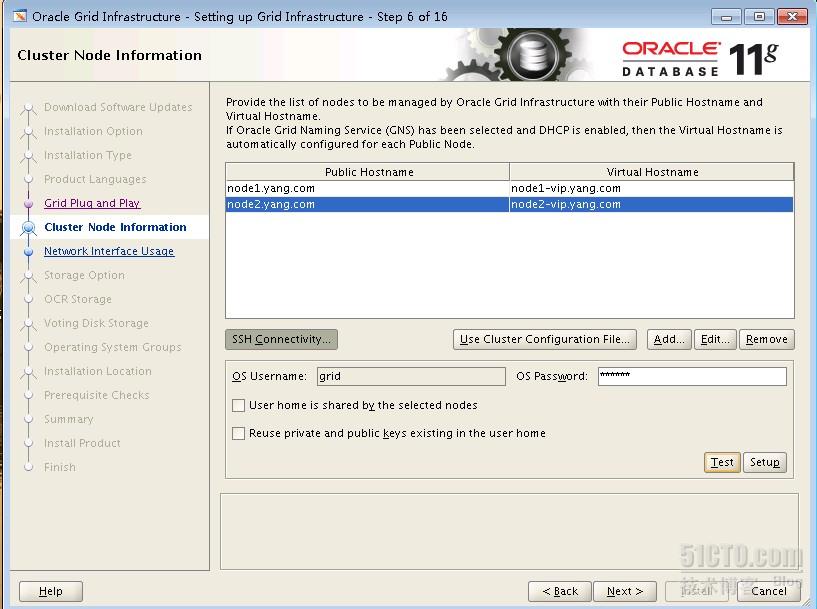
密码要求8位数以上,且需要满足复杂性要求

配置智能型平台管理接口,需要硬件支持,因而跳过!

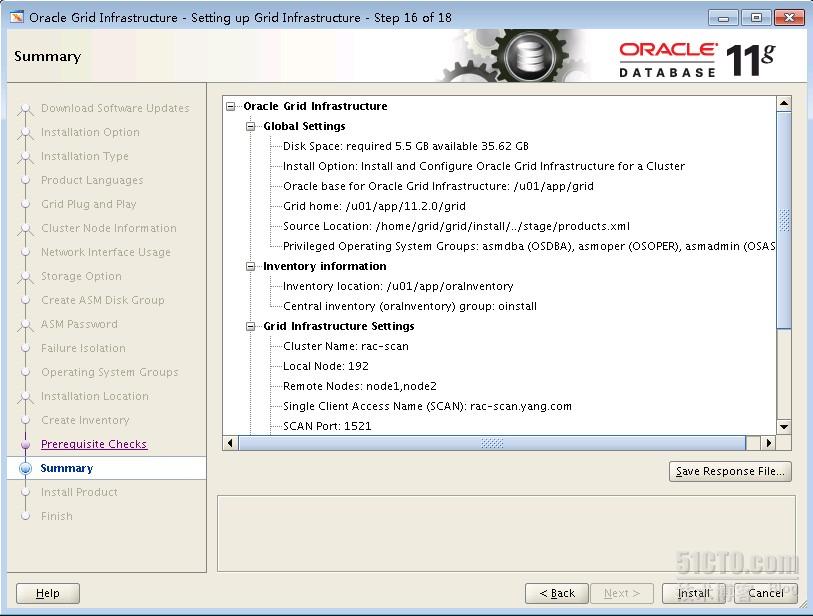
grid infrastructure的ORACLE_BASE和ORACLE_HOME变量对应的目录必须平级
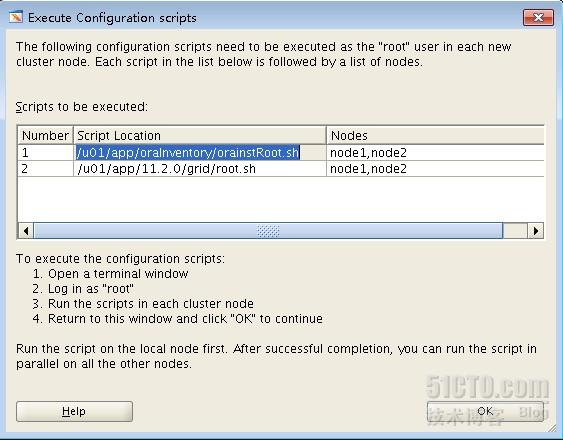
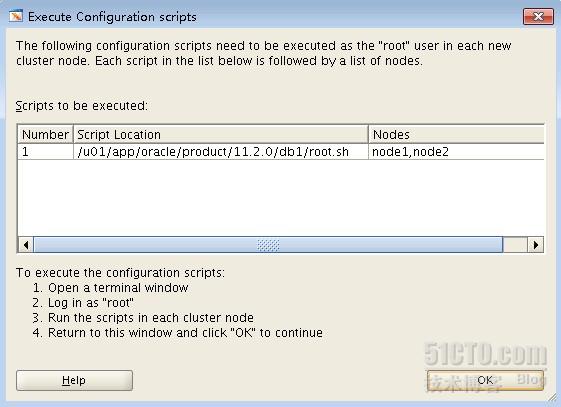
分别在各个节点使用root用户执行下面的两个脚本
出现以下两个错误,可以点忽略来跳过!
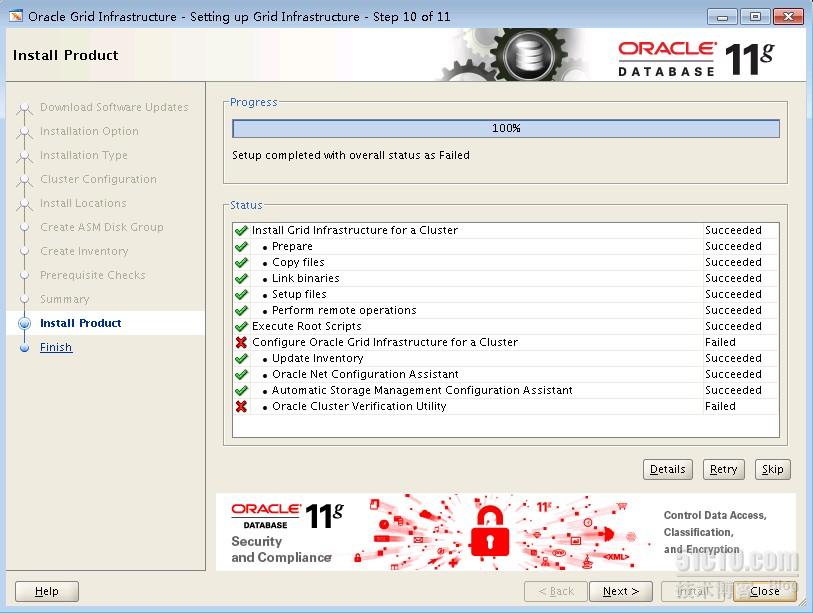
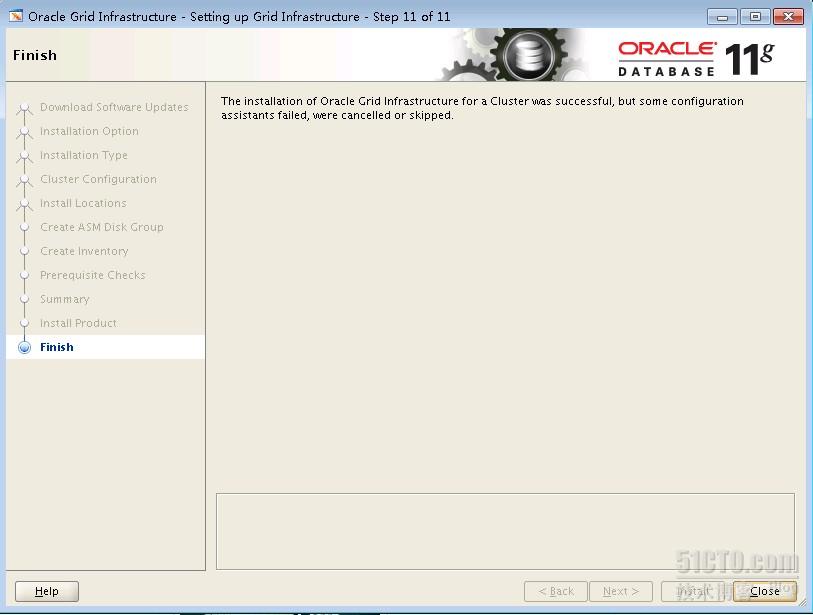
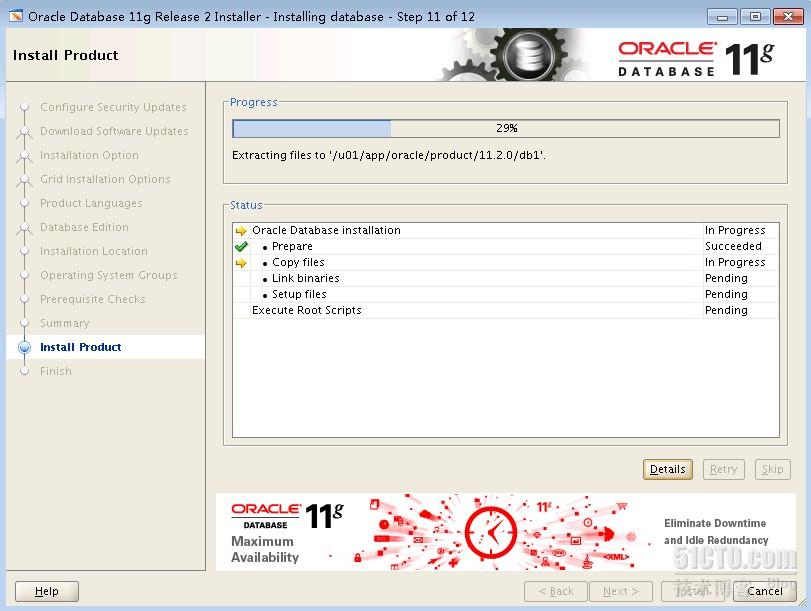
至此,grid infrastructure的安装完成,
一:开始安装数据库软件之前,需要先确定先前安装好的grid infrastructure是否正常
[grid@node1 ~]$ crs_stat -t -v
Name Type R/RA F/FT Target State Host
----------------------------------------------------------------------
ora.CRS.dg ora....up.type 0/5 0/ ONLINE ONLINE node1
ora....ER.lsnr ora....er.type 0/5 0/ ONLINE ONLINE node1
ora....N1.lsnr ora....er.type 0/5 0/0 ONLINE ONLINE node2
ora.asm ora.asm.type 0/5 0/ ONLINE ONLINE node1
ora.cvu ora.cvu.type 0/5 0/0 ONLINE ONLINE node2
ora.gsd ora.gsd.type 0/5 0/ OFFLINE OFFLINE
ora....network ora....rk.type 2/5 0/ ONLINE ONLINE node1
ora....SM1.asm application 0/5 0/0 ONLINE ONLINE node1
ora....E1.lsnr application 0/5 0/0 ONLINE ONLINE node1
ora.node1.gsd application 0/5 0/0 OFFLINE OFFLINE
ora.node1.ons application 0/3 0/0 ONLINE ONLINE node1
ora.node1.vip ora....t1.type 0/0 0/0 ONLINE ONLINE node1
ora....SM2.asm application 0/5 0/0 ONLINE ONLINE node2
ora....E2.lsnr application 0/5 0/0 ONLINE ONLINE node2
ora.node2.gsd application 0/5 0/0 OFFLINE OFFLINE
ora.node2.ons application 0/3 0/0 ONLINE ONLINE node2
ora.node2.vip ora....t1.type 0/0 0/0 ONLINE ONLINE node2
ora.oc4j ora.oc4j.type 0/1 0/2 ONLINE ONLINE node1
ora.ons ora.ons.type 0/3 0/ ONLINE ONLINE node1
ora....ry.acfs ora....fs.type 0/5 0/ ONLINE ONLINE node1
ora.scan1.vip ora....ip.type 0/0 0/0 ONLINE ONLINE node2
[grid@node1 ~]$ crsctl check crs
CRS-4638: Oracle High Availability Services is online
CRS-4537: Cluster Ready Services is online
CRS-4529: Cluster Synchronization Services is online
CRS-4533: Event Manager is online
[grid@node1 ~]$ olsnodes -n
node1 1
node2 2
[grid@node1 ~]$ crsctl query css votedisk
## STATE File Universal Id File Name Disk group
-- ----- ----------------- --------- ---------
1. ONLINE ae63de1fb2ae4fc8bf67d9b132ec65d5 (ORCL:CRS2) [CRS]
2. ONLINE 064d6bc958814fe8bf29c7301ae7b40d (ORCL:CRS1) [CRS]
3. ONLINE 6d499c6f22a14f41bff437487c6dc2f1 (ORCL:CRS3) [CRS]
Located 3 voting disk(s).
[root@node1 ~]# ip a show eth0
2: eth0: <BROADCAST,MULTICAST,UP,LOWER_UP> mtu 1500 qdisc pfifo_fast qlen 1000
link/ether 52:54:00:69:e8:f7 brd ff:ff:ff:ff:ff:ff
inet 192.168.1.51/24 brd 192.168.1.255 scope global eth0
inet 192.168.1.151/24 brd 192.168.1.255 scope global secondary eth0:2
inet6 fe80::5054:ff:fe69:e8f7/64 scope link
valid_lft forever preferred_lft forever
[root@node2 ~]# ip a show eth0
2: eth0: <BROADCAST,MULTICAST,UP,LOWER_UP> mtu 1500 qdisc pfifo_fast qlen 1000
link/ether 52:54:00:be:bc:58 brd ff:ff:ff:ff:ff:ff
inet 192.168.1.52/24 brd 192.168.1.255 scope global eth0
inet 192.168.1.50/24 brd 192.168.1.255 scope global secondary eth0:1
inet 192.168.1.152/24 brd 192.168.1.255 scope global secondary eth0:2
inet6 fe80::5054:ff:febe:bc58/64 scope link
valid_lft forever preferred_lft forever
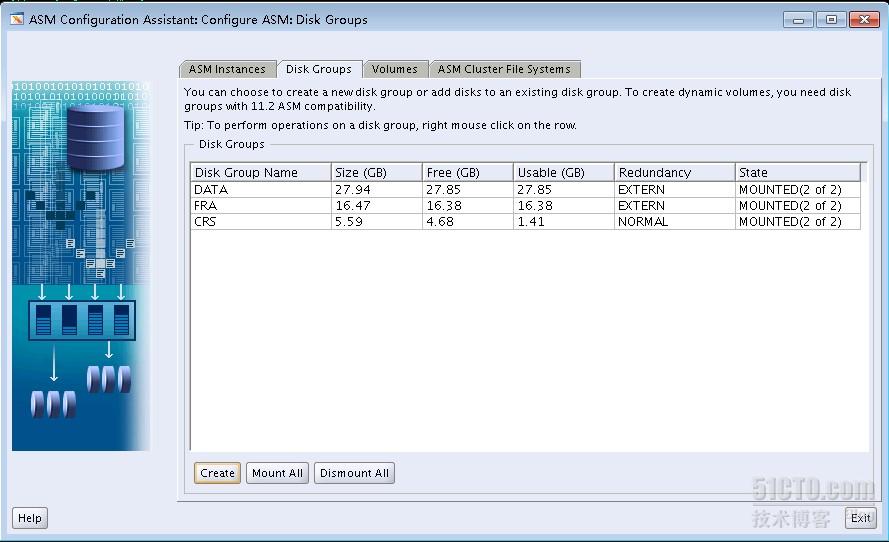
二:新建2个ASM磁盘组,DATA和FRA
[grid@node1 ~]$ asmca
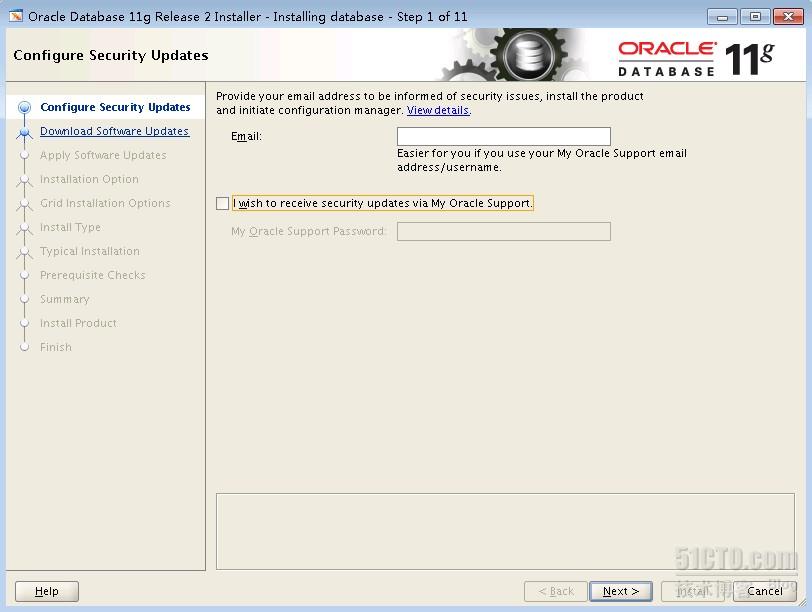
三:安装数据库软件
[root@node1 ~]# su - oracle
[oracle@node1 ~]$ cd database/
[oracle@node1 database]$ ./runInstaller


在rac各个节点上以root用户身份运行下面的脚本

四:创建数据库
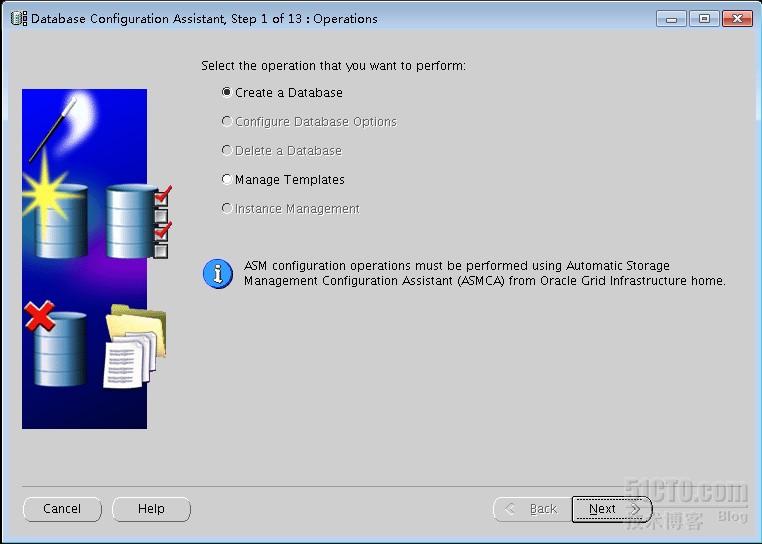
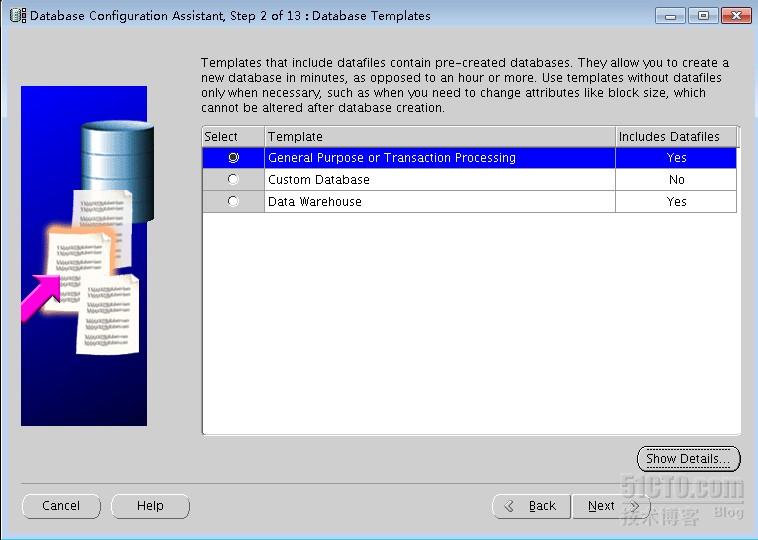
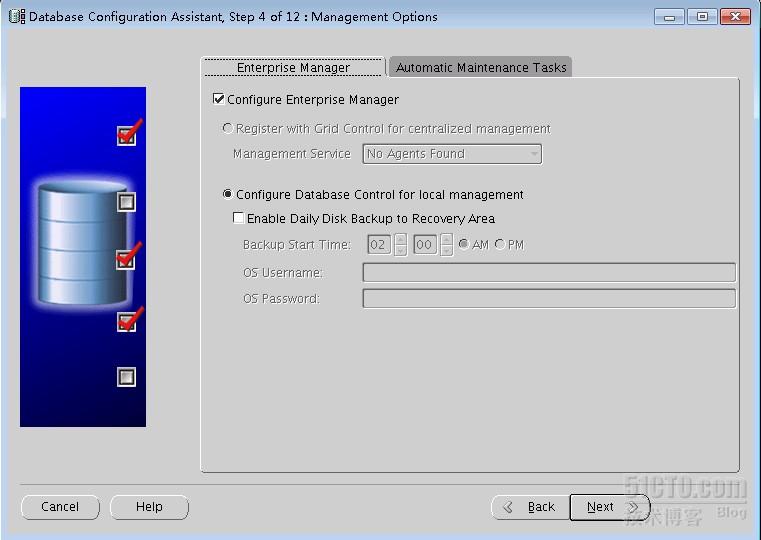
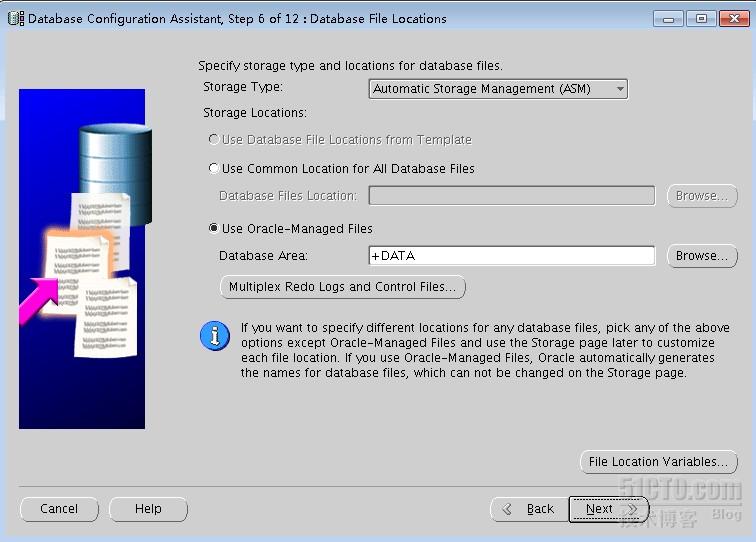
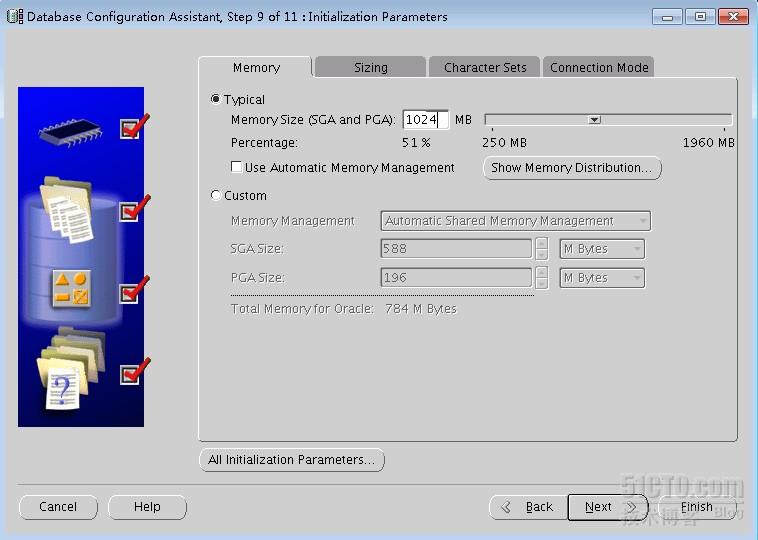
[oracle@node1 ~]$ dbca


五:连接集群数据库
[root@node1 ~]# su - oracle
[oracle@node1 ~]$ sqlplus /nolog
SQL*Plus: Release 11.2.0.3.0 Production on Sun Jan 22 22:20:16 2012
Copyright (c) 1982, 2011, Oracle. All rights reserved.
SQL> conn /as sysdba
Connected.
SQL> select name,open_mode from gv$database;
NAME OPEN_MODE
--------- --------------------
NODE READ WRITE
NODE READ WRITE
SQL> select host_name,instance_name,thread#,status,archiver from gv$instance;
HOST_NAME INSTANCE_NAME THREAD# STATUS ARCHIVE
-------------------- ---------------- ---------- ------------ -------
node1.yang.com node1 1 OPEN STARTED
node2.yang.com node2 2 OPEN STARTED
[oracle@node1 ~]$ sqlplus sys/Ab123456@192.168.1.50:1521/node.yang.com as sysdba
SQL*Plus: Release 11.2.0.3.0 Production on Sun Jan 22 23:17:14 2012
Copyright (c) 1982, 2011, Oracle. All rights reserved.
Connected to:
Oracle Database 11g Enterprise Edition Release 11.2.0.3.0 - 64bit Production
With the Partitioning, Real Application Clusters, Automatic Storage Management, OLAP,
Data Mining and Real Application Testing options
SQL> show user;
USER is "SYS"
SQL> archive log list;
Database log mode Archive Mode
Automatic archival Enabled
Archive destination USE_DB_RECOVERY_FILE_DEST
Oldest online log sequence 1
Next log sequence to archive 1
Current log sequence 1
- 部署Oracle 11.2.0.3 RAC
- 如何在区域集群上部署 Oracle RAC 11.2.0.3
- 如何在区域集群上部署 Oracle RAC 11.2.0.3
- Oracle Rac 部署详细过程
- linux系统部署oracle RAC(集群)
- Oracle Enterprise Linux 5.5(64位)部署安装Oracle 11g R2 RAC(11.2.0.1)教程
- oracle RAC 11.2.0.1升级11.2.0.3
- oracle 11gR2 11.2.0.3 RAC install
- oracle 11.2.0.3 rac hanganalyze 案例
- ORACLE LINUX 6.3 + ORACLE 11.2.0.3 RAC + VBOX安装文档
- 《Oracle RAC最佳部署手册 环境Oracle 11G R2 RAC for Linux》pdf
- Oracle 10g R2 RAC 安装部署文档
- Oracle 11g rac 生产环境部署详录
- 《ORACLE生产环境RAC下部署DG》-----Pure Love
- 升级Oracle RAC 11.2.0.3.0到 11.2.0.3.9
- Oracle 11.2.0.3.0 RAC升级到11.2.0.4.0
- oracle rac 11.2.0.3 升级到11.2.0.4
- Oracle 11.2.0.3 RAC环境 ORA-29280 错误解决办法
- 淘宝客网站架构设计方案
- 【黑马程序员】java中-------------内部类
- 深入浅出 java动态代理
- hibernate缓存机制详细分析
- struts2 json result param name 是 root 和includeProperties 时的微小区别
- 部署Oracle 11.2.0.3 RAC
- XCode环境变量及路径设置
- 递归删除文件,文件夹 linux
- jstl格式化日期标签
- Github for Windows使用图文教程
- eclipse的debug模式使用
- 下一代消费产品,穿戴式设备的理解
- HDU 4084 Campus Design 状压dp
- 一个成功的淘宝客网站具有哪些特点