【iOS】iOS开发TableView分组
来源:互联网 发布:js 大于等于0的整数 编辑:程序博客网 时间:2024/05/19 16:37
转载自 点击打开链接
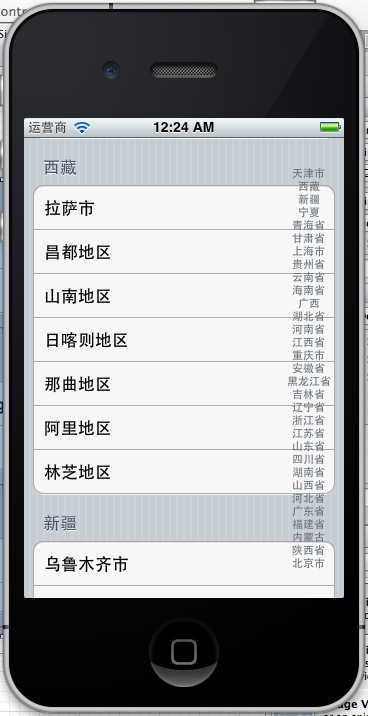
简介:上篇做了Table View的一些介绍 ,还做了一个TableView 的Plain样式的例子,这篇我们学习Grouped样式表的例子,还有用到前面读取Plist的知识(见iOS学习之 plist文件的读写),把Plist文件中的数据读取出来,放到Table view里展示出来。这里把全国30多个省份的城市,都列出来了,plist文件里还有城市的行政区,不过这里只列出省份和城市就ok了。效果图如下:

那么开始吧。
1、新建项目
新的一个名称为TableViewGrouped的Single View Application项目,打开项目的xib文件,拖拽TableView控件到xib文件中,摆正位置。
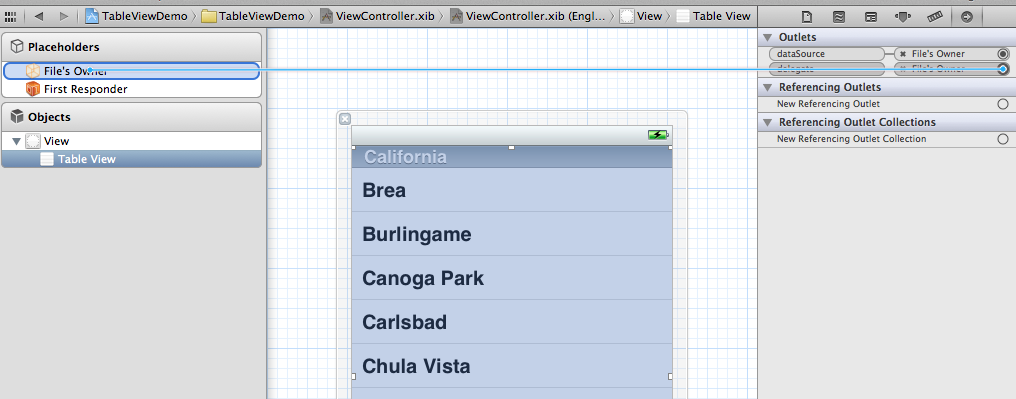
2、给新建的TableView找到他的归属
选中新添的TableView ,Connection Inspector,找到delegate和datasource,从它们右边的圆圈拉线到Files Owner图标上,参考上篇的第3步:
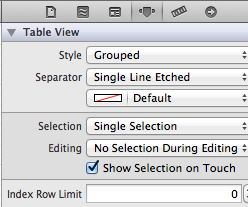
3、设置Table View的属性为Grouped样式
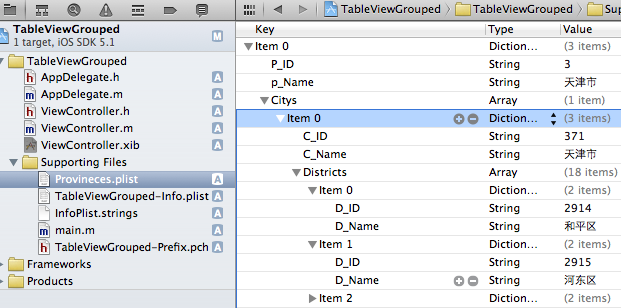
4、导入plist文件
从其他文件夹导入Provineces.plist文件,这个文件我会传到源代码里,大家都能方便使用了,包括全国30个省份和城市,还有城市的区也有。

5、添加.h .m的实现代码。
.h文件添加一个property
#import <UIKit/UIKit.h>@interface ViewController : UIViewController@property (strong, nonatomic) NSArray *provinces;@end
第一步从Plist读取出数据,第二步给Table添加数据。
在viewDidLoad读取Plist,plist是个array类型的,所以使用Array读取。
.m文件的实现。
@implementation ViewController@synthesize provinces;- (void)viewDidLoad{ [super viewDidLoad];// Do any additional setup after loading the view, typically from a nib. NSBundle *bundle = [NSBundle mainBundle]; NSString *plistPath = [bundle pathForResource:@"Provineces" ofType:@"plist"]; NSMutableArray *array=[[NSMutableArray alloc] initWithContentsOfFile:plistPath]; self.provinces = array;}
实现TableView表格部分,下面这些方法看方法名就能大概明白意思。
- 这个方法用来告诉表格有几个分组
- (NSInteger)numberOfSectionsInTableView:(UITableView *)tableView { return [provinces count];}
- 这个方法告诉表格第section个分段有多少行
- (NSInteger)tableView:(UITableView *)tableView numberOfRowsInSection:(NSInteger)section { NSArray *cities = [[provinces objectAtIndex:section]objectForKey:@"Citys"]; return [cities count];}
- 这个方法用来告诉某个分组的某一行是什么数据,返回一个UITableViewCell
- (UITableViewCell *)tableView:(UITableView *)tableView cellForRowAtIndexPath:(NSIndexPath *)indexPath { NSUInteger section = [indexPath section]; NSUInteger row = [indexPath row]; NSArray *cities = [[provinces objectAtIndex:section]objectForKey:@"Citys"] ; static NSString *GroupedTableIdentifier = @"cell"; UITableViewCell *cell = [tableView dequeueReusableCellWithIdentifier: GroupedTableIdentifier]; if (cell == nil) { cell = [[UITableViewCell alloc] initWithStyle:UITableViewCellStyleDefault reuseIdentifier:GroupedTableIdentifier]; } //给Label附上城市名称 key 为:C_Name cell.textLabel.text = [[cities objectAtIndex:row] objectForKey:@"C_Name"]; return cell; }
- 这个方法用来告诉表格第section分组的名称
- (NSString *)tableView:(UITableView *)tableView titleForHeaderInSection:(NSInteger)section { NSString *provincName = [[provinces objectAtIndex:section] objectForKey:@"p_Name"]; return provincName; }
- 重点介绍下这个方法:
- (NSArray *)sectionIndexTitlesForTableView:(UITableView *)tableView { //返回省份的数组 NSMutableArray *array = [NSMutableArray arrayWithCapacity:35]; for (NSDictionary *dict in provinces) { [array addObject:[dict objectForKey:@"p_Name"]]; } return array;}返回所有省份名称的数组 ,通过点击右边的省份名称能快速定位到这个省份的城市,也就是快速定位到这个section。
OK,运行。效果如下:
试试改成plain样式的分段TableView看看:

- 【iOS】iOS开发TableView分组
- [IOS]Tableview分组
- iOS tableView分组
- ios开发 tableview小结
- iOS开发 精简TableView
- iOS开发 自定义tableView样式(使用代码/使用Interface Builder)、分组显示、给TableView增加索引、给TableView增加SearchBar
- iOS开发 自定义tableView样式(使用代码/使用Interface Builder)、分组显示、给TableView增加索引、给TableView增加SearchBariOS开发 自定义tab
- IOS开发之TableView详解
- 【iOS开发系列】tableView详解
- iOS之TableView分组目录(快速索引)的使用
- iOS tableView动态创建分组及组内排序
- RN实现iOS tableview分组吸顶效果
- ios tableview
- iOS tableView
- TableView iOS
- ios tableview
- iOS---tableview
- [iOS]TableView
- C++对象布局及多态之虚成员函数调用
- 设计模式之桥接模式(Bridge)摘录
- ArrayList与LinkedList的简单比较
- iOS-调用系统的短信和发送邮件功能,实现短信分享邮件分享
- 交换两个数(不使用中间变量)
- 【iOS】iOS开发TableView分组
- 新浪微博API错误代码
- 判断点是否在三角形内部
- 使用hadoop编写日志分析MR程序
- volatile和synchronized 区别
- js获取的数据返回给servlet处理时出现乱码
- 启动HIVE 服务报错 HWI WAR file not found
- JAVA中堆栈和内存分配
- 矩阵乘积验证器