在Oracle Linux 6.5上安装Oracle 10gR2 的最佳实践【Maclean版】
来源:互联网 发布:阅读题软件 编辑:程序博客网 时间:2024/05/01 01:48
转自:http://www.askmaclean.com/archives/2013/12
本安装文档的脚本下载: 在Oracle Linux 6.5上安装Oracle 10gR2 的最佳实践【Maclean版】脚本
安装成功的OS的RPM列表下载
有很多同学来咨询如何顺利在ORACLE/REDHAT linux 6上安装ORACLE 10gR2,由于10gR2的初始版本10.2.0.1是在2005年发布的,而最早的Linux 6也是在2010年发布的(Red Hat Enterprise Linux 6 (Santiago), 10 November 2010 Uses Linux kernel 2.6.32-71[17]) ,所以 10.2.0.1 对redhat/oracle linux 6都是不支持的; 即便是2010年发布的10.2.0.5对linux 6的兼容性也不佳。
这里最主要需要解决的几个问题:
1、 对于ORACLE 10gR2而言编译LINK需要用到GCC 3.4,但是Linux 6默认用的是GCC 4.4,所以需要安装必要的gcc兼容包
2、需要安装必要的libX 32bit的包 libXp.i686 libXt.i686 libXtst.i686等,保证java图形化界面启动
3、Linux 6的Network eth0等网络接口默认不启动
4、Linux 6的Firewall和SELINUX 现在不会在FirstBoot时可以禁用,需要安装后手动禁用
下面是安装步骤:
首先下载和在Vbox上安装Linux 6,我们选择ORACLE Linux 6.5,介质下载地址:http://pan.baidu.com/s/1jG1DfM2 即V41362-01.iso
安装过程与之前的 【视频教学】Maclean教你用Vbox在Linux 6.3上安装Oracle 11gR2 RAC http://t.askmaclean.com/thread-2007-1-1.html 是一样的,可以直接参考该视频
安装时指定Software包时选择Desktop即可


Linux 6不能用root登录图形化界面,需要在Firstboot时创建一个用户并登录图形化界面,登录后点击右上角的网络图标,并启用默认的连接 connect automatically 并设置静态IP


设置完IP 后注意/etc/hosts中的设置要正确:
[root@mac02 ~]# cat /etc/hosts127.0.0.1 localhost localhost.localdomain localhost4 localhost4.localdomain4::1 localhost localhost.localdomain localhost6 localhost6.localdomain6192.168.1.109 mac02 mac02.oracle.com[root@mac02 ~]# ping mac02PING mac02 (192.168.1.109) 56(84) bytes of data.64 bytes from mac02 (192.168.1.109): icmp_seq=1 ttl=64 time=0.026 ms64 bytes from mac02 (192.168.1.109): icmp_seq=2 ttl=64 time=0.039 ms^C--- mac02 ping statistics ---2 packets transmitted, 2 received, 0% packet loss, time 1053msrtt min/avg/max/mdev = 0.026/0.032/0.039/0.008 ms[root@mac02 ~]# ping mac02.oracle.comPING mac02 (192.168.1.109) 56(84) bytes of data.64 bytes from mac02 (192.168.1.109): icmp_seq=1 ttl=64 time=0.020 ms64 bytes from mac02 (192.168.1.109): icmp_seq=2 ttl=64 time=0.041 ms^Cwww.askmaclean.com--- mac02 ping statistics ---2 packets transmitted, 2 received, 0% packet loss, time 1326msrtt min/avg/max/mdev = 0.020/0.030/0.041/0.011 ms
注意这里禁用FireWALL


禁用FIREWALL ,后 还需要禁用SELINUX,修改/etc/selinux/config
将SELINUX=enforced 修改为SELINUX=disabled
之后init 6 重启OS
重启完成后 虚拟机再次加载之前下载的V41362-01.iso镜像,之后我们要安装一系列必要的rpm包

以下配置YUM:
[root@mac02 ~]# mkdir /media/disk[root@mac02 ~]# mount /dev/cdrom /media/diskmount: block device /dev/sr0 is write-protected, mounting read-only[root@mac02 ~]# [root@mac02 ~]# cd /media/disk/touch /etc/yum.repos.d/public-yum-el6.repovi /etc/yum.repos.d/public-yum-el6.repo[oel6]name = Enterprise Linux 6.5 DVDbaseurl=file:///media/disk/Server/gpgcheck=0enabled=1
并删除 默认的YUM文件:rm /etc/yum.repos.d/public-yum-ol6.repo
下面安装RPM包,必须安装如下的glibc.i686 libXp.i686 libXt.i686 libXtst.i686否则图形化界面起不来, 注意以下少了任意一个都可能导致编译出错:
su - root yum install oracle-rdbms-server-11gR2-preinstall yum install glibc.i686 yum install libXp.i686 yum install libXt.i686 yum install libXtst.i686 yum install glibc-devel.i686 yum install compat-libstdc++-296.i686 yum install compat-libstdc++-33.i686 yum install libstdc++.i686 yum install libstdc++-devel.i686 yum install compat-gcc-34.x86_64
上面安装完oracle-rdbms-server-11gR2-preinstall 后,已经拥有oracle用户,配置密码并创建目录:
[root@mac02 yum.repos.d]# passwd oracle[root@mac02 yum.repos.d]# mkdir /s01[root@mac02 yum.repos.d]# chown oracle:oinstall /s01[root@mac02 yum.repos.d]# su - oracle[oracle@mac02 ~]$ iduid=54321(oracle) gid=54321(oinstall) groups=54321(oinstall),54322(dba)[oracle@mac02 ~]$ ulimit -acore file size (blocks, -c) 0data seg size (kbytes, -d) unlimitedscheduling priority (-e) 0file size (blocks, -f) unlimitedpending signals (-i) 31449max locked memory (kbytes, -l) 64max memory size (kbytes, -m) unlimitedopen files (-n) 1024pipe size (512 bytes, -p) 8POSIX message queues (bytes, -q) 819200real-time priority (-r) 0stack size (kbytes, -s) 10240cpu time (seconds, -t) unlimitedmax user processes (-u) 2047virtual memory (kbytes, -v) unlimitedfile locks (-x) unlimited
上传 ORACLE 10g介质 10.2.0.1 10201_database_linux_x86_64.cpio 和 10.2.0.5 patchset p8202632_10205_Linux-x86-64.zip 2个介质
(注意 在国内下载到这些介质是很容易的事,如果你找不到,那么只能说你不太适合这个行当。。。)
以Oracle用户登录 虚拟机图形化界面(必须是ORACLE用户登录图形化界面)
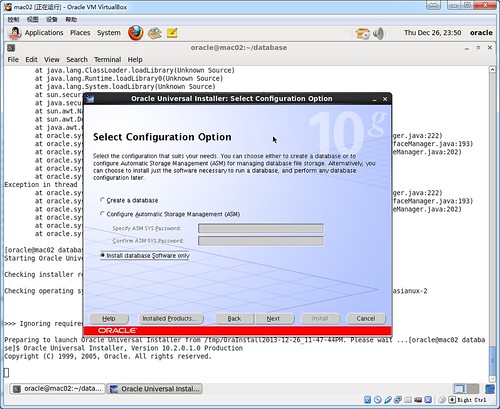
解压安装包[oracle@mac02 ~]$ cpio -idvm < 10201_database_linux_x86_64.cpio [oracle@mac02 ~]$ unzip p8202632_10205_Linux-x86-64.zip [oracle@mac02 ~]$ cd database/[oracle@mac02 database]$ ./runInstaller -ignoreSysPrereqsrunInstaller 启动安装10.2.0.1 的安装界面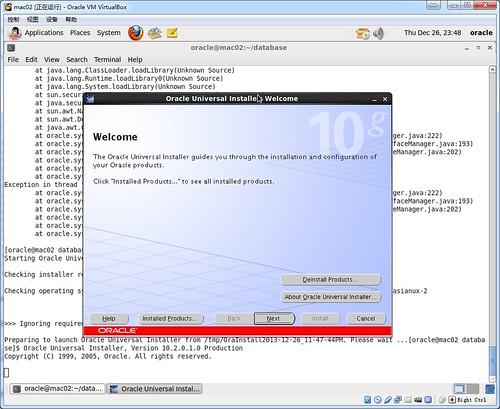
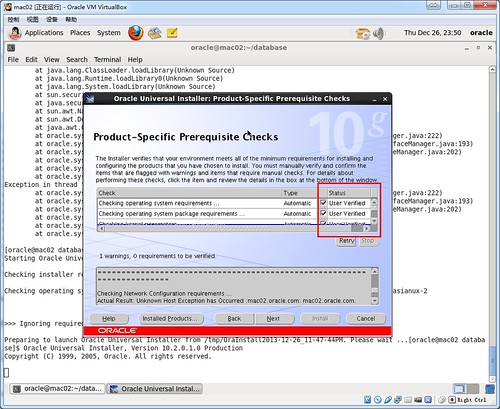
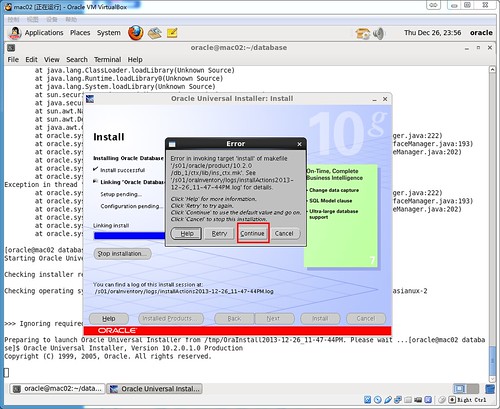
注意由于10.2.0.1 并不认证Linux 6 所以编译过程中出错很正常,直接点击continue继续即可,到10.2.0.5升级时我们保证升级的LINK全部顺利通过即可,无需在此处纠结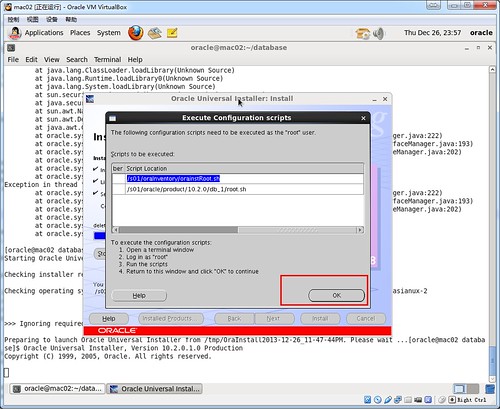
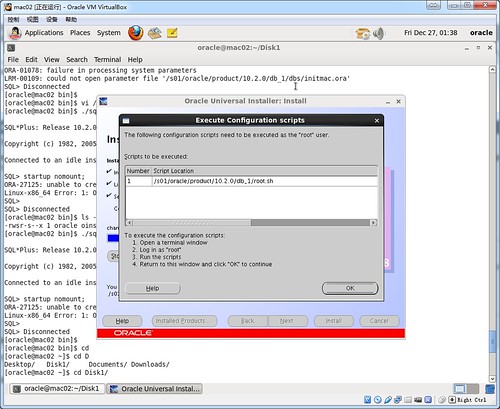
安装最后一步需要 root 用户执行2个脚本,必须要执行:
[root@mac02 ~]# /s01/oraInventory/orainstRoot.sh Changing permissions of /s01/oraInventory to 770.Changing groupname of /s01/oraInventory to oinstall.The execution of the script is complete[root@mac02 ~]# [root@mac02 ~]# /s01/oracle/product/10.2.0/db_1/root.shRunning Oracle10 root.sh script...The following environment variables are set as: ORACLE_OWNER= oracle ORACLE_HOME= /s01/oracle/product/10.2.0/db_1Enter the full pathname of the local bin directory: [/usr/local/bin]: Copying dbhome to /usr/local/bin ... Copying oraenv to /usr/local/bin ... Copying coraenv to /usr/local/bin ...Creating /etc/oratab file...Entries will be added to the /etc/oratab file as needed byDatabase Configuration Assistant when a database is createdFinished running generic part of root.sh script.Now product-specific root actions will be performed.
返回oracle的虚拟机图形界面窗口 , 安装10.2.0.5 补丁:
[oracle@mac02 ~]$ cd Disk1/
[oracle@mac02 Disk1]$ ./runInstaller

最后切换到root 执行root.sh
[root@mac02 logs]# /s01/oracle/product/10.2.0/db_1/root.sh
完成上述步骤后 为oracle 用户设置环境变量
su - oraclevi .bash_profileexport ORACLE_HOME=/s01/oracle/product/10.2.0/db_1export ORACLE_BASE=/s01export ORACLE_SID=MACLEANexport PATH=$ORACLE_HOME/bin:$ORACLE_HOME/OPatch:$PATHexport LD_LIBRARY_PATH=$ORACLE_HOME/libexport ORA_NLS10=$ORACLE_HOME/nls/dataexport NLS_LANG=American_America.AL32UTF8
Oracle用户在图形化界面上LOGOUT 后再次登录 以便使profile生效
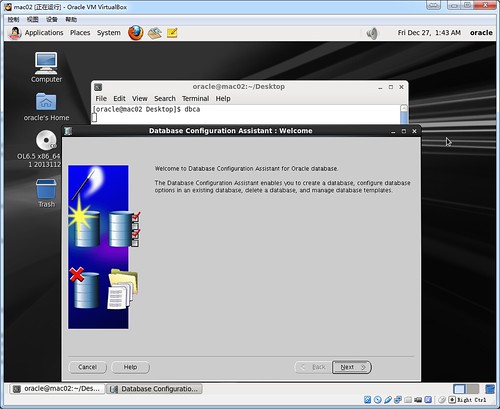
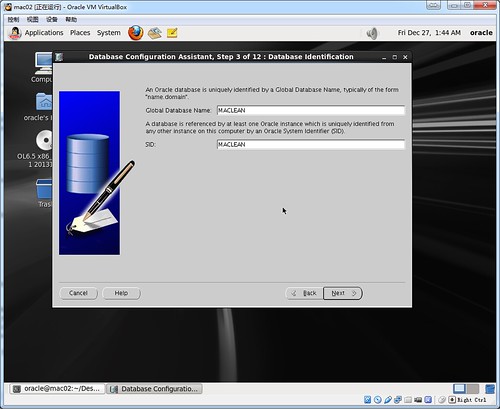
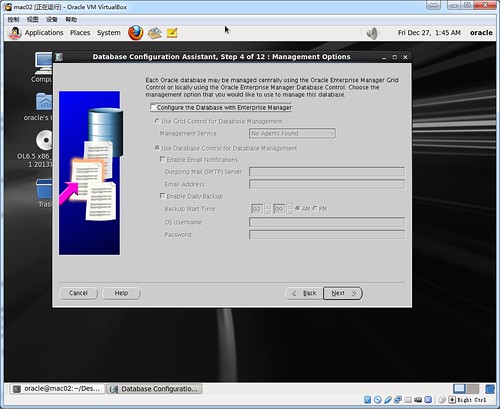
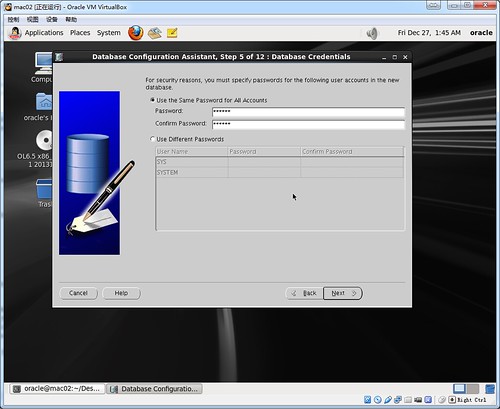
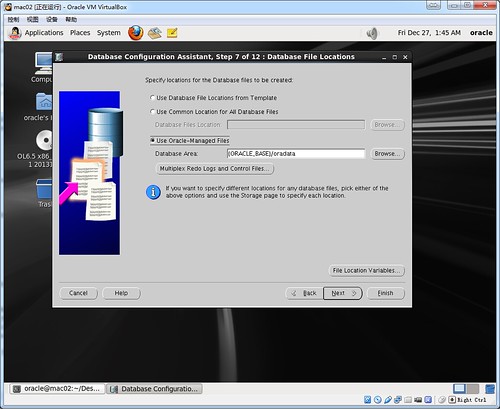
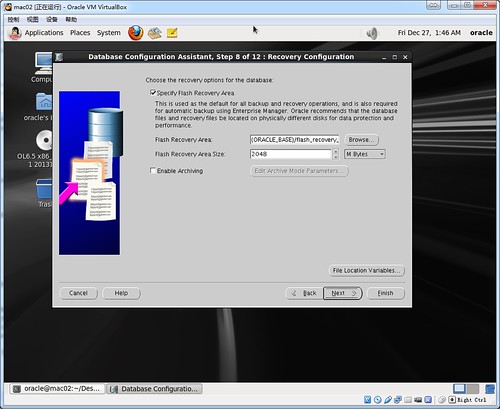
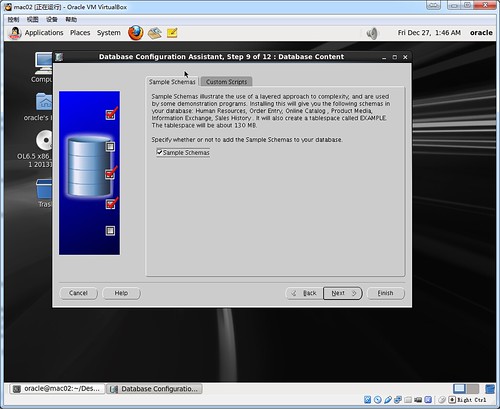
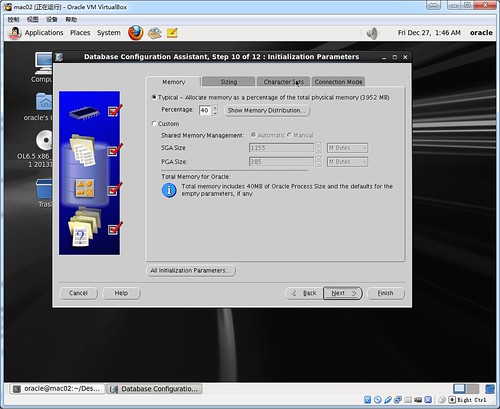
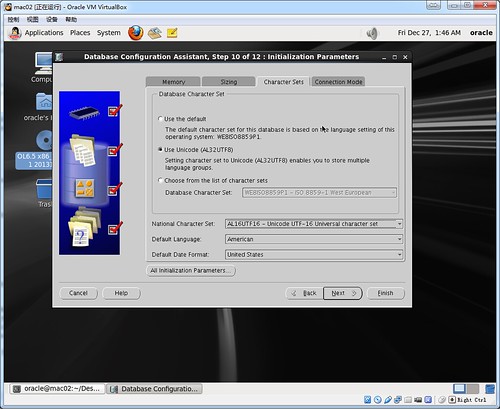
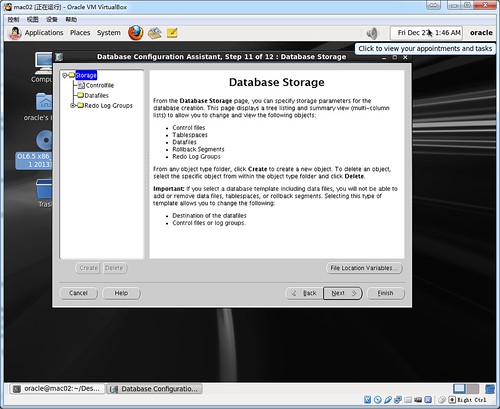
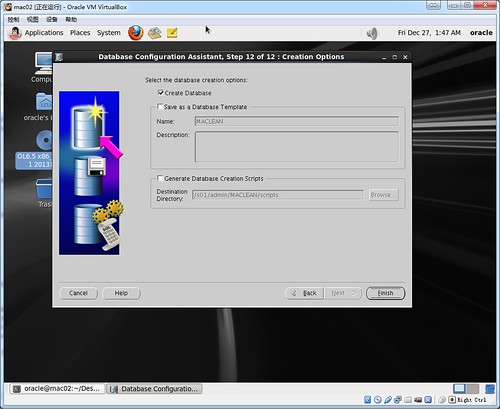
之后就可以用dbca建库了:
oracle用户登录图形化界面(必须!),打开terminal 输入dbca
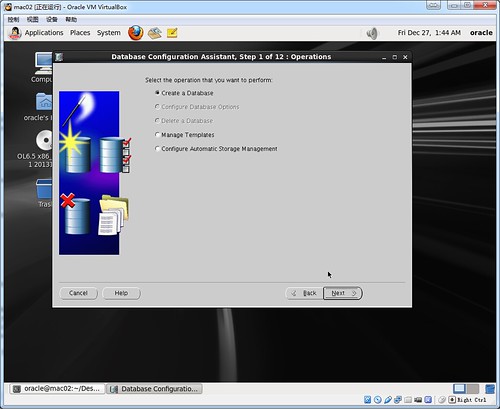
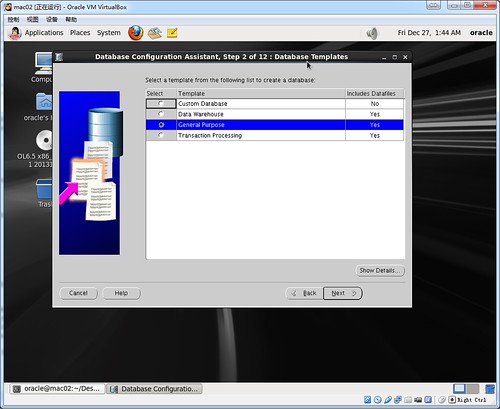
输入你之前指定的ORACLE_SID的信息,如上面的MACLEAN

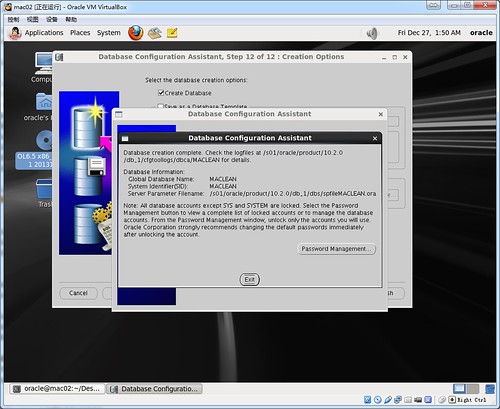
dbca完成后,可以登录已创建的MACLEAN实例了:
SQL> select * from v$version;BANNER----------------------------------------------------------------Oracle Database 10g Enterprise Edition Release 10.2.0.5.0 - 64biPL/SQL Release 10.2.0.5.0 - ProductionCORE 10.2.0.5.0 ProductionTNS for Linux: Version 10.2.0.5.0 - ProductionNLSRTL Version 10.2.0.5.0 - ProductionSQL> SQL> !uname -aLinux mac02.oracle.com 3.8.13-16.2.1.el6uek.x86_64 #1 SMP Thu Nov 7 17:01:44 PST 2013 x86_64 x86_64 x86_64 GNU/LinuxSQL> !cat /etc/issue Oracle Linux Server release 6.5Kernel \r on an \mSQL> !lsnrctl statusLSNRCTL for Linux: Version 10.2.0.5.0 - Production on 27-DEC-2013 01:54:03Copyright (c) 1991, 2010, Oracle. All rights reserved.Connecting to (ADDRESS=(PROTOCOL=tcp)(HOST=)(PORT=1521))STATUS of the LISTENER------------------------Alias LISTENERVersion TNSLSNR for Linux: Version 10.2.0.5.0 - ProductionStart Date 27-DEC-2013 01:52:06Uptime 0 days 0 hr. 1 min. 57 secTrace Level offSecurity ON: Local OS AuthenticationSNMP OFFListener Log File /s01/oracle/product/10.2.0/db_1/network/log/listener.logListening Endpoints Summary... (DESCRIPTION=(ADDRESS=(PROTOCOL=tcp)(HOST=mac02)(PORT=1521)))The listener supports no servicesThe command completed successfullySQL> alter system set local_listener='(DESCRIPTION=(ADDRESS=(PROTOCOL=tcp)(HOST=mac02)(PORT=1521)))';System altered.SQL> alter system register;System altered.SQL> !lsnrctl statusLSNRCTL for Linux: Version 10.2.0.5.0 - Production on 27-DEC-2013 01:54:43Copyright (c) 1991, 2010, Oracle. All rights reserved.Connecting to (ADDRESS=(PROTOCOL=tcp)(HOST=)(PORT=1521))STATUS of the LISTENER------------------------Alias LISTENERVersion TNSLSNR for Linux: Version 10.2.0.5.0 - ProductionStart Date 27-DEC-2013 01:52:06Uptime 0 days 0 hr. 2 min. 37 secTrace Level offSecurity ON: Local OS AuthenticationSNMP OFFListener Log File /s01/oracle/product/10.2.0/db_1/network/log/listener.logListening Endpoints Summary... (DESCRIPTION=(ADDRESS=(PROTOCOL=tcp)(HOST=mac02)(PORT=1521)))Services Summary...Service "MACLEAN" has 1 instance(s). Instance "MACLEAN", status READY, has 1 handler(s) for this service...Service "MACLEANXDB" has 1 instance(s). Instance "MACLEAN", status READY, has 1 handler(s) for this service...Service "MACLEAN_XPT" has 1 instance(s). Instance "MACLEAN", status READY, has 1 handler(s) for this service...The command completed successfully远程登录[oracle@mac02 ~]$ sqlplus system/oracle@mac02:1521/MACLEANSQL*Plus: Release 10.2.0.5.0 - Production on Fri Dec 27 01:55:14 2013Copyright (c) 1982, 2010, Oracle. All Rights Reserved.Connected to:Oracle Database 10g Enterprise Edition Release 10.2.0.5.0 - 64bit ProductionWith the Partitioning, OLAP, Data Mining and Real Application Testing options
- 在Oracle Linux 6.5上安装Oracle 10gR2 的最佳实践【Maclean版】
- 【视频教学】Maclean教你用Vbox在Linux 6.3上安装Oracle 11gR2 RAC
- 【视频教学】Maclean教你用Vbox在Linux 6.3上安装Oracle 11gR2 RAC
- 一步一步在Linux上安装Oracle 11gR2 RAC (1)
- 一步一步在Linux上安装Oracle 11gR2 RAC (2)
- 一步一步在Linux上安装Oracle 11gR2 RAC (3)
- 一步一步在Linux上安装Oracle 11gR2 RAC (4)
- 一步一步在Linux上安装Oracle 11gR2 RAC (5)
- 一步一步在Linux上安装Oracle 11gR2 RAC (6)
- 一步一步在Linux上安装Oracle 11gR2 RAC (7)
- 一步一步在Linux上安装Oracle 11gR2 RAC (1)
- 一步一步在Linux上安装Oracle 11gR2 RAC (2)
- 一步一步在Linux上安装Oracle 11gR2 RAC (3)
- 一步一步在Linux上安装Oracle 11gR2 RAC (4)
- 一步一步在Linux上安装Oracle 11gR2 RAC (5)
- 一步一步在Linux上安装Oracle 11gR2 RAC (6)
- 一步一步在Linux上安装Oracle 11gR2 RAC (7)
- 使用 VMware 在 Linux 5.1 上安装、升级及维护 Oracle 10gR2 RAC
- AWS Ubuntu下安装LAMP
- 稀疏矩阵A和B,其行数和列数对应相等,编写一个程序,计算A和B之和,假设稀疏矩阵采用三元组表示
- LeetCode: Spiral Matrix
- android项目两种构建方式的整合(Eclipse/idea和Android Studio)
- 解决了Cocoapods Undefined symbols for architecture _OBJC_CLASS_xxxx的问题,辛苦死我了,记录下之后有空在研究
- 在Oracle Linux 6.5上安装Oracle 10gR2 的最佳实践【Maclean版】
- Girl_iOS100天学iOS的第三天(Plist&UIPickerView)
- 输出好看的图形
- 安装mysql 5.5.8 Error Nr.1364 authentication_string
- 输入系统之led灯控制
- NodeJS会是昙花一现吗?
- Fragment之7____在Fragment 不能正常显示时显示Activity
- Yii1.1 优化URL之去掉index.php(ubuntu Apache2)
- JUnit4单元测试使用方法