ios 原生应用调用untiy 3D 模型
来源:互联网 发布:网络信息安全应急预案 编辑:程序博客网 时间:2024/06/05 22:39
============================================================
参考 http://www.the-nerd.be/2014/08/06/add-unity3d-in-a-native-ios-application/
The problem
For a project I need to implement an augmented reality feature inside a native iOS application. We chose to go with Unity3D and Vuforia to do the augmented reality bit, as it’s free and lots of people are saying it’s the best solution. The only problem when working with Unity3D is that the exported iOS project is not easy to implement in an existing project as we only need Unity3D for 2 views inside a project with some dozen other native UIViews. I started looking around on different blogs and fora and noticed there were a lot of people asking the same question. Everybody has different approaches, some worked, some didn’t. A lot of these solutions worked under Unity 3, but are broke in Unity 4. So with this blogpost I hope to help some people out who are having troubles under Unity 4+ and Xcode 5+. I’ve put the Xcode and Unity3D project on GitHub, so feel free to download it, copy and/or alter it to fit your needs! Hope it can save you some hours I’ve lost while trying to get it to work ![]()
tl;dr
Read it … bitch ![]()
The Unity3D part
Well … if you want to use Unity3D in your project you’ll first have to create the Unity3D part! Open up Unity3D and create a new project. I’ll call mine ‘NativeUnity’. When Unity3D creates a new project, you get an empty scene. Go to File > Save to save the scene. I’ll call it ‘scene1′. Go nuts and put some content in it so we can actually see something. 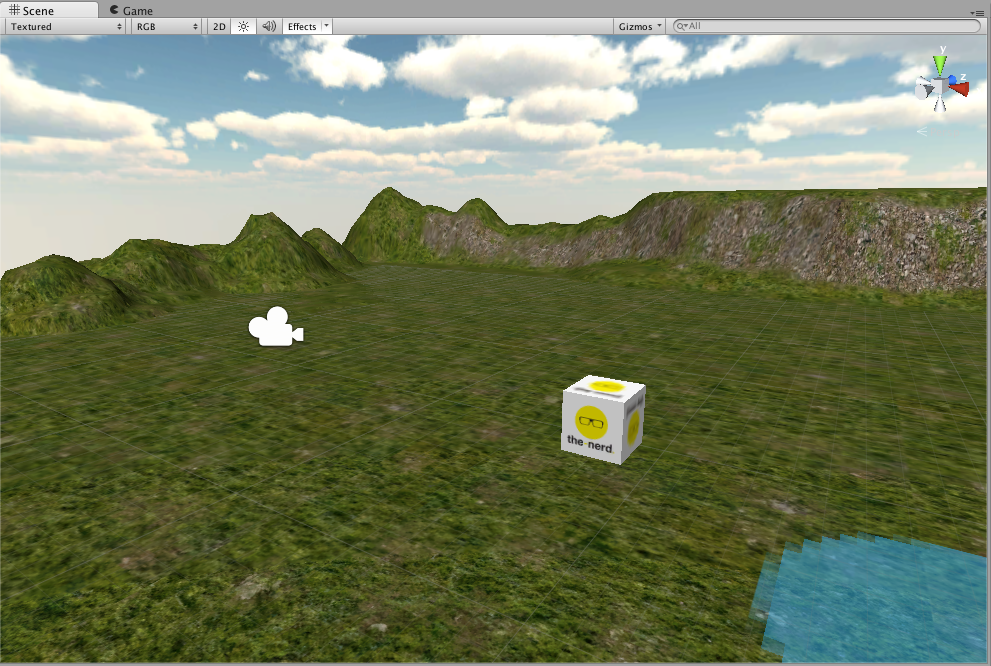 Ok, now let’s build this so it can run on an iOS device and we know for sure that everything works correctly. Go to File > Build Settings. Click on ‘Add Current’ to add the current scene to your build.
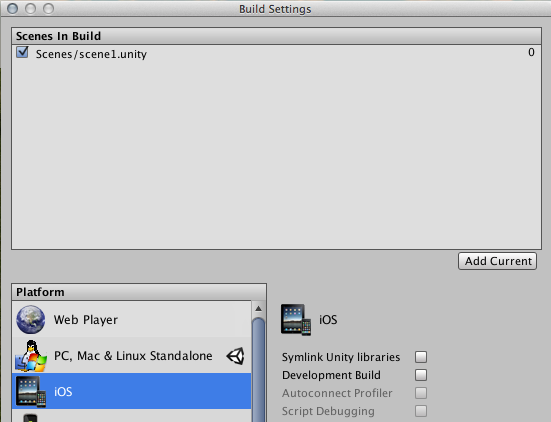
Next choose iOS as your platform and click on ‘Player Settings’ at the bottom of the dialog. This will open the ‘Inspector panel’ and let you set all the settings for the Xcode project. In my case I will change the following settings (but they can -and probably will- be different of yours).
- Default orientation : Landscape right
- Bundle identifier: be.thenerd.unityNative
- Target device: iPad
- Target iOS version: 7.0
Now click on ‘Build & Run’ in the Build Settings dialog. Unity will ask you where to put the Xcode project. I will put it in a folder called ‘ios-builds’ outside of my Unity project and call it ‘unity-native-ipad’. 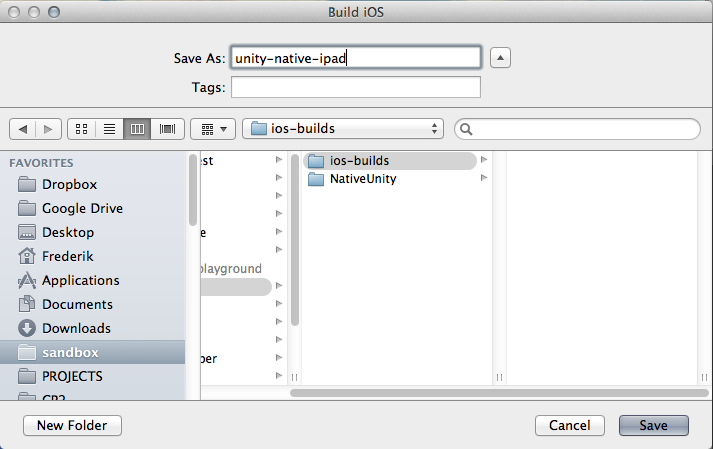 Click ‘Save’ and let Unity sprinkle its magic and create the Xcode project (this can take some time). If all goes well, your app will boot on your device and you should see the scene you’ve made.
 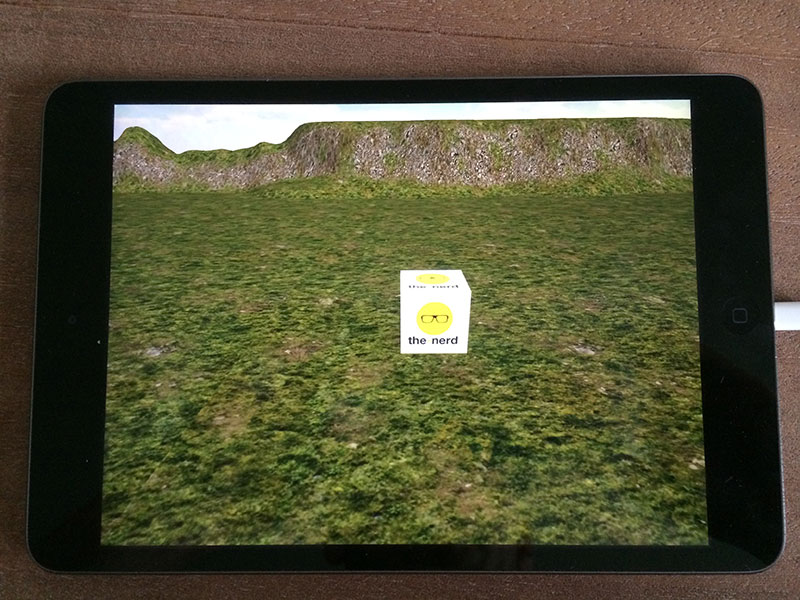 Ok … so that’s that, but how can we now use this view as a part of normal native app instead of a Unity app. First we’ll need to override the ‘UnityAppController’ class with our own version. To do this we need to create in the Assets folder of our Unity project a ‘Plugins’ folder and inside this folder add a ‘iOS’ folder. So your structure needs to look like this:
- Assets
- Plugins
- iOS
- Plugins
Make sure you name everything correct otherwise it will not work! Unity checks if these folders exists and copy all their contents to the Xcode project. You can read more about this if you are interested on this page at the ‘Automated plugin integration’ section. Now you need to create a file in the iOS folder. I’ll call mine TNAppController.mm, but you can call yours whatever you want it to be. Now do another build in Unity, and you should see the file appear in your Xcode project in the Libraries folder.
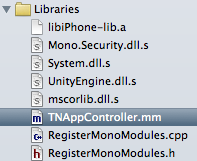
Now the important part: don’t edit the file in this Xcode project, because it will be overwritten every time you do a new Unity build! Instead go to Unity and double-click on the file (it will also open in Xcode). Now we can override Unity’s AppController class with the following code.
Especially the IMPL_APP_CONTROLLER_SUBCLASS bit is important, as this is the way to set a custom app controller! What happens is IMPL_APP_CONTROLLER_SUBCLASS is defined in UnityAppController.h and this will set our AppController as the one to be loaded! Now in the ‘createViewHierarchyImpl’ methode we can set our own view hierarchy. So for this example I’ll create a UINavigationController which has 3 view controllers.
- A hello view controller
- A unity view controller with our scene
- A goodbye view controller
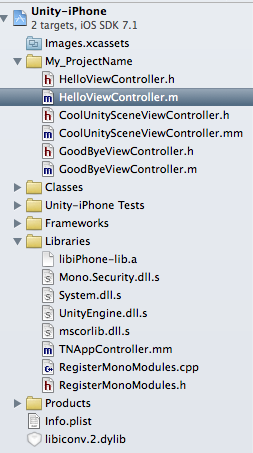
First we’ll need to create the different view controllers in our Unity Xcode project. So open that Xcode project. To keep the Unity code (which resides in the ‘Classes’) folder separated from our code I create a group called ‘My_Projectname’ (of course you can change this :)). In this folder I’ll create the 3 view controllers. Make sure to rename yourCoolUnitySceneViewController.m file to CoolUnitySceneViewController.mm! This is because we will need to run some Objective-C++ code in that file!
- HelloViewController (subclass UIViewController)
- CoolUnitySceneViewController (subclass UIViewController)
- GoodByeViewController (subclass UIViewController)
So your structure should look something like this
. 
In HelloViewController.m we’ll add a button to go to the next view controller in the viewDidLoad: method.
Now go to the TNAppController.mm file in the same project (so the Unity project). Because of the code hinting it’s easier to write the code here at this point and then just copy it over to the actual file in the Unity plugins folder (but don’t build in the meanwhile or it will be overwritten!). In the ‘createViewHierarchyImpl’ method we’ll first set the ‘_rootController’ property to an instance of UIViewController and set the ‘_rootView’ property to an empty view. Then set the _rootView property as the view of the _rootController.
Now we can create the HelloViewController (don’t forget to import the header file at the top).
We want to push this onto an UINavigationController object, but we first need to create it. Create a private property for the navigation controller .
Let’s create the navigation controller and set the hello view controller as the root view controller. Then we can add the navigation controller’s view as a subview of the _rootView.
Ok, that’s it. Now copy the contents of this file to the TNAppController file in your Unity project. Now go back to your Unity project and hit ⌘+b to build again. The TNAppController file will now be overwritten, but the files in our ‘My_ProjectName’ will be untouched! If all goes well, you should see the following. 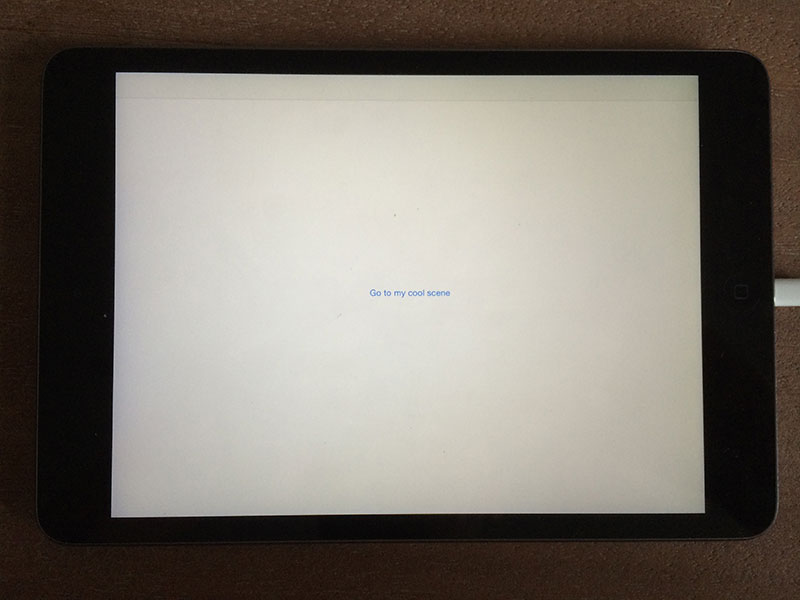 Now the part you have been waiting for (I guess …), let’s hook up a view controller which loads the Unity3D scene. Go to your CoolUnitySceneViewController.h file and import the following headers.
Now go to the implementation file (CoolUnitySceneViewController.mm) and locate the viewDidLoad: method and add this bit of code.
That’s it … we grab the unityView property of the AppController (which we get via the utility method ‘GetAppController’ defined in UnityAppController.h and add it to our view. Then we add a button which lays on top of the unity view. When we click on this button we execute the goToLastScene method and there we will load the last view controller (don’t forget to import the view controller at the top of the file).
In the viewDidLoad: method of GoodByeViewController you can now add the following code.
Now run the app again and you should see the following screens if you click on the buttons. 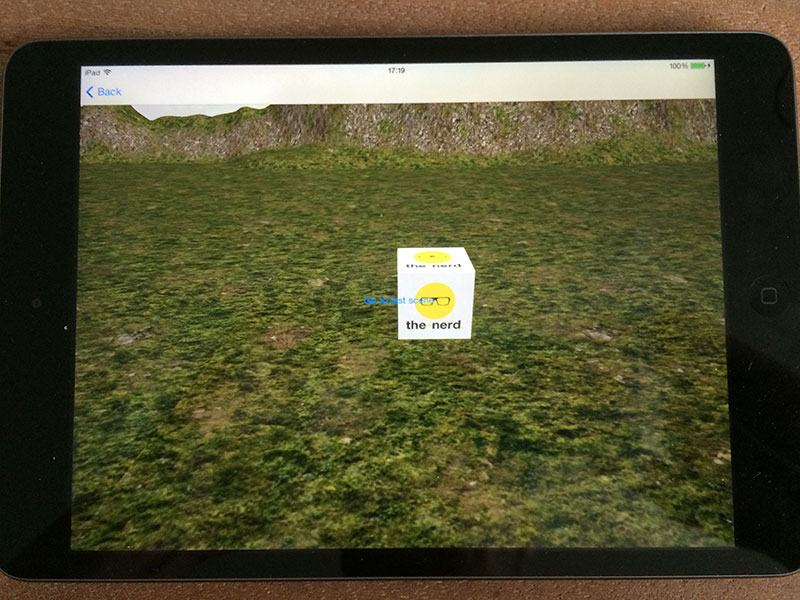
 I hope this will help some of you out! If you have any remarks, please put them in the comments! I’ve only started working with Unity since yesterday, so it could be there is an easier method, but I kinda like this one already!
I’ve put all the code on GitHub, so you can check out the project. For the iPhone project I only uploaded the files I’ve mentioned above, because otherwise the folder was 450MB big!
Reference material
http://forum.unity3d.com/threads/unity-appcontroller-subclassing.191971/
http://forum.unity3d.com/threads/unity-4-5-post-process-build-player-iphone_view-m.248400/
- ios 原生应用调用untiy 3D 模型
- untiy 3D 创建角色
- untiy 3d ShaderLab_第4章_基本的光照模型
- untiy 3d ShaderLab读后感_0_目录
- untiy 2d游戏平面直角坐标系的旋转应用
- iOS 载入3d模型 OpenGL ES
- iOS OpenGL 加载3D模型
- react调用原生iOS方法
- untiy 2D角色控制器
- Imode平台下使用原生数据创建3D模型_旋转
- untiy 简单的shader应用
- js调用Android、ios原生代码
- React-Native 原生模块(iOS)调用
- unity调用ios原生视频播放
- QT-QML调用IOS原生通讯录
- React-Native调用iOS原生方法
- iOS 调用系统原生拨打电话
- H5 调用ios 原生方法 思路
- Core Image Programming Guide--图像编程指南
- 第十七周项目四(1):日期结构体:该年第几天?
- 真机调试问题,看不到logcat信息
- windows下使用vs2005编译libevent 2.0.21
- xcode 5.1 下静态编译 libogg +speex
- ios 原生应用调用untiy 3D 模型
- C语言BFS(3)___Catch That Cow(Hdu 2717)
- iOS 的CoreImage
- 关于字母索引问题浅析(利用Pinyin4j工具包)
- lecture11-hopfiled网络与玻尔兹曼机
- ReportStudio进阶教程(三十九) - 转发器
- tomcat日志自动分割
- XMPP 服务器ejabberd-14.12本地搭建
- 在mVC 4 中用 unity 进行依赖注入