OSChina Maven使用说明
来源:互联网 发布:红蜘蛛软件卸载不了 编辑:程序博客网 时间:2024/04/30 22:16
1.安装 Maven
如果需要使用到 Maven ,必须首先安装 Maven , Maven 的下载地址在 Apache Maven 中有,您也可以点击这里下载 zip ,tar.gz。
下载好 Maven 后,需要简单安装下。将下载的 zip 或者 tar.gz 包解压到需要安装到的目录。 接下简单配置下环境变量:
1、新建环境变量 M2_HOME ,输入值为 Maven 的安装目录。
2、新建环境变量 M2 ,输入值为: %M2_HOME%\bin 。
3、将 M2 环境变量加入 Path 的最后,如: ;%M2% ;。
环境变量就这么简单配置下就可以了。打开命令行窗口输入 mvn -version 。可以看到如下输出:

看到以上输出,您的 Maven 环境就已经搭建好了。
2.修改 settings.xml
在 Maven 中使用 OSChina 的 Maven 服务还需要简单配置一下 Maven,在 Maven 的安装目录下的 conf 文件下有个 settings.xml 文件,接下来我们需要对这个文件做简单的修改,修改前您可以简单备份下该文件。 打开 settings.xml 文件,按下面内容修改。或者点击 settings.xml 下载
01<mirrors>02 <!-- mirror | Specifies a repository mirror site to use instead of a given03 repository. The repository that | this mirror serves has an ID that matches04 the mirrorOf element of this mirror. IDs are used | for inheritance and direct05 lookup purposes, and must be unique across the set of mirrors. | -->06 <mirror>07 <id>nexus-osc</id>08 <mirrorOf>*</mirrorOf>09 <name>Nexus osc</name>10 <url>http://maven.oschina.net/content/groups/public/</url>11 </mirror>12</mirrors>补充: 如果还需要osc的thirdparty仓库或多个仓库,需要如下修改:详情
01<mirrors>02 <!-- mirror | Specifies a repository mirror site to use instead of a given03 repository. The repository that | this mirror serves has an ID that matches04 the mirrorOf element of this mirror. IDs are used | for inheritance and direct05 lookup purposes, and must be unique across the set of mirrors. | -->06 <mirror>07 <id>nexus-osc</id>08 <mirrorOf>central</mirrorOf>09 <name>Nexus osc</name>10 <url>http://maven.oschina.net/content/groups/public/</url>11 </mirror>12 <mirror>13 <id>nexus-osc-thirdparty</id>14 <mirrorOf>thirdparty</mirrorOf>15 <name>Nexus osc thirdparty</name>16 <url>http://maven.oschina.net/content/repositories/thirdparty/</url>17 </mirror>18</mirrors>这里是配置 Maven 的 mirror 地址指向OSChina 的 Maven 镜像地址。 在执行 Maven 命令的时候, Maven 还需要安装一些插件包,这些插件包的下载地址也让其指向 OSChina 的 Maven 地址。修改如下内容。
01<profile>02 <id>jdk-1.4</id>03 04 <activation>05 <jdk>1.4</jdk>06 </activation>07 08 <repositories>09 <repository>10 <id>nexus</id>11 <name>local private nexus</name>12 <url>http://maven.oschina.net/content/groups/public/</url>13 <releases>14 <enabled>true</enabled>15 </releases>16 <snapshots>17 <enabled>false</enabled>18 </snapshots>19 </repository>20 </repositories>21 <pluginRepositories>22 <pluginRepository>23 <id>nexus</id>24 <name>local private nexus</name>25 <url>http://maven.oschina.net/content/groups/public/</url>26 <releases>27 <enabled>true</enabled>28 </releases>29 <snapshots>30 <enabled>false</enabled>31 </snapshots>32 </pluginRepository>33 </pluginRepositories>34</profile>如果您需要修改 Maven 的默认文件保存路径,需要在 settings.xml 文件中修改如下地方。
1<localRepository>F:/Maven/repo/m2/</localRepository>按照如上修改 settings.xml 之后,您就可以在自己的 Maven 中使用 OSChina 为您提供的 Maven 服务了。
3.使用 Maven 创建项目
您可以创建一个属于自己的 Maven 项目来简单测试一下 OSChina 的 Maven 库。创建 Maven 项目很简单,只需要简单一行命令就可以搞定。
下面是创建 Maven 项目的命令:
1mvn archetype:create -DgroupId=oschina -DartifactId=simple -DpackageName=net.oschina.simple -DarchetypeArtifactId=maven-archetype-webapp -DinteractiveMode=false其中 -DarchetypeArtifactId=maven-archetype-webapp 代表创建一个简单的 webapp 项目。至于其他参数的意思,您可以查看下 Maven 的相关文档。 在您需要创建 Maven 项目的文件夹下用命令行执行以上命令。可以看到如下输出: 
如果顺利创建成功的话,你会看到如下输出:
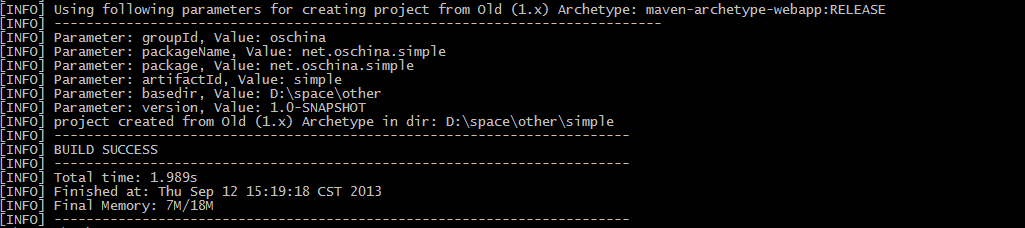
如果创建失败,就可能需要您去 Google 一下了。创建项目的时候,Maven 会下载一些需要用到的 Maven 插件。
4.添加包依赖
因为只是简单介绍下使用 OSChina 的 Maven 库,关于 Maven 的项目编译,打包,测试,发布等具体细节就不多介绍了,您可以去查看 Maven 的相关文档。
跟ant一样,Maven 也需要通过 xml 来配置。在项目的根目录下有一个 pom.xml 文件。
01<project xmlns="http://maven.apache.org/POM/4.0.0" xmlns:xsi="http://www.w3.org/2001/XMLSchema-instance"02 xsi:schemaLocation="http://maven.apache.org/POM/4.0.0 http://maven.apache.org/maven-v4_0_0.xsd">03 <modelVersion>4.0.0</modelVersion>04 <groupId>oschina</groupId>05 <artifactId>oschina.simple</artifactId>06 <packaging>war</packaging>07 <version>1.0</version>08 <name>oschina.simple Maven Webapp</name>09 <url>http://maven.apache.org</url>10 <dependencies>11 <dependency>12 <groupId>junit</groupId>13 <artifactId>junit</artifactId>14 <version>3.8.1</version>15 <scope>test</scope>16 </dependency>17 </dependencies>18 <build>19 <finalName>oschina.simple</finalName>20 </build>21</project>在 pom.xml 中加入您需要添加的包,如果您需要查找依赖包有哪些版本,可以在 OSChina Maven 搜索。比如输入 jedis 的结果会如下: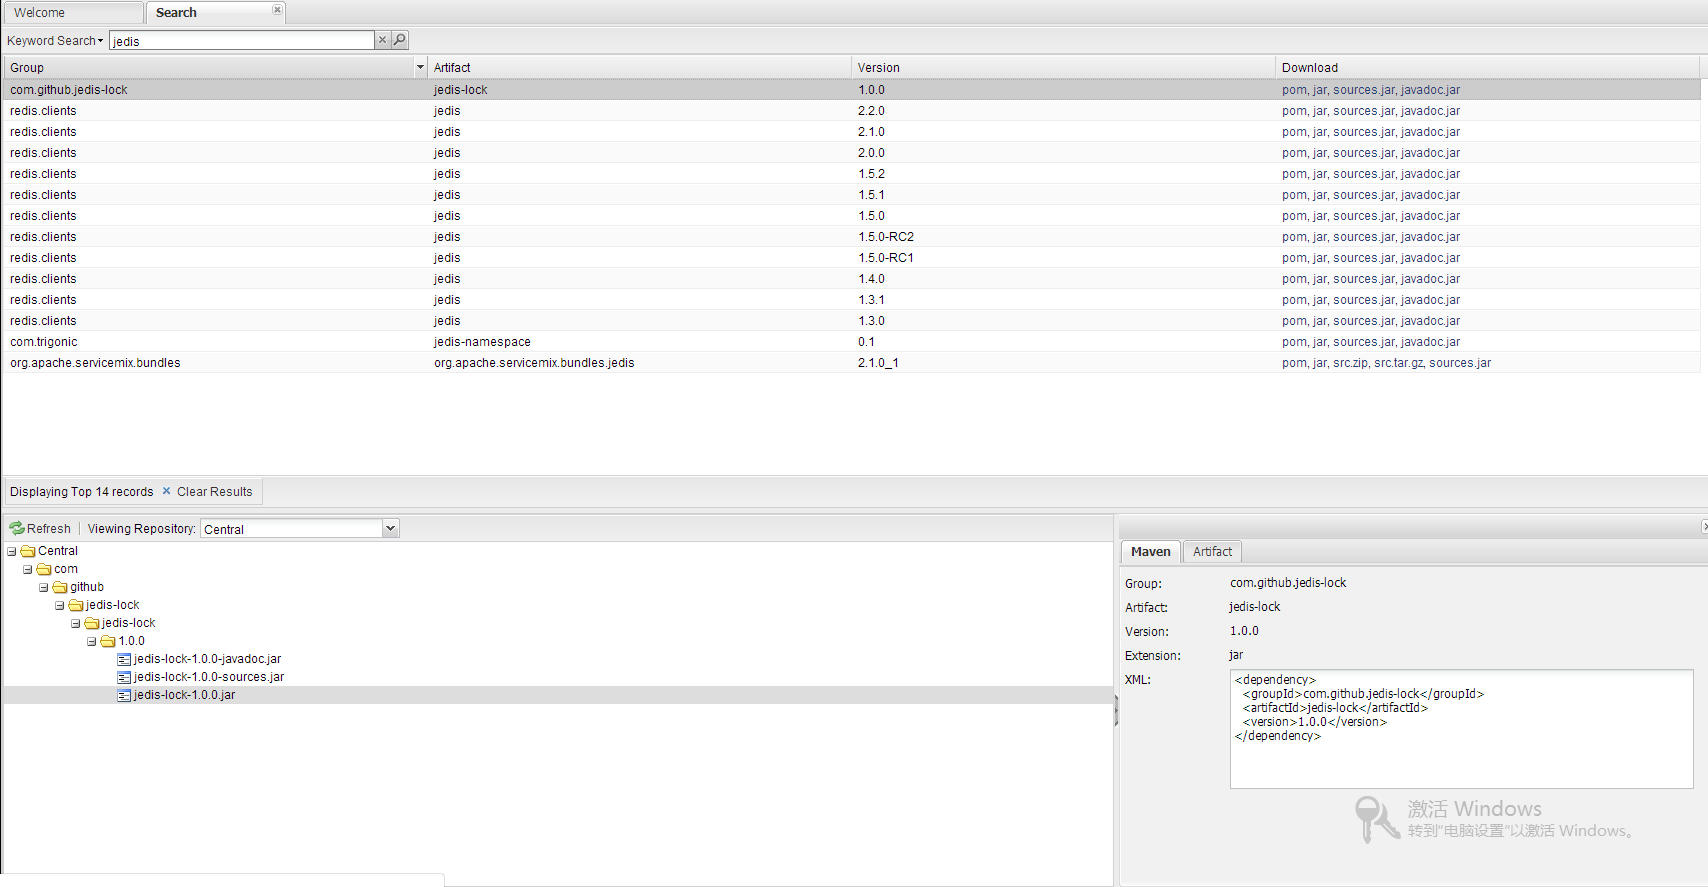
在右下角的 Maven 标签下可以看到当前选中的版本的依赖 xml,copy 该依赖 xml 到 pom.xml 的 dependencies 结点下。如果需要其他依赖包,您也继续搜索。当然,有些偏门的 jar 可能没有,这主要可能是它没有提交到 Maven 的中央库中。
5.将项目安装到本地 repository
添加好包的依赖之后,您就可以开始在您的 Maven 项目下开始工作了。如果一切准备就绪,您可能需要将项目安装到本地 repository 。
执行命令: mvn clean & mvn install 就可以把项目安装到您配置的本地镜像地址 .m2/repository 下了。 执行命令可以看到如下输出: 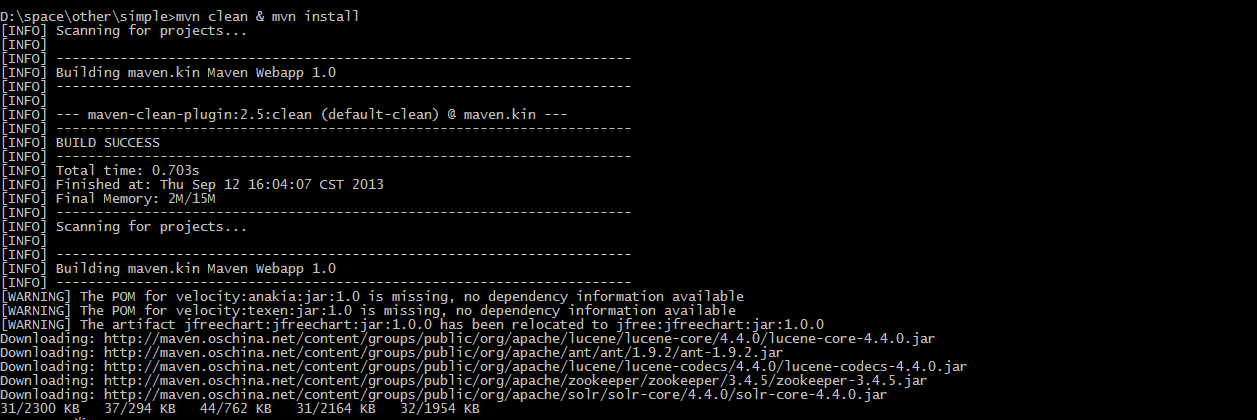
执行完之后,如果安装成功会出现如下结果: 
如果失败了,就根据失败结果 Google 一下吧! 接下来打开您配置的本地 repository 地址,可以看到您配置的各种依赖包都下载到您本地文件夹了,下次您再使用这些包的时候就不需要再次下载了,项目构建速度也会提高很多。
- OSChina Maven使用说明
- maven + oschina镜像
- maven使用OSchina开源
- Maven OSChina 镜像
- MAVEN使用说明
- MAVEN使用说明
- 国内oschina Maven公共仓库
- 国内镜像maven repository(oschina)
- Maven 配置中国的 Maven 库 osChina Maven库
- oschina
- Maven的使用说明
- Maven简介和使用说明
- jaxb2-maven-plugin使用说明
- maven安装使用说明
- 快速配置Maven到OSChina中央库的教程
- Myeclipse+maven的简单使用说明
- Apache maven shade plugin使用说明
- Maven常用插件使用说明之deploy
- html5中canvas画布实现手机端和移动端的刮刮乐效果
- 史上最全javascript parseInt函数详解
- 创建函数并访问
- leetcode笔记--Linked List Cycle
- UE4 Persona:骨架网格物体动画
- OSChina Maven使用说明
- 来自Uber的12条架构重构经验
- jquery根据name取值
- 双击锁定,单击排序的js实现
- C和C++中struct使用的区别
- 深入理解Java:类加载机制及反射
- 【Mongodb】3.0 配置身份验证db.createUser()说明
- Linux服务器显示磁盘满,但实际应用所占不多
- 【转】Vector与ArrayList区别