一篇介绍通过nginx运行flask 的文章
来源:互联网 发布:淘宝要2张银行卡校验码 编辑:程序博客网 时间:2024/05/12 04:37
Serving Flask With Nginx
Having spent the majority of my career in the Microsoft stack, lately I’ve decided to step out of my comfort zone and to dive into the world of open source software. The project I’m currently working on at my day job is a RESTful service. The service will be running on a commodity hardware, that should be able to scale horizontally as needed. To do the job I’ve decided to use Flask and Nginx. Flask is a lightweight Python web framework, and nginx is a highly stable web server, that works great on cheap hardware.
In this post I will guide you through the process of installing and configuring nginx server to host Flask based applications. The OS I’ll be using is Ubuntu 13.04.
Nginx
To install nginx from apt-get, we have to add Nginx repositories to apt-get sources:
Note: If the “add-apt-repository” command doesn’t exist on your Ubuntu version, you need to install the “software-properties-common” package: sudo apt-get install software-properties-common (Thanks to get_with_it for mentioning it in the comments)
Update and upgrade packages:
Install and start Nginx:
Milestone #1
Browse to your server and you should get the Nginx greeting page: 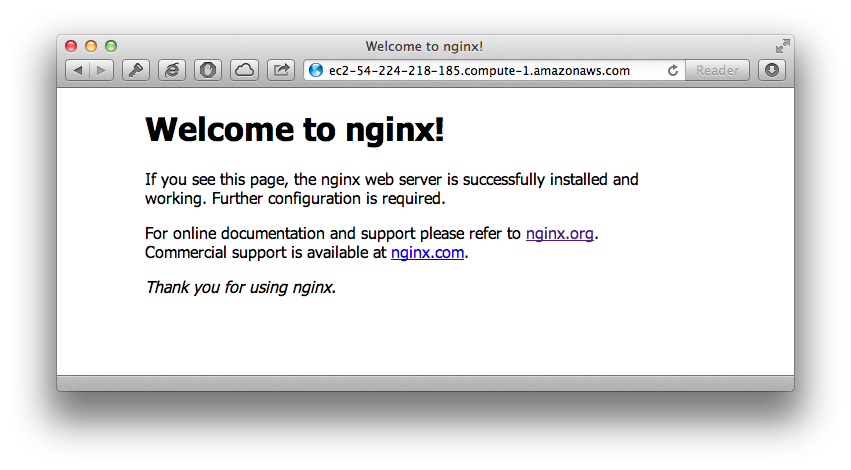
Sample application
The application we will host is literally a “Hello, world!” application. It will serve only one page, and guess what text it will contain. All the application related files will be stored at the /var/www/demoapp folder. Let’s create this folder, and initialize a virtual environment in it:
Since we created the folder under root privileges, it is currently owned by the root user. Let’s change the ownership to the user you are logged in to (“ubuntu” in my case):
Install the virtualenv package:
Create and activate a virtual environment, and install Flask into it:
Create the hello.py file, with the following code:
/var/www/demoapp/hello.pyMilestone #2
Let’s execute the script we’ve just created:
Now you can browse to your server’s port 8080 and see the app in action: 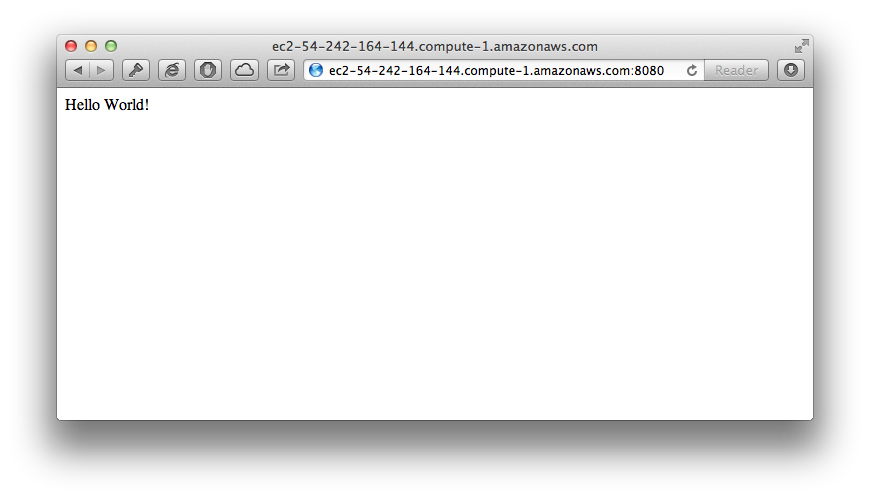
Note: I’ve used port 8080 because port 80 is already in use by nginx
Currently the app is served by Flask’s built in web server. It is a great tool for development and debugging needs, but it is not recommended in production environment. Let’s install uWSGI and configure Nginx to do the heavy lifting.
uWSGI
Nginx is a web server. It serves static files, however it cannot execute and host Python application. uWSGI fills that gap. Let’s install it first, and later we’ll configure nginx and uWSGI to talk to each other.
First, make sure you have the required compilers and tools, and then install uWSGI:
Configuring Nginx
Let’s start by removing the Nginx’s default site configuration:
Note: If you installed a version of nginx from other repository, the default configuration file may be located at the /etc/nginx/conf.d folder.
Instead create a new configuration file for our application/var/www/demoapp/demoapp_nginx.conf:
/var/www/demoapp/demoapp_nginx.confAnd symlink the new file to nginx’s configuration files directory and restart nginx:
Milestone #3
Browser to server’s public ip address, and you will be greeted by an error: 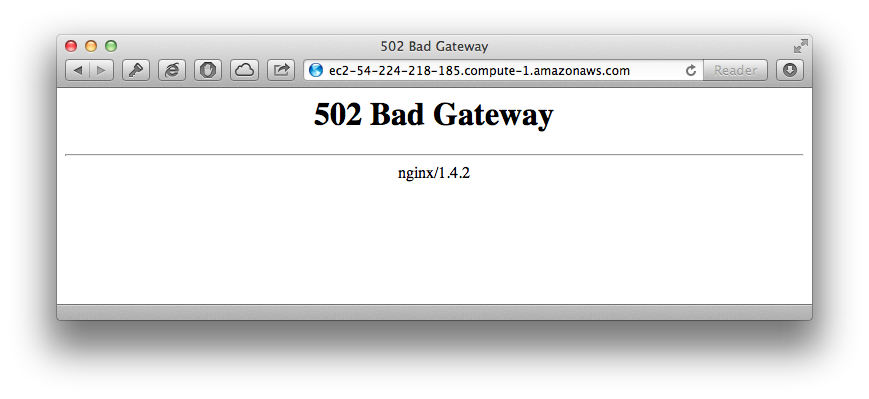 No need to worry, this is a “good” error. It says that nginx uses the configuration file we just created, but it has a trouble connecting to our Python application host, uWSGI. The connection to uWSGI is defined in the configuration file at line #10:
uwsgi_pass unix:/var/www/demoapp/demoapp_uwsgi.sock;It says that the communication between nginx and uWSGI is done via a socket file, that should be located at /var/www/demoapp/demoapp_uwsgi.sock. Since we still haven’t configured uWSGI yet, the file doesn’t exist, and Nginx returns the “bad gateway” error. Let’s fix this now.
Configuring uWSGI
Create a new uWSGI configuration file /var/www/demoapp/demoapp_uwsgi.ini:
/var/www/demoapp/demoapp_uwsgi.iniLet’s create a new directory for uwsgi log files, and change its owner to your user:
Milestone #4
Let’s execute uWSGI and pass it the newly created configuration file:
Next, browse to your server. Now nginx should be able to connect to uWSGI process: 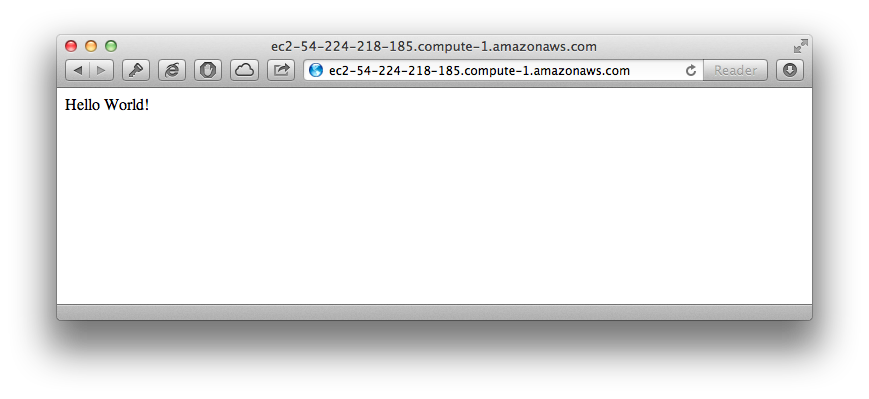
We are almost finished. The only thing left to do, is to configure uWSGI to run as a background service. That’s the duty of uWSGI Emperor.
uWSGI Emperor
uWSGI Emperor (quite a name, isn’t it?) is responsible for reading configuration files and spawing uWSGI processes to execute them. Create a new upstart configuration file to execute emperor - /etc/init/uwsgi.conf:
/etc/init/uwsgi.confThe last line executes the uWSGI daemon and sets it to look for config files in the/etc/uwsgi/vassals folder. Let’s create this folder and symlink the configuration file we created earlier into it:
Also, the last line states the the user that will be used to execute the daemon is www-data. For simplicity’s sake, let’s set him as the owner of the application and log folders:
Note: The nginx version we installed earlier uses the “www-data” user for executing nginx. Nginx versions from other repositories may use a user named “nginx” instead.
Since both, nginx and uWSGI, are now being run by the same user, we can make a security improvement to our uWSGI configuration. Open up the uwsgi config file and change the value of chmod-socket from 666 to 644:
/var/www/demoapp/demoapp_uwsgi.iniNow we can start the uWSGI job:
Finally, both Nginx and uWSGI are configured to correctly serve our application on system start up.
Troubleshooting
If something goes wrong, the first place to check is the log files. By default, nginx writes error message to the file /var/log/nginx/errors.log.
We’ve configured uWSGI emperor to write it’s logs to /var/log/uwsgi/emperor.log. Also this folder contains separate log files for each configured application. In our case -/var/log/uwsgi/demoapp_uwsgi.log.
Static Files
If your application has to serve static files, the following rule should be added to thedemoapp_nginx.conf file:
As a result, all static files located at /var/www/demoapp/static will be served by nginx.(Bastianh, thanks for pointing this out)
Hosting Multiple Applications
If you want to host multiple Flask applications on a single server, create a separate folder for each application, as we did earlier, and symlink nginx and uWSGI configuration files to the appropriate folder.
Deploying Applications with Distribute
To deploy Flask apps using distribute, first follow the steps in Flask documentation to convert your application into a package. Next, copy the generated distribute setup package to the server, and use the virtual environment’s Python to install it. E.g.:
And last but not least, the “app” property of uWSGI configuration’s file should be equal to name of the package that holds the Flask application.
- 一篇介绍通过nginx运行flask 的文章
- 一篇介绍JMF的文章
- centos 6.4下nginx+uwsgi+flask的运行环境搭建
- Ubuntu下nginx+uwsgi+flask的运行环境搭建
- 一篇介绍netfilter的非常好的文章
- AOP介绍的一篇不错的文章
- 一篇介绍mina的不错的文章
- 一篇介绍NS2的很好的文章
- csdn上一篇介绍IOC的文章
- 介绍有关“BEA Tuxedo”的一篇文章
- 实现连续地图的一篇介绍文章
- 一篇介绍Reportt Builder的文章
- 一篇介绍Java ByteCode的好文章
- 一篇介绍nfs的好文章
- 一篇介绍DirectX 10 的文章
- 关于Xerces-C++的一篇介绍文章
- 介绍一篇关于session的好文章
- 转载一篇介绍 WordPress 的文章
- 解决更改JAVA_HOME后jdk版本没有更改问题
- [unity]在unity中创建圆锥体
- docker相关文章
- 查看和修改shell
- #RadioButton自定义图标
- 一篇介绍通过nginx运行flask 的文章
- 欢迎使用CSDN-markdown编辑器
- 失恋128
- uniq b
- Runtime(一)类与对象
- 树状数组: fzu oj 2236 第十四个目标
- Android学习笔记十三: layout布局属性、标签属性总结大全
- C语言中关键字const、static、volatile的用法分析
- java_Thread生产消费者问题