Nomachine AWS RHEL7 & Ubuntu Remote desktop connection
来源:互联网 发布:改变手机字体大小软件 编辑:程序博客网 时间:2024/06/17 16:31
I have tried the Nomachine on both AWS RHEL7 and Ubuntu, it seems the results are not good. Noted down the procedure,
1, install the nomachine on RHEL7
Have downloaded "freenx-server-0.7.3.tar.gz", "nomachine_5.1.26_1_x86_64.rpm" and "nomachine-enterprise-server-evaluation_5.1.26_2_x86_64.rpm", the enterprise server version is with one month evaluation. All the three installation with similar result, below is the log, and with other two installation command is as,[root@ip~]# rpm -i nomachine-enterprise-server-evaluation_5.1.26_2_x86_64.rpmubuntu@ip:/home/huilin$ sudo dpkg -i nomachine-enterprise-server-evaluation_5.1.26_2_amd64.deb
[root@ip]# rpm -ivh nomachine_5.1.26_1_x86_64.rpm
Preparing... ################################# [100%]
Updating / installing...
1:nomachine-5.1.26-1 ################################# [100%]
NX> 701 Starting update at: Fri May 20 04:14:27 2016.
NX> 701 Updating: nxclient version: 5.1.26.
NX> 701 Using installation profile: Red Hat.
NX> 701 Update log is: /usr/NX/var/log/nxupdate.log.
NX> 701 Client update completed with warnings.
NX> 701 Please review the update log for details.
NX> 701 Updating: nxplayer version: 5.1.26.
NX> 701 Using installation profile: Red Hat.
NX> 701 Update log is: /usr/NX/var/log/nxupdate.log.
NX> 701 To connect the remote printer to the local desktop,
NX> 701 the user account must be a member of the CUPS System Group..
NX> 701 Player update completed with warnings.
NX> 701 Please review the update log for details.
NX> 700 Installing: nxnode version: 5.1.26.
NX> 700 Using installation profile: Red Hat.
NX> 700 Install log is: /usr/NX/var/log/nxinstall.log.
NX> 700 Creating configuration in: /usr/NX/etc/node.cfg.
NX> 700 Displaying file: /usr/NX/share/documents/node/cups-info
CUPS Printing Backend
The NoMachine Node setup procedure could not detect your
CUPS installation: either CUPS is not installed on your
system or it was installed in a non-standard path. CUPS is
needed in order to enable printing support in your NX
system.
Please note that you can enable printing support for your
NX system at any time; to do this make sure that you have
CUPS installed then run:
/usr/NX/scripts/setup/nxnode --printingsetup
to specify the location of the CUPS root path.
NX> 700 Node install completed with warnings.
NX> 700 Please review the install log for details.
NX> 701 Updating: nxserver version: 5.1.26.
NX> 701 Using installation profile: Red Hat.
NX> 701 Update log is: /usr/NX/var/log/nxupdate.log.
NX> 701 Saving configuration file to: /usr/NX/etc/server.cfg.backup.
NX> 701 Creating configuration in: /usr/NX/etc/server.cfg.
Support for these types of sessions is available:
unix-gnome
You can enable this by running:
/usr/NX/scripts/setup/nxnode --availablesessionsetup
NX> 701 Update completed at: Fri May 20 04:15:49 2016.
NX> 701 NoMachine was configured to run the following services:
NX> 701 NX service on port: 4000
2, nomachine server configuration - add user
Add user ec2-user or ubuntu and set the password,[root@ip ec2-user]# /usr/NX/bin/nxserver --useradd ec2-user --system
NX> 309 User: ec2-user is already present on the system.
NX> 801 User: ec2-user uses system authentication.
NX> 301 User: ec2-user enabled in the NX user DB.
[root@ip ec2-user]# /usr/NX/bin/nxserver --useradd root --system
NX> 309 User: root is already present on the system.
NX> 801 User: root uses system authentication.
NX> 301 User: root enabled in the NX user DB.
[root@ip ec2-user]# /usr/NX/bin/nxserver --passwd root --system
NX> 114 Changing system password for root.
NX> 256 Enter new system password:
NX> 257 Retype new system password:
NX> 137 System password changed correctly.
NX> 999 Bye.
[root@ip ec2-user]# /usr/NX/bin/nxserver --passwd ec2-user --system
NX> 114 Changing system password for ec2-user.
NX> 256 Enter new system password:
NX> 257 Retype new system password:
NX> 137 System password changed correctly.
NX> 999 Bye.
[root@ip ec2-user]# /usr/NX/bin/nxserver --restart
NX> 162 Disabled service: nxserver.
NX> 162 Disabled service: nxnode.
NX> 162 Disabled service: nxd.
NX> 161 Enabled service: nxserver.
NX> 161 Enabled service: nxnode.
NX> 161 Enabled service: nxd.
3, nomachine server configuration - server.cfg
The path is /usr/NX/etc/server.cfg
Set VirtualDesktopMode as 2,#
# Set the interaction level for the session connected to a virtual
# desktop:
#
# 0: View-only. The session is connected to the desktop in
# view-only mode, i.e. the user can't interact with the
# virtual desktop.
#
# 1: Restricted. User connected to the virtual desktop can
# interact with the desktop except for resize operations.
#
# 2: Interactive. User connected to the virtual desktop has
# full interaction with the desktop.
#
VirtualDesktopMode 2
Set VirtualDesktopAuthorization as 0,#
# Enable or disable NX Server requesting authorization to the owner of
# the virtual desktop before connecting.
#
# 1: Enabled. NX Server asks for authorization to the owner
# of the virtual desktop before trying to connect.
#
# 0: Disabled. NX Server tries to connect to the virtual
# desktop without the need for any authorization from the
# desktop's owner.
#
VirtualDesktopAuthorization 0
4, Check nomachine is up and running
Check the status of nxserver,
[root@ip~]# sudo /usr/NX/bin/nxserver --statusNX> 161 Enabled service: nxserver.
NX> 161 Enabled service: nxnode.
NX> 161 Enabled service: nxd.
check the nomachine is listening the port 4000,[ec2-user@ip ~]$ sudo netstat -ntulp | grep nxd
tcp 0 0 0.0.0.0:4000 0.0.0.0:* LISTEN 21858/nxd
tcp6 0 0 :::4000 :::* LISTEN 21858/nxd
5, test the connection
Test the AWS RHEL physical desktop, as below picture shows, if connect to the physical desktop, it displays, but stuck at desktop screen, you can do nothing...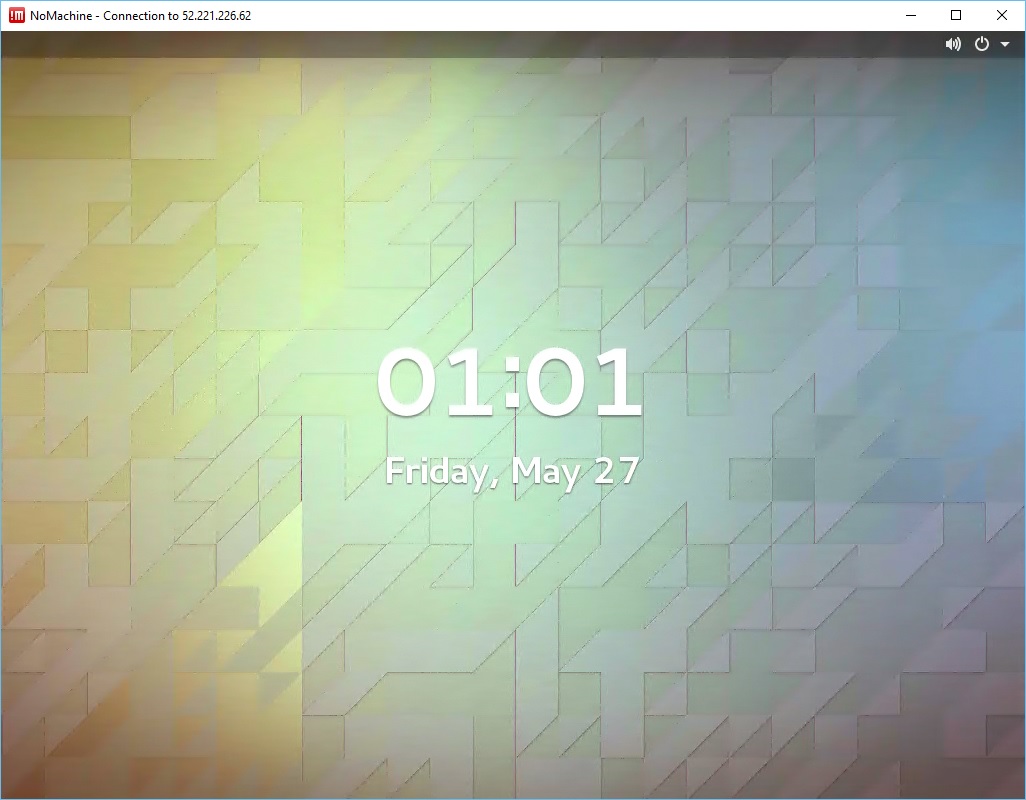
Test the AWS RHEL virtual desktop, remember the free version nomachine can only work on physical desktop, the enterprise-server-evaluation can work with virtual desktop, it will be working fine, as below picture shows,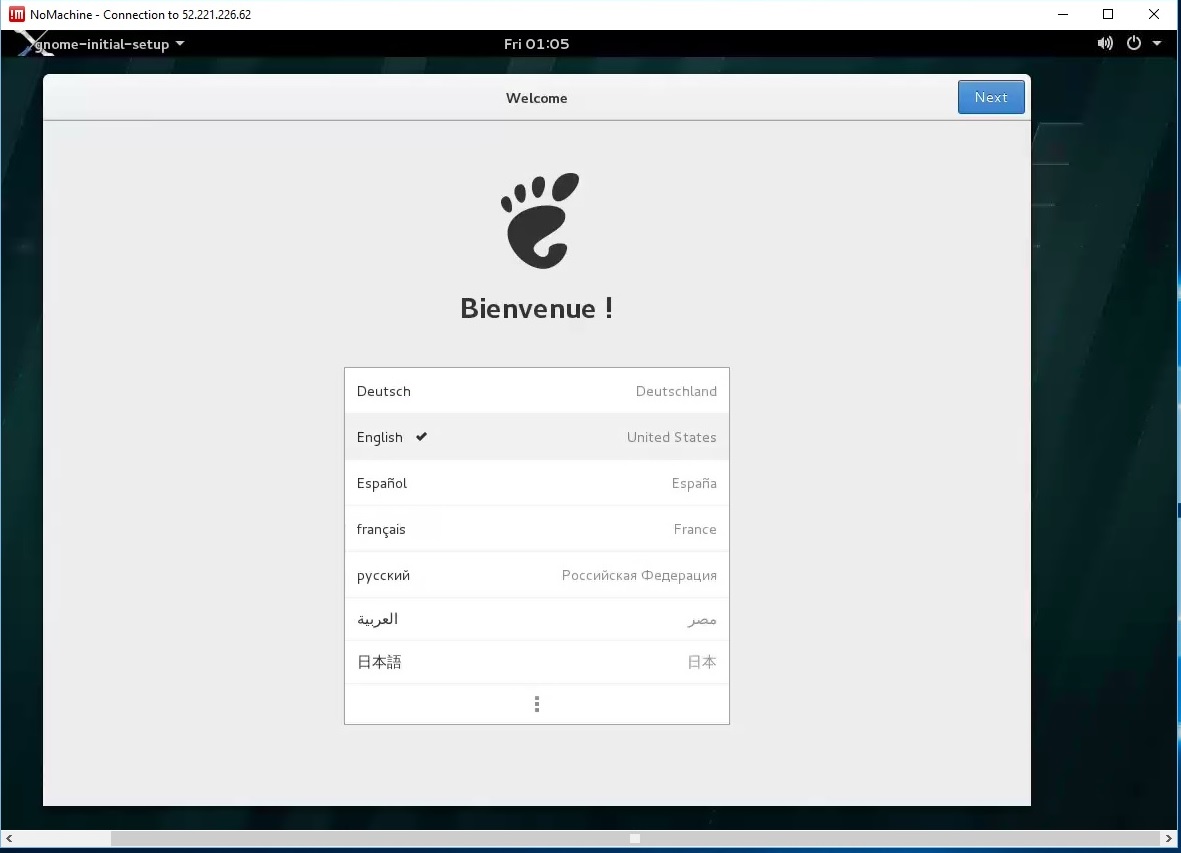

Test the AWS Ubuntu physical and virtual desktop with successful result, as below pictures show,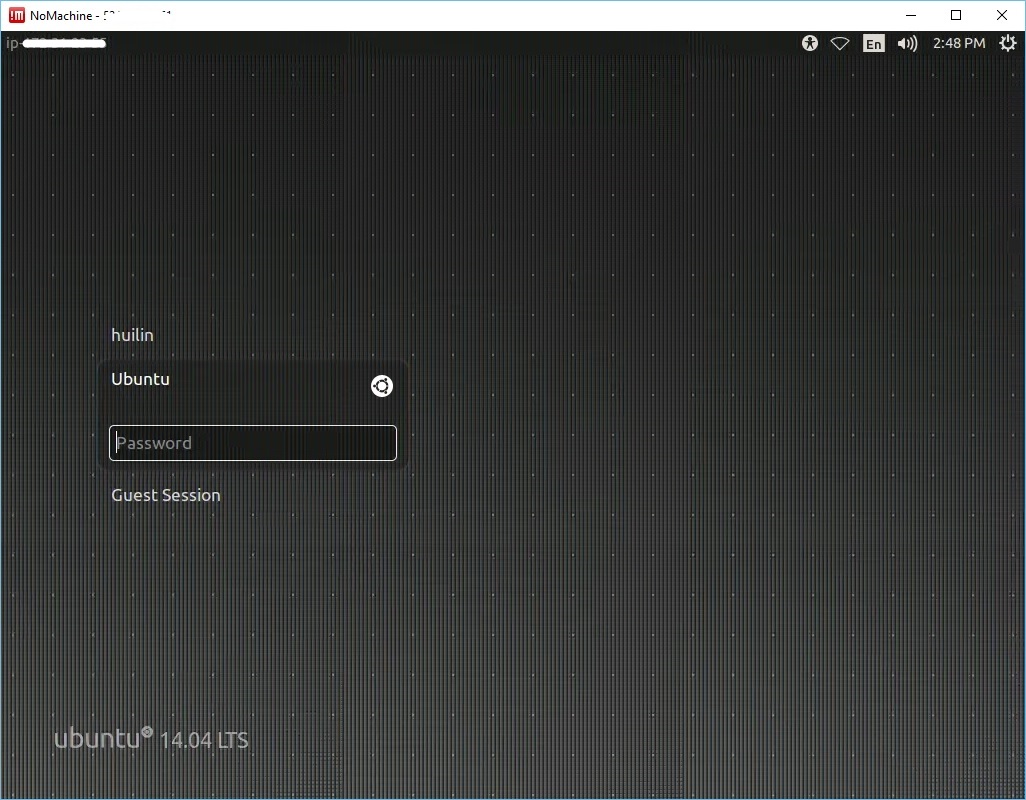
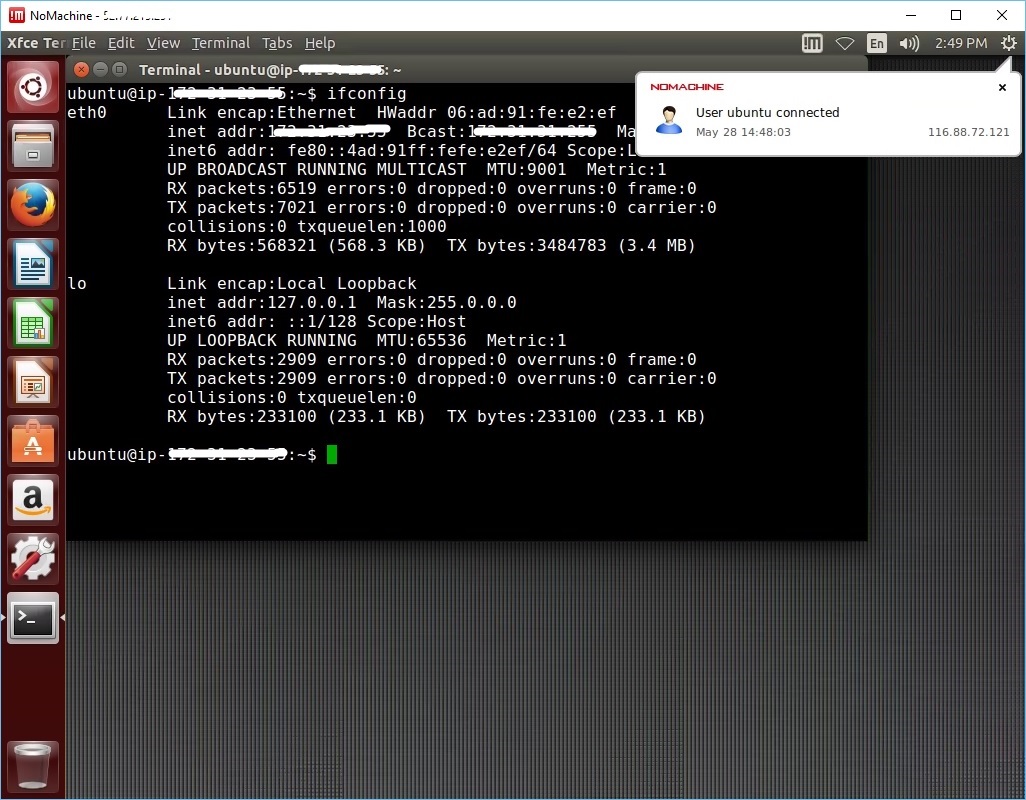
However the nomachine connection will consume a lot of resources, the system becomes very slow, with the "top" command displays as below picture (load average:31.05, 10.59, 4.38),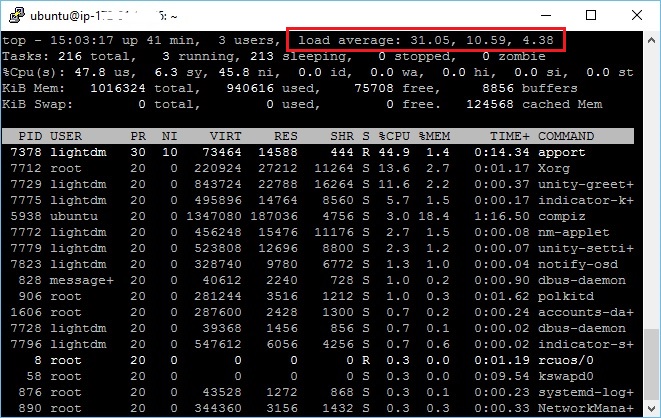
6, RHEL desktop GUI install
Not sure my RHEL desktop GUI was installed correctly or not, I was using below commands,yum -y groupinstall "Server with GUI"
yum install gnome*
VNC Reference link:
https://access.redhat.com/documentation/en-US/Red_Hat_Enterprise_Linux/7/html/System_Administrators_Guide/ch-TigerVNC.html#proc-configuring-vncserver
http://www.uvnc.com/home.html
https://www.realvnc.com/products/open/4.1/winvncviewer.html
http://www.putorius.net/2015/04/how-to-install-vnc-server-in-red-hat-7.html
FreeNX reference link:
https://github.com/Fabianx/freenx/tree/master/freenx-server
https://sourceforge.net/projects/freenx.berlios/?source=navbar
Nomachine reference link:
1,https://www.nomachine.com/download
2,http://www.parthbhatt.com/blog/2014/up-and-running-with-nx-on-rhel/
3,NoMachine Enterprise Products - Server Guide
4,NoMachine Enterprise Products - Server Installation Guide
5,group install the Server with GUI
6, Remote Desktop to an Amazon EC2 Instance
7,Install GNOME GUI on RHEL 7 Linux Server
- Nomachine AWS RHEL7 & Ubuntu Remote desktop connection
- ubuntu12.04 nomachine remote desktop by FREENX
- Remote Desktop Connection 7.0
- Disable Remote Desktop connection
- Remote Desktop Connection
- WinCE Remote Desktop Connection
- 远程桌面remote desktop connection manager
- Remote Desktop Connection Manager介绍
- Connect to a Windows Desktop from Ubuntu via Remote Desktop Connection
- Connect to a Windows Desktop from Ubuntu via Remote Desktop Connection
- Windows remote Ubuntu desktop
- AWS RDS Oracle DB remote connection
- Teamviewer install on AWS RHEL7 and Ubuntu
- Remote Desktop Connection Manager (RDCMan) 介绍
- Mac通过Remote Desktop Connection连接Windows
- vnc remote desktop to ubuntu without login
- window7 remote connect ubuntu 15.05 desktop
- Windows XP Remote Desktop Connection software [XPSP2 5.1.2600.2180]
- Android Library项目注意事项
- 14.2 线程创建的方式二:
- ubuntu 16.04 卸载php7.0 安装 php5.6
- 290. Word Pattern
- 解决AndroidStudio从网络引入三方jar包,项目中无法找到类问题
- Nomachine AWS RHEL7 & Ubuntu Remote desktop connection
- U盘装win7/win8 32位&64位系统
- 第11周项目3-警察与厨师(1)
- Zookeeper的安装配置及基本开发
- hive 常用关系运算符
- 26. SpringMVC_mvc_view-controller标签 (无笔记)
- TDD的iOS开发初步以及Kiwi使用入门
- Ubuntu 14.04升级系统内核
- 再次写给我们这些浮躁的程序员