svn
来源:互联网 发布:怎么在淘宝卖耐克正品 编辑:程序博客网 时间:2024/05/21 12:46
Using SVN in Android Studio
For each submission, you should create an folder for it. At the end of the term, your SVN repo should similar to
Lab1_submissionLab2_submissionLab3_submissionLab4_submissionLab5_submissionLab6_submissionCodeItOneCodeItTwoCodeItThree...Make sure you submit the project source but not the zip file, and remove these following files in your project source before your final submission of each project. You will learn how to delete files in theDelete files section.
.gradlebuildlocal.properties.idea/workspace.xml.idea/librariesThe following instructions are using Myruns lab1 as an example.
Create a new project
If you create a new project that is not in your SVN repo, you need to import the project first (select "VCS" => "Import into version control" => "Import into subversion"):

Add your repo address to it, for example, for the lab1 submission, the repo should be “https://svn.cs.dartmouth.edu/classes/cs65-W15/Your_Name/Lab1_submission/”(You don’t have to create the Lab1_submission on svn in advance, it will create it for you if it doesn’t exist).
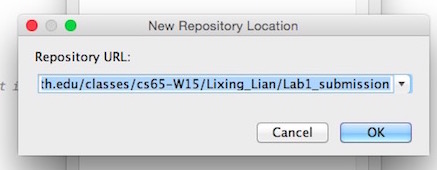
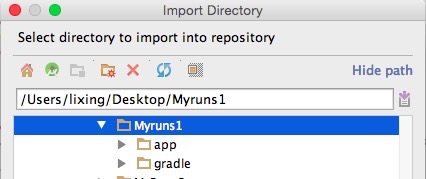
Then choose your project folder, and click “import”.
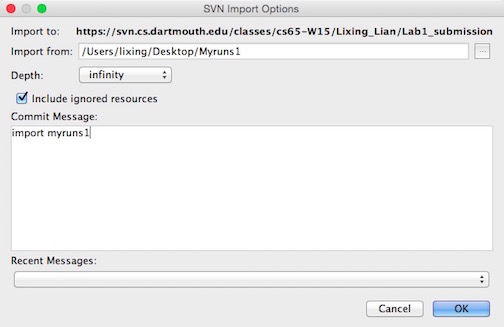
Type your commit message, and click “OK”.
You may need to enter your SVN credentials.
About login credentials:
Your login names are the "full" dnd names, as reported on the web site http://dndlookup.dartmouth.edu with the capitalization shown there, and please use your DND passwords (which you use for Dartmouth Banner).
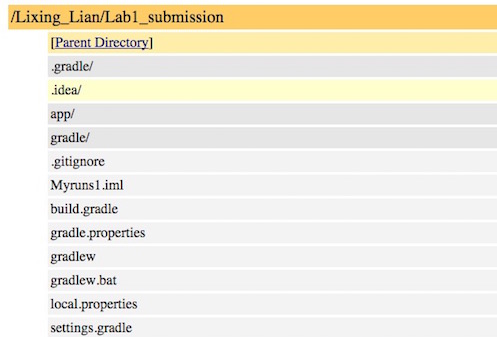
After that, you can open your web browser and go to the address https://svn.cs.dartmouth.edu/classes/cs65-W15/Your_Name/Lab1_submission, you can see the project is successfully uploaded.
Checkout your project
Before you start working on your project, you need to checkout your project from SVN repo.
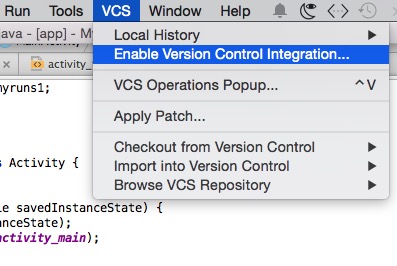
First you need to enable version control integration ("VCS" => "Enable Version Control Integration")
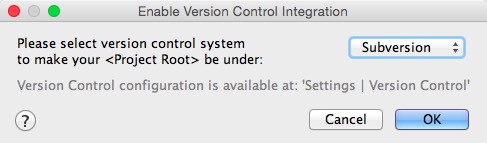
choose subversion as the version control system and click “OK”
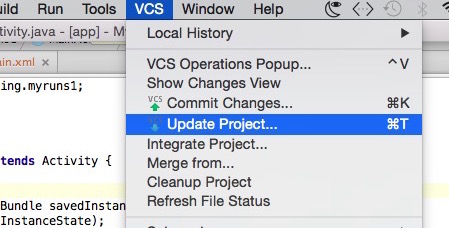
Then you would be able to see more selections under “VCS”
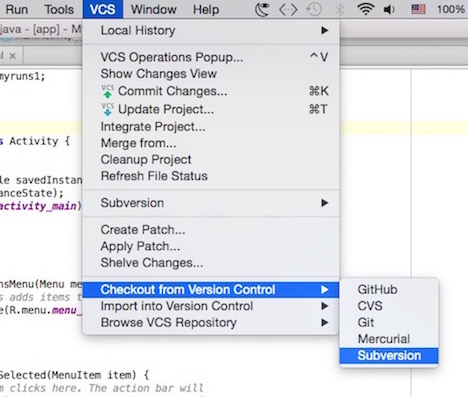
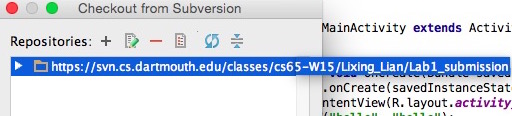
To checkout a project, choose “VCS" => "Checkout from Version Control => "subversion”
Choose your SVN repo of your project and click “Checkout”. It will get the contents from your SVN repo and update them to your local project.
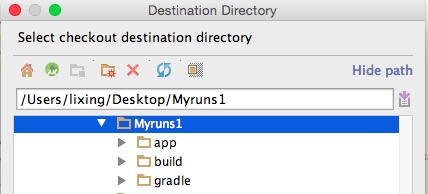
Choose your project location as destination directory
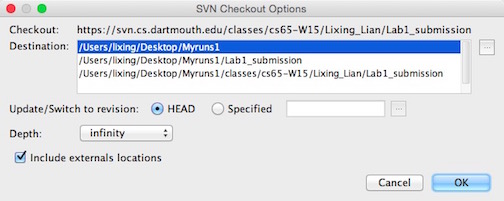
Select the first one as the destination then click “OK”.
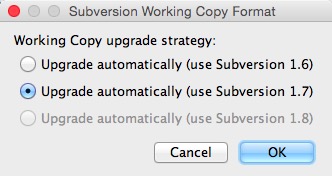
It may pop up a dialog showing “Subversion Working Copy Format”, you can choose the highest version and click “OK”.
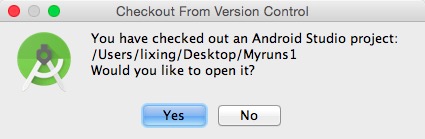
Then click “Yes” to reopen the project
Working your project
After you checkout the project from SVN, you can start writing your new codes in your project.
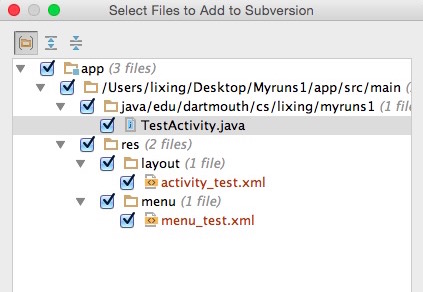
If you create a new file, Android studio will ask you to add file to subversion. Click “OK”.
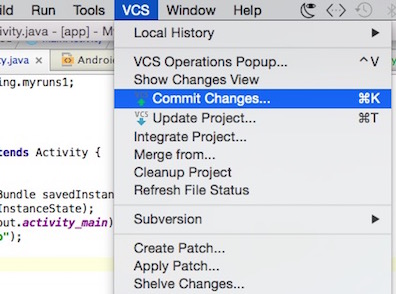
Once you finish your coding, choose “VCS" => "Commit changes” to apply your changes to SVN repo.
You can find the files you updated will be displayed in the dialog. (Green color means new file, and blue color means modified file). Then click “Commit”.
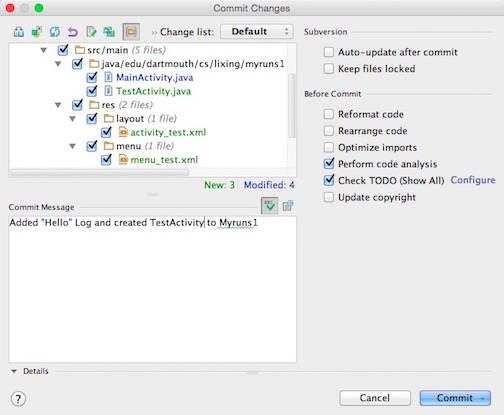
It may pop up a dialog for code analysis. You can review your code first and then click “commit”.
Check code changes in Android Studio
One of the great benefits from version control system is that you can view your changes in the code and revert it if necessary. (You will notice that the file is in blue color if you did update on it).
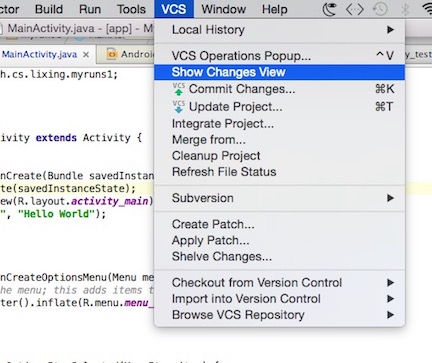
Choose "VCS" => "Show Changes View"
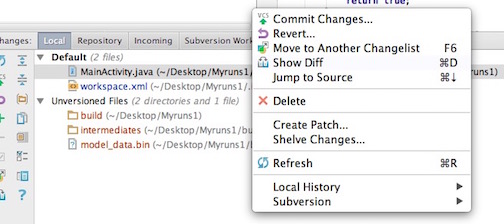
Some config/environment files are changed by Android Studio, you don’t need to worry about them. Right click on the file, and choose “Show diff”.
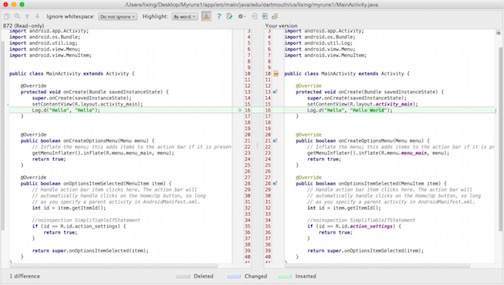
You can see the changes you made.
Delete files
We recognize that some of you may forget to delete config files before your submission. Choose "Project" at the upper-left corner of the figure below, then you can delete above files accordingly. (No worry for the deletion because they can be re-generated when you run you code.)

Choose “Yes” if it pops up the following dialog
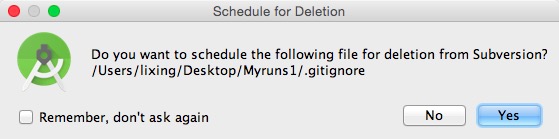
Then it will be deleted on your SVN repo after you commit the changes.
- SVN
- svn
- SVN
- SVN
- svn
- SVN
- SVN
- SVN
- svn
- svn
- svn
- SVN
- SVN
- SVN
- svn
- SVN
- svn
- svn
- 影响view的刷新 日记
- keepalived双机热备初实践
- linux 安装lamp环境
- mysql使用索引优化order排序
- LeetCode-233.Number of Digit One
- svn
- 【Apache Thrift】Thrift的使用和编译(二)
- IOS 正则验证
- Linux-fork()
- shell截取字符串的方法
- NSDate浅谈 当前时间,零点,过去一分钟,时间的比较
- Java泛型一:泛型定义及规则
- Servlet获取URL地址
- Tkinter教程之Font篇