Y-bao/PullRefreshView 2.0 通用弹性阻尼 和 下拉刷新、上拉加载控件
来源:互联网 发布:网络工商营业执照 编辑:程序博客网 时间:2024/05/01 19:39
,PullRefreshView
简介:
方便快捷的帮滑动控件添加弹性阻尼 和 下拉刷新、上拉加载的功能,支持所有纵向滑动控件(横向的工作中没遇到相应需求 所以没做),阻尼效果和下拉刷新、上拉加载的效果 都 支持重定义,拓展性强,支持连续滑动。
项目地址
Y-bao/PullRefreshView
2.0
目前开发到2.0,与之前版本的区别:
1.之前的版本 比较倾向于 低版本的android系统,为了使在没有硬件加速和控件树刷新机制没那么好的低版本中更流畅 所以使用scrollTo的方式实现,减少控件树刷新。scrollTo的是控制子布局的绘制偏移量,所有子控件会一起移动,效果拓展性差。2.0中改为ViewCompat.setTranslationY的方式滑动,单独滑动一个控件,效果拓展性强。
2.之前的版本不支持Android的NestedScrolling机制,5.0以上的一些效果得不到支持。当时为了支持NestedScrolling 单独做了一个分支。但是5.0以下NestedScrolling机制需要 引用V4支持包 并自定义子控件所NestedScrolling分支在5.0下使用难度较大。2.0中支持自动切换不同实现5.0以上或实现了V4支持包中NestedScrolling机制的会制动且为使用NestedScrolling的实现,没有实现NestedScrolling的使用 定义好的手势处理方式。达到兼容的目的。
3.之前的版本,阻尼效果无法重定义,下拉刷新、上拉加载的效果 只支持基于三种模式的重定义,虽然模式可以随机组合,但是拓展性还是太差。2.0中阻尼效果可以重定义,下拉刷新、上拉加载的效果除了效果可以重定义外 模式也可重定义。
4.优化代码结构,封装了工具类外部调用更方便。
使用方法
默认阻尼效果:
用FlingLayout套住要滑动的控件就行了。
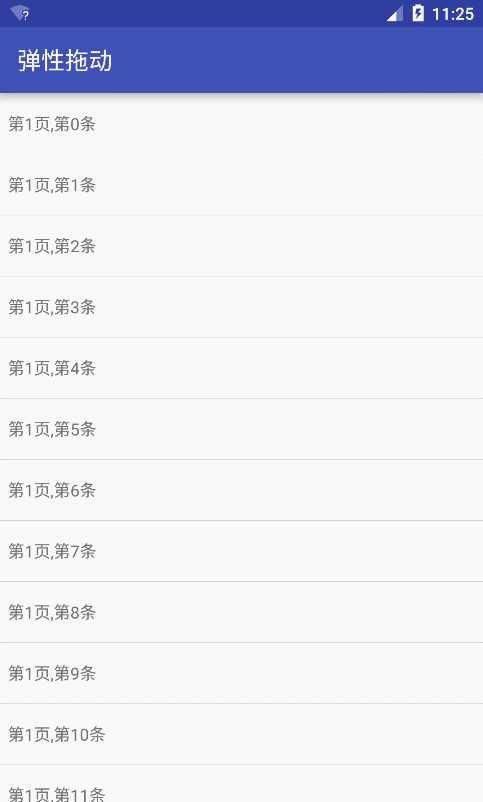
<com.ybao.pullrefreshview.layout.FlingLayout xmlns:android="http://schemas.android.com/apk/res/android" android:layout_width="match_parent" android:layout_height="match_parent"> <ListView android:id="@+id/list" android:layout_width="match_parent" android:layout_height="match_parent" android:cacheColorHint="@null" android:divider="#ccc" android:dividerHeight="1px" /></com.ybao.pullrefreshview.layout.FlingLayout>效果图:
重定义阻尼效果:
1、继承FlingLayout 实现onScroll。
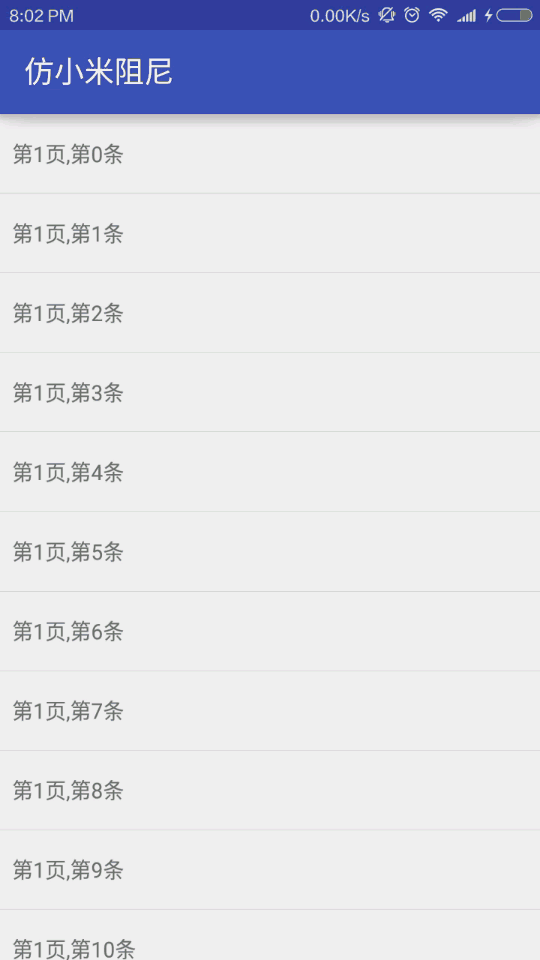
public class MiFliingLayout extends FlingLayout { public MiFliingLayout(Context context) { super(context); } public MiFliingLayout(Context context, AttributeSet attrs) { super(context, attrs); } public MiFliingLayout(Context context, AttributeSet attrs, int defStyle) { super(context, attrs, defStyle); } @Override protected boolean onScroll(float y) { View view = getPullView(); int heigth = view.getMeasuredHeight(); if (y >= 0) { ViewCompat.setPivotY(view, 0); ViewCompat.setScaleY(view, (heigth + y) / heigth); } else { ViewCompat.setPivotY(view, heigth); ViewCompat.setScaleY(view, (heigth - y) / heigth); } return true; }}2、再用实现好的控件套住要滑动的控件就行了。
<com.ybao.pullrefreshview.simple.view.MiFliingLayout xmlns:android="http://schemas.android.com/apk/res/android" android:layout_width="match_parent" android:layout_height="match_parent"> <ListView android:id="@+id/list" android:layout_width="match_parent" android:layout_height="match_parent" android:cacheColorHint="@null" android:divider="#ccc" android:dividerHeight="1px" /></com.ybao.pullrefreshview.simple.view.MiFliingLayout>效果图:
下拉刷新、上拉加载
默认的header、footer的滑动方式都定义了,但不提供实际的header、footer的UI,需要先定义
1、继承BaseHeaderView或BaseFooterView,把布局加进来
LayoutInflater.from(getContext()).inflate(R.layout.view_footer_normal, this, true);2、实现onStateChange(int state),控制不同状态的UI。
@Override protected void onStateChange(int state) { switch (state) { case NONE: break; case PULLING: textView.setText("上拉加载更多"); break; case LOOSENT_O_LOAD: textView.setText("松开加载"); break; case LOADING: textView.setText("正在加载"); break; case LOAD_CLONE: textView.setText("加载完成"); break; } }3、实现getSpanHeight()设置刷新或加载时需要卡住的位置
@Override public float getSpanHeight() { return getHeight(); }4、实现getLayoutType() 设置滑动模式
@Override public int getLayoutType() { return LayoutType.LAYOUT_NORMAL; }默认有三种模式
(1)、LayoutType.LAYOUT_NORMAL 普通模式
控件和header或footer同时滑动,最常见的效果
(2)、LayoutType.LAYOUT_DRAWER 抽屉模式
控件不动,header或footer滑动,可实现google官方刷新效果
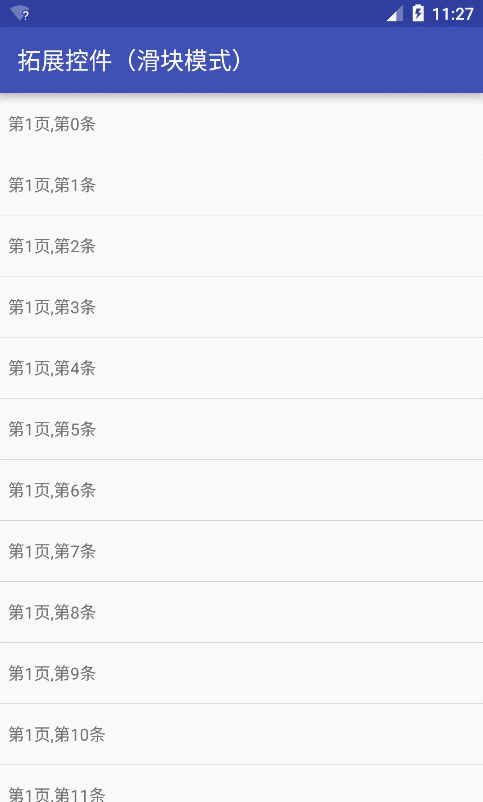
(3)、LayoutType.LAYOUT_SCROLLER 滑块模式
控件滑动,header或footer不动,见Demo
(4)、其他模式可继承 Refreshable或Loadable 自定义
5、用PullRefreshLayout套住滑动控件和自己继承实现的Header和Footer就行了。
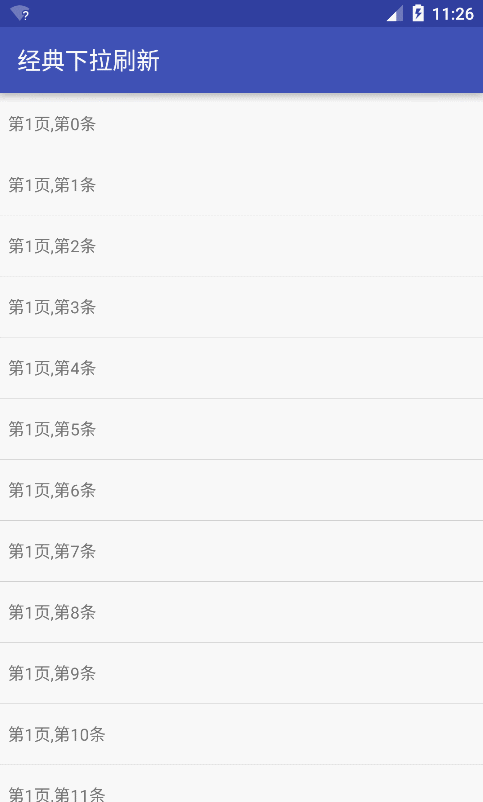
<com.ybao.pullrefreshview.layout.PullRefreshLayout xmlns:android="http://schemas.android.com/apk/res/android" android:id="@+id/root" android:layout_width="match_parent" android:layout_height="match_parent" android:background="@color/colorPrimary"> <com.ybao.pullrefreshview.simple.view.NormalHeaderView android:id="@+id/header" android:layout_width="match_parent" android:layout_height="wrap_content" /> <com.ybao.pullrefreshview.simple.view.NormalFooterView android:id="@+id/footer" android:layout_width="match_parent" android:layout_height="wrap_content" /> <ListView android:id="@+id/list" android:layout_width="match_parent" android:layout_height="match_parent" android:background="@android:color/white" android:cacheColorHint="@null" android:divider="#ccc" android:dividerHeight="1px" /></com.ybao.pullrefreshview.layout.PullRefreshLayout>6、业务逻辑方面实现BaseHeaderView.OnRefreshListener, BaseFooterView.OnLoadListener接口就可监听触发刷新和加载,完成后调用BaseHeaderView.stopRefresh();或BaseFooterView.stopLoad();改状态
BaseHeaderView.OnRefreshListener{ public void onRefresh(BaseHeaderView baseHeaderView) { baseFooterView.stopRefresh(); }}headerView.setOnRefreshListener(this);BaseFooterView.OnLoadListener{ public void onLoad(BaseFooterView baseFooterView) { baseFooterView.stopLoad(); }} footerView.setOnLoadListener(this);效果图:
其他效果:
NestedScrolling: 
弹性头:(也可以用NestedScrolling,这里只是提供多一种方式) 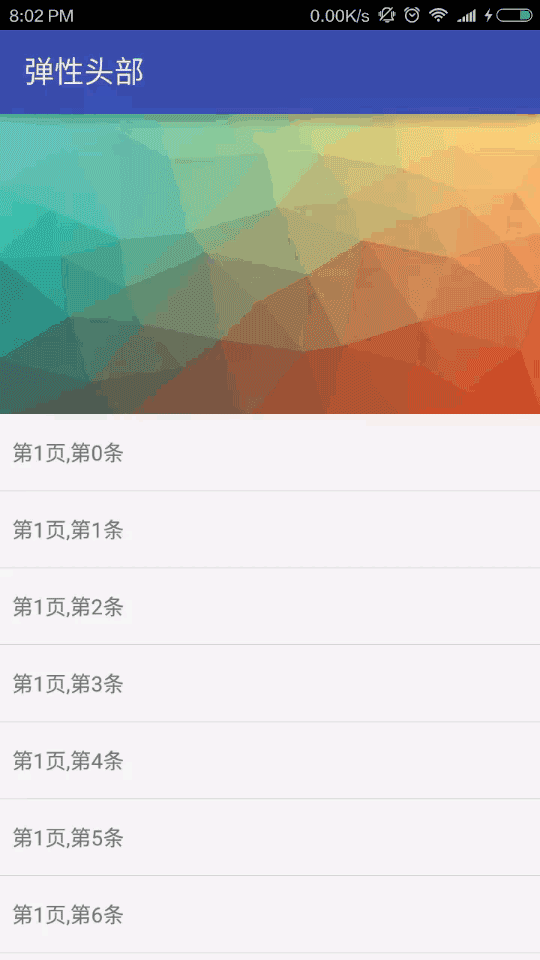
不同模式: 

- Y-bao/PullRefreshView 2.0 通用弹性阻尼 和 下拉刷新、上拉加载控件
- Android所有View通用下拉刷新上拉加载控件
- 自定义控件-下拉刷新和上拉加载的listView
- 自定义控件实现ListView下拉刷新和上拉加载
- android自定义下拉刷新和上拉加载控件
- 下拉刷新,上拉加载控件
- 上拉加载-下拉刷新控件 RefreshListView
- 上拉刷新下拉加载控件-PullToRefresh
- 上拉加载下拉刷新控件
- 手撸ListView弹性下拉刷新和上拉加载更多
- Android下拉刷新上拉加载控件,对所有View通用!
- Android下拉刷新上拉加载控件,对所有View通用!
- Android下拉刷新上拉加载控件,对所有View通用!
- Android下拉刷新上拉加载控件,对所有View通用!
- Android下拉刷新上拉加载控件,对所有View通用!
- Android(自定义控件)下拉刷新上拉加载,所有View通用.(直接拿来用)
- Android开发笔记-下拉刷新上拉加载控件,对所有View通用!
- Android下拉刷新上拉加载控件,对所有View通用!
- MySQL存储过程
- JavaScript数组去重的6个方法
- 快速二分幂
- Kotlin 开发Android 笔记1:Kotlin介绍及项目配置
- CS231n Class Notes- lecture11 ConvNets in Practice
- Y-bao/PullRefreshView 2.0 通用弹性阻尼 和 下拉刷新、上拉加载控件
- Gpu_1_PNSR和SSIM优化
- Python配置图文教程
- C++实现队列--数组实现和链表实现
- * String类的其他功能: * * 替换功能:
- linux(1)
- Kotlin开发Android笔记2:Kotlin与Java简单比较
- git 合并分支和提交的步骤
- 高级机密