Android RTMP直播(续二)
来源:互联网 发布:求关键路径的算法步骤 编辑:程序博客网 时间:2024/05/22 15:35
软硬件环境
- ubuntu 16.04
- Android Studio 2.1.3
- OTT BOx with android 5.1.1
- nginx 1.11.3
- nginx-rtmp-module
- VLC
前言
Android RTMP直播(续)介绍了HLS协议相关的基础内容,本文将继续深入学习HLS的其它高级特性.
服务端多码率支持
nginx.conf
#user nobody;worker_processes auto;rtmp_auto_push on;error_log logs/error.log;error_log logs/error.log notice;error_log logs/error.log info;#pid logs/nginx.pid;events { worker_connections 1024;}rtmp { server { listen 1935; chunk_size 4000; # TV mode: one publisher, many subscribers #application mytv { # enable live streaming #live on; # record first 1K of stream #record all; #record_path /tmp/av; #record_max_size 1K; # append current timestamp to each flv #record_unique on; # publish only from localhost #allow publish 127.0.0.1; #deny publish all; #allow play all; #} # Transcoding (ffmpeg needed) #application big { # live on; # On every pusblished stream run this command (ffmpeg) # with substitutions: $app/${app}, $name/${name} for application & stream name. # # This ffmpeg call receives stream from this application & # reduces the resolution down to 32x32. The stream is the published to # 'small' application (see below) under the same name. # # ffmpeg can do anything with the stream like video/audio # transcoding, resizing, altering container/codec params etc # # Multiple exec lines can be specified. # exec ffmpeg -re -i rtmp://localhost:1935/$app/$name -vcodec flv -acodec copy -s 32x32 #-f flv rtmp://localhost:1935/small/${name}; #} #application small { # live on; # # Video with reduced resolution comes here from ffmpeg #} #application webcam { # live on; # Stream from local webcam # exec_static ffmpeg -f video4linux2 -i /dev/video0 -c:v libx264 -an #-f flv rtmp://localhost:1935/webcam/mystream; #}# application mypush {# live on; # Every stream published here # is automatically pushed to # these two machines #push rtmp1.example.com; #push rtmp2.example.com:1934;# }# application mypull {# live on; # Pull all streams from remote machine # and play locally #pull rtmp://rtmp3.example.com pageUrl=www.example.com/index.html;# }# application mystaticpull {# live on; # Static pull is started at nginx start #pull rtmp://rtmp4.example.com pageUrl=www.example.com/index.html name=mystream static;# } # video on demand# application vod {# play /opt/www/vod;# }# application vod2 {# play /var/mp4s;# } # Many publishers, many subscribers # no checks, no recording #application videochat { # live on; # The following notifications receive all # the session variables as well as # particular call arguments in HTTP POST # request # Make HTTP request & use HTTP retcode # to decide whether to allow publishing # from this connection or not # on_publish http://localhost:8080/publish; # Same with playing # on_play http://localhost:8080/play; # Publish/play end (repeats on disconnect) # on_done http://localhost:8080/done; # All above mentioned notifications receive # standard connect() arguments as well as # play/publish ones. If any arguments are sent # with GET-style syntax to play & publish # these are also included. # Example URL: # rtmp://localhost/myapp/mystream?a=b&c=d # record 10 video keyframes (no audio) every 2 minutes # record keyframes; # record_path /tmp/vc; # record_max_frames 10; # record_interval 2m; # Async notify about an flv recorded # on_record_done http://localhost:8080/record_done; #} # HLS # For HLS to work please create a directory in tmpfs (/tmp/hls here) # for the fragments. The directory contents is served via HTTP (see # http{} section in config) # # Incoming stream must be in H264/AAC. For iPhones use baseline H264 # profile (see ffmpeg example). # This example creates RTMP stream from movie ready for HLS: # # ffmpeg -loglevel verbose -re -i movie.avi -vcodec libx264 # -vprofile baseline -acodec libmp3lame -ar 44100 -ac 1 # -f flv rtmp://localhost:1935/hls/movie # # If you need to transcode live stream use 'exec' feature. # application hls { live on; hls on; hls_path /opt/www/live; hls_nested on; hls_variant _low BANDWIDTH=800000; hls_variant _mid BANDWIDTH=1200000; hls_variant _hi BANDWIDTH=2000000; } # MPEG-DASH is similar to HLS #application dash { # live on; # dash on; # dash_path /tmp/dash; #} }}# HTTP can be used for accessing RTMP statshttp { server { listen 8081; location / { root /opt/www/; } # This URL provides RTMP statistics in XML location /stat { rtmp_stat all; # Use this stylesheet to view XML as web page # in browser rtmp_stat_stylesheet stat.xsl; } location /stat.xsl { # XML stylesheet to view RTMP stats. # Copy stat.xsl wherever you want # and put the full directory path here root /home/djstava/Workshop/Web/nginx-rtmp-module/; } location /hls { # Serve HLS fragments types { application/vnd.apple.mpegurl m3u8; video/mp2t ts; } root /opt/www/; add_header Cache-Control no-cache; } #location /dash { # Serve DASH fragments # root /tmp; # add_header Cache-Control no-cache; #} }}主要看看application hls的内容
application hls { live on; hls on; hls_path /opt/www/live; hls_nested on; hls_variant _low BANDWIDTH=800000; hls_variant _mid BANDWIDTH=1200000; hls_variant _hi BANDWIDTH=2000000; }这里设定当带宽分别为800k 1200k 2000k的时候,终端都播放相对应的m3u8索引文件
ffmpeg推流
这里需要利用ffmpeg推送3路不同的流,对应上面提到的低 中 高
ffmpeg -re -i ~/Videos/xjcy.mp4 -vcodec copy -acodec copy -b:v 800k -b:a 32k -f flv rtmp://10.10.10.59/hls/livestream_lowffmpeg -re -i ~/Videos/xjcy.mp4 -vcodec copy -acodec copy -b:v 1200k -b:a 64k -f flv rtmp://10.10.10.59/hls/livestream_midffmpeg -re -i ~/Videos/xjcy.mp4 -vcodec copy -acodec copy -b:v 2000k -b:a 128k -f flv rtmp://10.10.10.59/hls/livestream_hi推送开始后,hls的root目录下就会生成相应的文件内容,如下图所示

此时livestream.m3u8文件内容为
#EXTM3U#EXT-X-VERSION:3#EXT-X-STREAM-INF:PROGRAM-ID=1,BANDWIDTH=800000livestream_low/index.m3u8#EXT-X-STREAM-INF:PROGRAM-ID=1,BANDWIDTH=1200000livestream_mid/index.m3u8#EXT-X-STREAM-INF:PROGRAM-ID=1,BANDWIDTH=2000000livestream_hi/index.m3u8相应的,播放链接为 http://10.10.10.59:8081/live/livestream.m3u8,播放器需要做的就是根据自身的网络状况,切换到其它的索引文件.
直播节目的录制
直播进行的同时一般都会有本地录制的需求,nginx-rtmp-module提供了这个功能,接下来实践一下.还是看nginx.conf配置文件
application hls { live on; hls on; hls_path /opt/www/live; hls_nested on; hls_variant _low BANDWIDTH=800000; hls_variant _mid BANDWIDTH=1200000; hls_variant _hi BANDWIDTH=2000000; recorder all { record all; record_suffix -%Y-%m-%d-%H_%M_%S.flv; record_max_size 200000K; record_path /opt/www/record; } }record all录制所有内容,也可以只录音频或者视频.
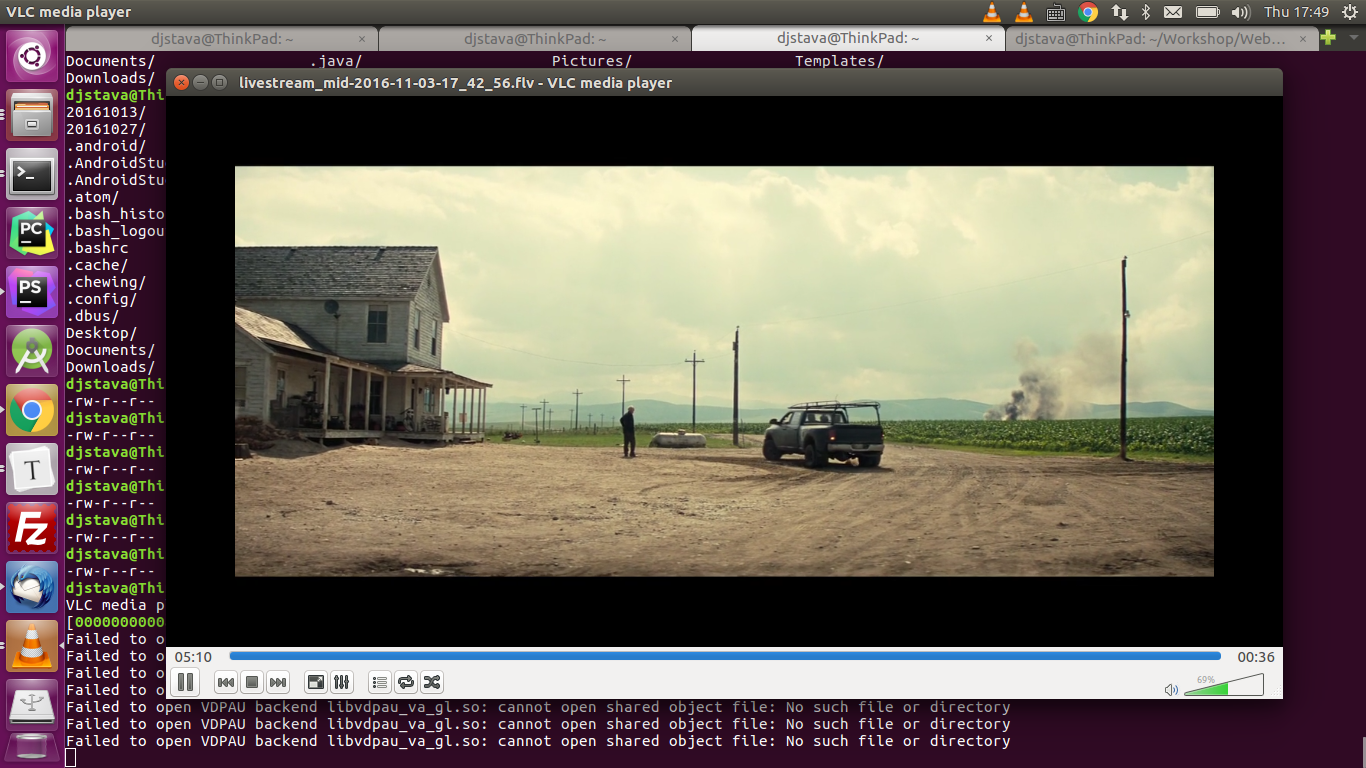
推流后/opt/www/record路径下就会自动生成带对应时间戳的flv文件,用vlc测试播放OK.
时移电视
要想实现时移电视(这里指的是服务器端)的话,首先需要在服务器上保留足够的切片文件,比如说你提供1小时的时移,就意味着要有1小时的切片文件,而且索引文件中包含前1小时的切片序列.
application hls { live on; hls on; hls_path /opt/www/live; hls_continuous on; hls_sync 100ms; hls_nested on; hls_playlist_length 5m; hls_fragment 10s; hls_variant _low BANDWIDTH=800000; hls_variant _mid BANDWIDTH=1200000; hls_variant _hi BANDWIDTH=2000000; #exec /home/djstava/Workshop/Web/nginx-1.11.3/build/test.sh; #exec_kill_signal term; #recorder all { # record all; # record_suffix -%Y-%m-%d-%H_%M_%S.flv; # record_max_size 6200000K; # record_path /opt/www/record; #} }hls_fragment指的是切片文件的长度,这里是10秒,hls_playlist_length指的是索引文件的长度,我这里设的是5分钟.推流开始后,你到切片生成的目录,会发现*.m3u8文件包含了30个ts序列.所以,在上面这种情况下,就只能进行5分钟的时移,当播放进度到达当前直播点时则继续回到直播状态.
执行外部shell脚本
比如有个脚本test.sh,内容如下
#!/bin/bashon_die (){ # kill all children pkill -KILL -P $$}trap 'on_die' TERMffmpeg -re -i /home/djstava/Videos/ygdx.mp4 -vcodec copy -acodec copy -f flv rtmp://10.10.10.48/hls/ygdx &wait我这里把它放在hls application中执行,则nginx.conf应如下
application hls { live on; hls on; hls_path /opt/www/live; hls_continuous on; hls_sync 100ms; hls_nested on; hls_playlist_length 5m; hls_fragment 10s; hls_variant _low BANDWIDTH=800000; hls_variant _mid BANDWIDTH=1200000; hls_variant _hi BANDWIDTH=2000000; exec /home/djstava/Workshop/Web/nginx-1.11.3/build/test.sh; exec_kill_signal term; #recorder all { # record all; # record_suffix -%Y-%m-%d-%H_%M_%S.flv; # record_max_size 6200000K; # record_path /opt/www/record; #} }当hls服务正常启动时(如上面写过的ffmpeg推流动作),外部脚本test.sh也被执行了.脚本中捕捉了退出的中断信号,也就说,如果ffmpeg推流动作中断了,那么test.sh脚本也就不再执行了.
制作RAMDISK
为了提高HLS的读写效率,可以把切片和索引文件操作放在内存中进行.
mount -t tmpfs -o size=512m tmpfs /opt/www/live参考文献
1 https://github.com/arut/nginx-rtmp-module/wiki/Directives
- Android RTMP直播(续二)
- Android RTMP直播(续)
- Android RTMP直播
- Android 直播RTMP流
- Android 如何直播RTMP流
- Android 如何直播RTMP流
- Android 如何直播RTMP流
- Android 如何直播RTMP流
- Android 如何直播RTMP流
- Android 如何直播RTMP流
- android RTMP直播流媒体支持
- Android 端的 RTMP直播实现
- Android RTMP直播推流方案选择
- Android开发-直播视讯(1)-RTMP-基础知识
- 从零搭建直播聊天平台(二.nginx-rtmp)
- Android直播(二)
- android直播学习:软编码+硬编码+rtmp推流视音频
- Windows nginx RTMP ==> 直播&&点播 [android][js]
- mysql 错误码: 1267
- 最大子串搜和索算法
- 页面内容不足以铺满屏幕高度时,footer居底显示
- 极验验证码的破解-开篇
- 浅谈sql中的in与not in,exists与not exists的区别
- Android RTMP直播(续二)
- 调用手机闪光灯(项目遇到才写的)
- 数字0与字母o
- 实验二 sql sever数据操纵子语言
- 备忘录-ie兼容
- 机器学习之决策树--ID3
- 关于界面卡顿问题
- 一天一条Linux指令-add-apt-repository
- 【微信小程序开发•系列文章七】websocket