CentOS之:nginx安装
来源:互联网 发布:股票dma源码 编辑:程序博客网 时间:2024/06/05 04:01
前言:安装centos平台编译环境
安装make:
安装g++:
正式开始:
---------------------------------------------------------------------------
一般我们都需要先装pcre, zlib,前者为了重写rewrite,后者为了gzip压缩。
1.选定源码目录
可以是任何目录,本文选定的是/usr/local/src
2.安装PCRE库
ftp://ftp.csx.cam.ac.uk/pub/software/programming/pcre/ 下载最新的 PCRE 源码包,使用下面命令下载编译和安装 PCRE 包:
3.安装zlib库
http://zlib.net/zlib-1.2.8.tar.gz 下载最新的 zlib 源码包,使用下面命令下载编译和安装 zlib包:
4.安装ssl(某些vps默认没装ssl)
5.安装nginx
Nginx 一般有两个版本,分别是稳定版和开发版,您可以根据您的目的来选择这两个版本的其中一个,下面是把 Nginx 安装到 /usr/local/nginx 目录下的详细步骤:
安装成功后 查看版本:
/usr/local/webserver/nginx/sbin/nginx -v
到这里nginx就安装完成了,如果只是处理静态html就不用继续安装了
Nginx 配置
创建 Nginx 运行使用的用户 www:(进入/usr/local/src/nginx/conf目录)
1、创建www组(可以去了解一下linux的组策略)
2、创建www用户,并加入到www组
[root@bogon conf]# /usr/sbin/groupadd www [root@bogon conf]# /usr/sbin/useradd -g www www
配置nginx.conf ,将/usr/local/webserver/nginx/conf/nginx.conf替换为以下内容
[root@bogon conf]# cat /usr/local/webserver/nginx/conf/nginx.confuser www www;worker_processes 1; #设置值和CPU核心数一致error_log /usr/local/webserver/nginx/logs/nginx_error.log crit; #日志位置和日志级别pid /usr/local/webserver/nginx/nginx.pid;#Specifies the value for maximum file descriptors that can be opened by this process.worker_rlimit_nofile 65535;events{ use epoll; worker_connections 65535;}http{ include mime.types; default_type application/octet-stream; log_format main '$remote_addr - $remote_user [$time_local] "$request" ' '$status $body_bytes_sent "$http_referer" ' '"$http_user_agent" $http_x_forwarded_for'; #charset gb2312; server_names_hash_bucket_size 128; client_header_buffer_size 32k; large_client_header_buffers 4 32k; client_max_body_size 8m; sendfile on; tcp_nopush on; keepalive_timeout 60; tcp_nodelay on; fastcgi_connect_timeout 300; fastcgi_send_timeout 300; fastcgi_read_timeout 300; fastcgi_buffer_size 64k; fastcgi_buffers 4 64k; fastcgi_busy_buffers_size 128k; fastcgi_temp_file_write_size 128k; gzip on; gzip_min_length 1k; gzip_buffers 4 16k; gzip_http_version 1.0; gzip_comp_level 2; gzip_types text/plain application/x-javascript text/css application/xml; gzip_vary on; #limit_zone crawler $binary_remote_addr 10m; #下面是server虚拟主机的配置 server { listen 80;#监听端口 server_name localhost;#域名 index index.html index.htm index.php; root /usr/local/webserver/nginx/html;#站点目录 location ~ .*\.(php|php5)?$ { #fastcgi_pass unix:/tmp/php-cgi.sock; fastcgi_pass 127.0.0.1:9000; fastcgi_index index.php; include fastcgi.conf; } location ~ .*\.(gif|jpg|jpeg|png|bmp|swf|ico)$ { expires 30d; # access_log off; } location ~ .*\.(js|css)?$ { expires 15d; # access_log off; } access_log off; }}
检查配置文件ngnix.conf的正确性命令:
[root@bogon conf]# /usr/local/webserver/nginx/sbin/nginx -t

启动 Nginx
Nginx 启动命令如下:
[root@bogon conf]# /usr/local/webserver/nginx/sbin/nginx

[注意:]可以配置nginx的环境变量,这样就不用输入前面的一长串:
export PATH USER LOGNAME MAIL HOSTNAME HISTSIZE HISTCONTROL 这一行之前 添加:
#set for ngix
export PATH=$PATH:/usr/local/webserver/nginx/sbin/
再执行命令source /etc/profile或 执行点命令 ./profile使其修改生效,执行完可通过echo $PATH命令查看是否添加成功。这样以后直接输入:nginx就可以启动nginx服务了。
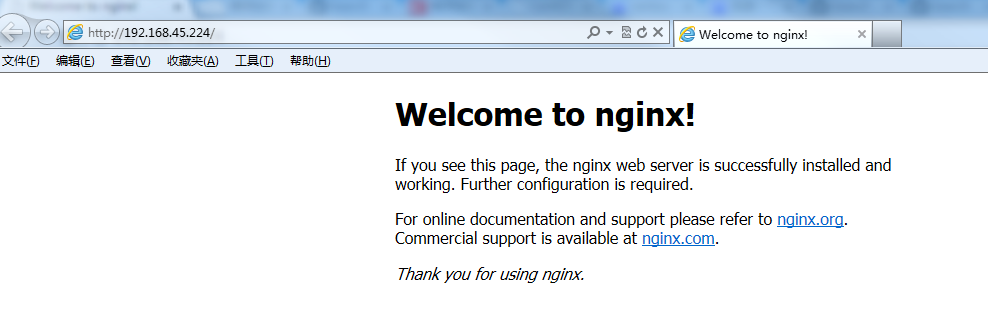
访问站点
从浏览器访问我们配置的站点ip:
Nginx 其他命令
以下包含了 Nginx 常用的几个命令:
/usr/local/webserver/nginx/sbin/nginx -s reload # 重新载入配置文件/usr/local/webserver/nginx/sbin/nginx -s reopen # 重启 Nginx/usr/local/webserver/nginx/sbin/nginx -s stop # 停止 Nginx
重要参考链接:
http://www.runoob.com/linux/nginx-install-setup.html
http://www.nginx.cn/install
http://blog.csdn.net/mxxlevel/article/details/45537341
http://www.runoob.com/w3cnote/nginx-install-and-config.html
- CentOS之:nginx安装
- Linux(Centos)之安装Nginx
- Linux(Centos)之安装Nginx及注意事项
- centos 之nginx的安装使用
- Linux(Centos)之安装Nginx及注意事项
- Linux(Centos)之安装Nginx及注意事项
- Linux(Centos)之安装Nginx及注意事项
- centos之lnmp安装 nginx负载均衡
- CentOS搭建PHP服务器之安装nginx
- 【Linux】Centos之安装Nginx及注意事项
- 【Linux】Centos之安装Nginx及注意事项
- 【Linux】Centos之安装Nginx及注意事项
- 【Linux】Centos之安装Nginx及注意事项
- 【Linux】Centos之安装Nginx及注意事项
- 【Linux】Centos之安装Nginx及注意事项
- Linux(Centos)之安装Nginx及注意事项
- Linux(Centos)之安装Nginx及注意事项
- Linux(Centos)之安装Nginx及注意事项
- Spring的PropertyPlaceholderConfigurer应用
- 随笔录 之 spring 自学杂记(三) -- AOP(一)
- matlab画图笔记-数组转置-截取行列及多组数据显示
- 记单词005
- linux按文件大小排序和按时间排序指令
- CentOS之:nginx安装
- [Wondgirl] iOS-日历
- 大公司里怎样开发和部署前端代码?
- 大型JavaWeb分布式系统中关于maven多模块构建以及代码依赖管理
- 常见浏览器兼容性问题与解决方案
- skyline中改变模型颜色
- c语言银行家算法
- RxJava 详解
- 【编程之法】有趣的字符串全排列