使用IntelliJ IDEA开发SpringMVC网站(二)框架配置
来源:互联网 发布:编程界圣经 编辑:程序博客网 时间:2024/05/07 13:57
五、SpringMVC框架配置
进行完上面的配置,那就说明现在基本的开发环境已经搭建好了,现在要开始进行SpringMVC的网站开发。
1、web.xml配置
打开src\main\webapp\WEB-INF\下的web.xml文件,稍微更新一下web.xml的版本,可以支持更高级的一些语法,如下:
<?xml version="1.0" encoding="UTF-8"?><web-app xmlns="http://xmlns.jcp.org/xml/ns/javaee" xmlns:xsi="http://www.w3.org/2001/XMLSchema-instance" xsi:schemaLocation="http://xmlns.jcp.org/xml/ns/javaee http://xmlns.jcp.org/xml/ns/javaee/web-app_3_1.xsd" version="3.1"> <display-name>SpringMVCDemo Web Application</display-name></web-app>在<web-app>中加入一个servlet:
<?xml version="1.0" encoding="UTF-8"?><web-app xmlns="http://xmlns.jcp.org/xml/ns/javaee" xmlns:xsi="http://www.w3.org/2001/XMLSchema-instance" xsi:schemaLocation="http://xmlns.jcp.org/xml/ns/javaee http://xmlns.jcp.org/xml/ns/javaee/web-app_3_1.xsd" version="3.1"> <display-name>SpringMVCDemo Web Application</display-name> <servlet> <servlet-name>mvc-dispatcher</servlet-name> <servlet-class>org.springframework.web.servlet.DispatcherServlet</servlet-class> <load-on-startup>1</load-on-startup> </servlet> <servlet-mapping> <servlet-name>mvc-dispatcher</servlet-name> <url-pattern>/</url-pattern> </servlet-mapping></web-app>该servlet名为mvc-dispatcher(名称可修改),用于拦截请求(url-pattern为 / ,说明拦截所有请求),并交由Spring MVC的后台控制器来处理。这一项配置是必须的。
为了能够处理中文的post请求,再配置一个encodingFilter,以避免post请求中文出现乱码情况:
<filter> <filter-name>encodingFilter</filter-name> <filter-class>org.springframework.web.filter.CharacterEncodingFilter</filter-class> <init-param> <param-name>encoding</param-name> <param-value>UTF-8</param-value> </init-param> <init-param> <param-name>forceEncoding</param-name> <param-value>true</param-value> </init-param></filter><filter-mapping> <filter-name>encodingFilter</filter-name> <url-pattern>/*</url-pattern></filter-mapping>至此,web.xml配置完毕。
2、xxx-servlet.xml配置
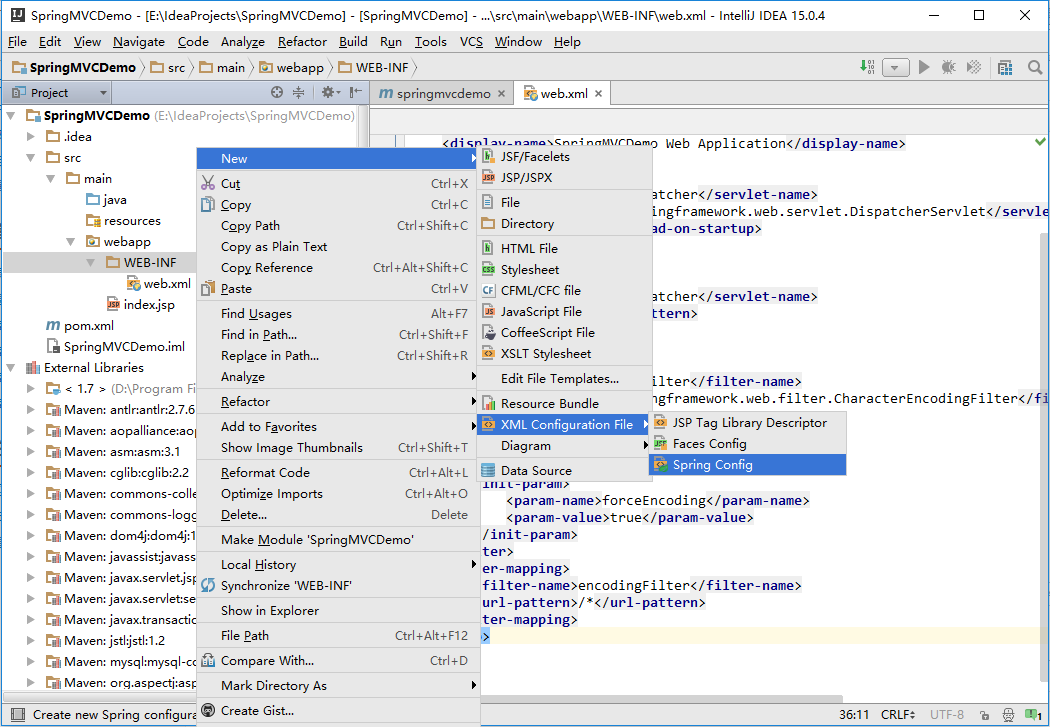
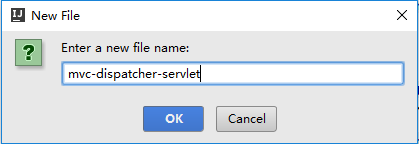
在配置完web.xml后,需在web.xml同级目录下新建 mvc-dispatcher-servlet.xml(-servlet前面是在servlet里面定义的servlet名):
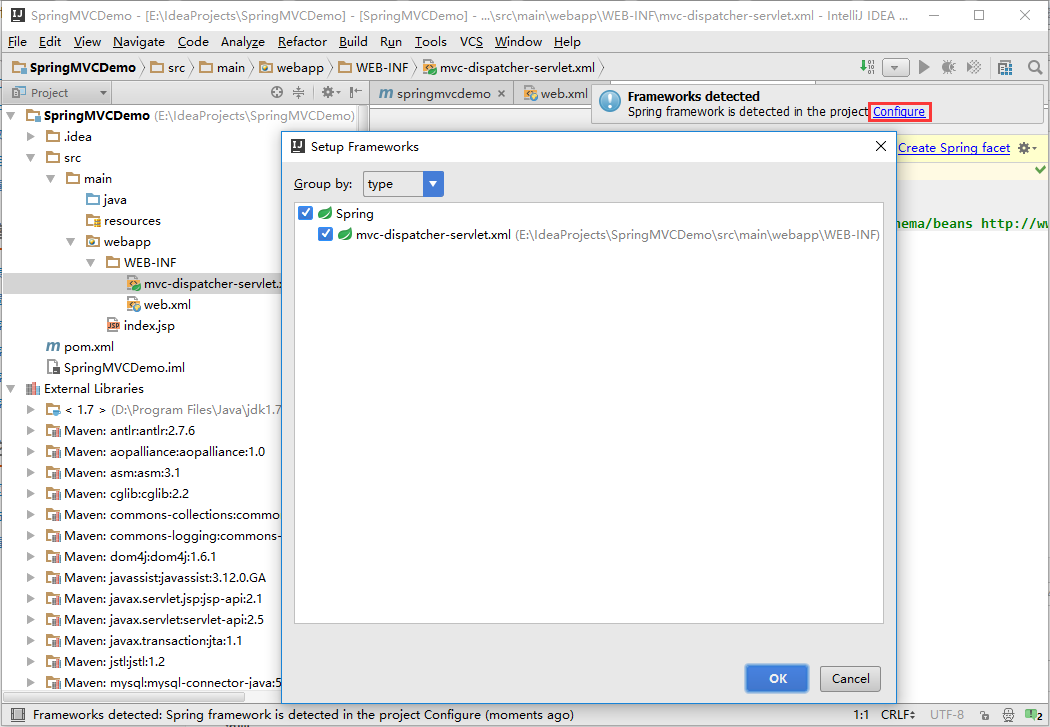
新建该xml文件后,点击右上角的configure,出现 Setup Frameworks界面,点击OK,这样,IntelliJ IDEA就识别了SpringMVC的配置文件:
mvc-dispatcher-servlet.xml文件如下:
<?xml version="1.0" encoding="UTF-8"?><beans xmlns="http://www.springframework.org/schema/beans" xmlns:xsi="http://www.w3.org/2001/XMLSchema-instance" xsi:schemaLocation="http://www.springframework.org/schema/beans http://www.springframework.org/schema/beans/spring-beans.xsd"></beans>MVC框架有model、view、controller三部分组成。model一般为一些基本的Java Bean,view用于进行相应的页面显示,controller用于处理网站的请求。
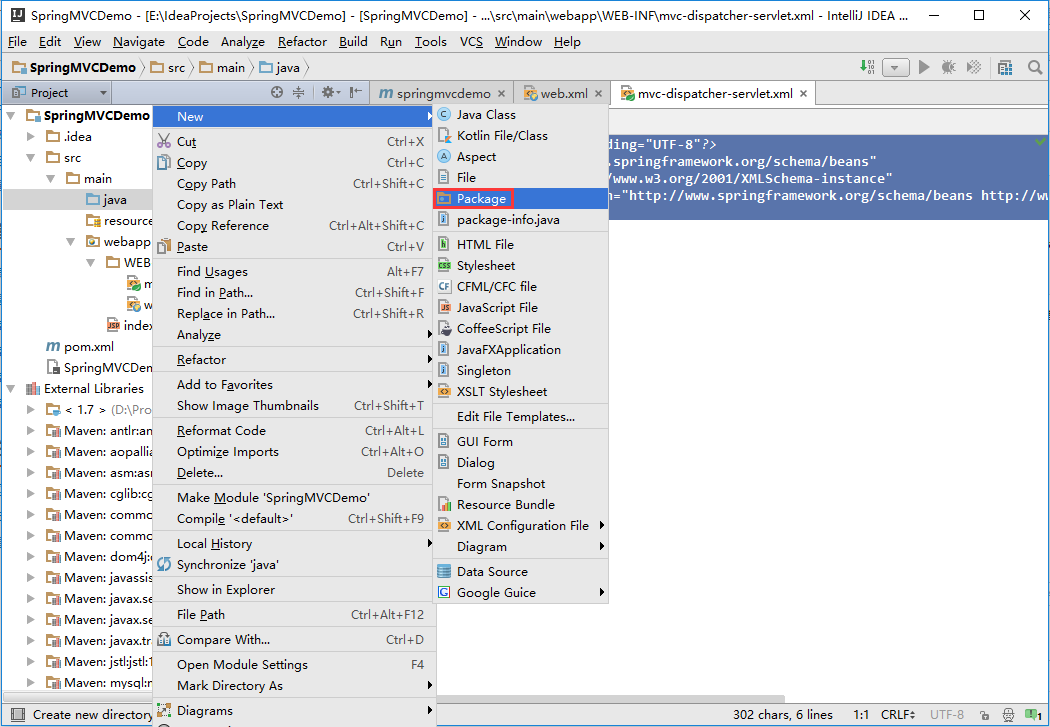
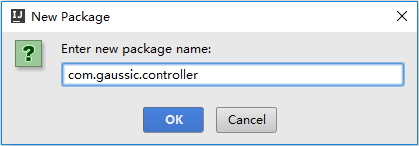
在src\main\java中新建一个用于保存controller的package:
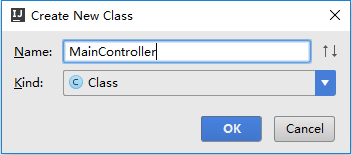
在controller包中新建java类MainController(名称并不固定,可任意取),并修改如下:

package com.gaussic.controller;import org.springframework.stereotype.Controller;import org.springframework.web.bind.annotation.RequestMapping;import org.springframework.web.bind.annotation.RequestMethod;/** * Created by dzkan on 2016/3/8. */@Controllerpublic class MainController { @RequestMapping(value = "/", method = RequestMethod.GET) public String index() { return "index"; }}
(1)@Controller注解:采用注解的方式,可以明确地定义该类为处理请求的Controller类;
(2)@RequestMapping()注解:用于定义一个请求映射,value为请求的url,值为 / 说明,该请求首页请求,method用以指定该请求类型,一般为get和post;
(3)return "index":处理完该请求后返回的页面,此请求返回 index.jsp页面。
回到mvc-dispatcher-servlet.xml,进行相关配置。首先加入component-scan标签,指明controller所在的包,并扫描其中的注解(最好不要复制,输入时按IDEA会在beans xmlns中添加相关内容):
<?xml version="1.0" encoding="UTF-8"?><beans xmlns="http://www.springframework.org/schema/beans" xmlns:xsi="http://www.w3.org/2001/XMLSchema-instance" xmlns:context="http://www.springframework.org/schema/context" xsi:schemaLocation="http://www.springframework.org/schema/beans http://www.springframework.org/schema/beans/spring-beans.xsd http://www.springframework.org/schema/context http://www.springframework.org/schema/context/spring-context.xsd"> <!--指明 controller 所在包,并扫描其中的注解--> <context:component-scan base-package="com.gaussic.controller"/></beans>再进行js、image、css等静态资源访问的相关配置,这样,SpringMVC才能访问网站内的静态资源:
<!-- 静态资源(js、image等)的访问 --><mvc:default-servlet-handler/>再开启springmvc注解模式,由于我们利用注解方法来进行相关定义,可以省去很多的配置:
<!-- 开启注解 --><mvc:annotation-driven/>再进行视图解析器的相关配置:
<!--ViewResolver 视图解析器--><!--用于支持Servlet、JSP视图解析--><bean id="jspViewResolver" class="org.springframework.web.servlet.view.InternalResourceViewResolver"> <property name="viewClass" value="org.springframework.web.servlet.view.JstlView"/> <property name="prefix" value="/WEB-INF/pages/"/> <property name="suffix" value=".jsp"/></bean>关于controller如何找到视图文件,这里需要详细的说明。在 controller 的一个方法中,返回的字符串定义了所需访问的jsp的名字(如上面的index)。在jspViewResolver中,有两个属性,一个是prefix,定义了所需访问的文件路径前缀,另一是suffix,表示要访问的文件的后缀,这里为 .jsp。那么,如果返回字符串是 xxx ,SpringMVC就会找到 /WEB-INF/pages/xxx.jsp 文件。
完成以上配置后,mvc-dispatcher-servlet.xml文件如下图所示:
<?xml version="1.0" encoding="UTF-8"?><beans xmlns="http://www.springframework.org/schema/beans" xmlns:xsi="http://www.w3.org/2001/XMLSchema-instance" xmlns:context="http://www.springframework.org/schema/context" xmlns:mvc="http://www.springframework.org/schema/mvc" xsi:schemaLocation="http://www.springframework.org/schema/beans http://www.springframework.org/schema/beans/spring-beans.xsd http://www.springframework.org/schema/context http://www.springframework.org/schema/context/spring-context.xsd http://www.springframework.org/schema/mvc http://www.springframework.org/schema/mvc/spring-mvc.xsd"> <!--指明 controller 所在包,并扫描其中的注解--> <context:component-scan base-package="com.gaussic.controller"/> <!-- 静态资源(js、image等)的访问 --> <mvc:default-servlet-handler/> <!-- 开启注解 --> <mvc:annotation-driven/> <!--ViewResolver 视图解析器--> <!--用于支持Servlet、JSP视图解析--> <bean id="jspViewResolver" class="org.springframework.web.servlet.view.InternalResourceViewResolver"> <property name="viewClass" value="org.springframework.web.servlet.view.JstlView"/> <property name="prefix" value="/WEB-INF/pages/"/> <property name="suffix" value=".jsp"/> </bean></beans>以上配置有可能无法运行程序,经过实践,修改成如下:(可以运行)
<?xml version="1.0" encoding="UTF-8"?><beans xmlns="http://www.springframework.org/schema/beans" xmlns:xsi="http://www.w3.org/2001/XMLSchema-instance" xmlns:context="http://www.springframework.org/schema/context" xmlns:tx="http://www.springframework.org/schema/tx" xmlns:jdbc="http://www.springframework.org/schema/jdbc" xmlns:task="http://www.springframework.org/schema/task" xmlns:cache="http://www.springframework.org/schema/cache" xmlns:p="http://www.springframework.org/schema/p" xsi:schemaLocation="http://www.springframework.org/schema/jdbc http://www.springframework.org/schema/jdbc/spring-jdbc.xsd http://www.springframework.org/schema/task http://www.springframework.org/schema/task/spring-task.xsd http://www.springframework.org/schema/beans http://www.springframework.org/schema/beans/spring-beans.xsd http://www.springframework.org/schema/cache http://www.springframework.org/schema/cache/spring-cache.xsd http://www.springframework.org/schema/tx http://www.springframework.org/schema/tx/spring-tx.xsd http://www.springframework.org/schema/context http://www.springframework.org/schema/context/spring-context.xsd"> <!--指明 controller 所在包,并扫描其中的注解--> <context:component-scan base-package="com.ws.controller"/> <!-- 静态资源(js、image等)的访问 --> <!--<mvc:default-servlet-handler/>--> <!-- 开启注解 --> <!--<mvc:annotation-driven/>--> <!--ViewResolver 视图解析器--> <!--用于支持Servlet、JSP视图解析--> <bean id="jspViewResolver" class="org.springframework.web.servlet.view.InternalResourceViewResolver"> <property name="viewClass" value="org.springframework.web.servlet.view.JstlView"/> <property name="prefix" value="/WEB-INF/pages/"/> <property name="suffix" value=".jsp"/> </bean></beans>
我们删除 webapp 目录下的 index.jsp 文件,在WEB-INF目录下新建文件夹pages,再在pages目录下新建 index.jsp,并修改为如下所示:
<%@ page contentType="text/html;charset=UTF-8" language="java" %><!DOCTYPE html><html lang="zh-CN"><head> <meta charset="utf-8"> <meta http-equiv="X-UA-Compatible" content="IE=edge"> <meta name="viewport" content="width=device-width, initial-scale=1"> <!-- 上述3个meta标签*必须*放在最前面,任何其他内容都*必须*跟随其后! --> <title>SpringMVC Demo 首页</title> <!-- 新 Bootstrap 核心 CSS 文件 --> <link rel="stylesheet" href="//cdn.bootcss.com/bootstrap/3.3.5/css/bootstrap.min.css"> <!-- HTML5 shim and Respond.js for IE8 support of HTML5 elements and media queries --> <!-- WARNING: Respond.js doesn't work if you view the page via file:// --> <!--[if lt IE 9]> <script src="//cdn.bootcss.com/html5shiv/3.7.2/html5shiv.min.js"></script> <script src="//cdn.bootcss.com/respond.js/1.4.2/respond.min.js"></script> <![endif]--></head><body><h1>这里是SpringMVC Demo首页</h1><h3>出现此页面,说明配置成功。</h3><!-- jQuery文件。务必在bootstrap.min.js 之前引入 --><script src="//cdn.bootcss.com/jquery/1.11.3/jquery.min.js"></script><!-- 最新的 Bootstrap 核心 JavaScript 文件 --><script src="//cdn.bootcss.com/bootstrap/3.3.5/js/bootstrap.min.js"></script></body></html>
这里使用了Bootstrap的CDN加速服务,如果要使用本地的Bootstrap,请前往Bootstrap官网下载,并放在 webapp 目录下,然后引入到 index.jsp 中,这里不做详细介绍。
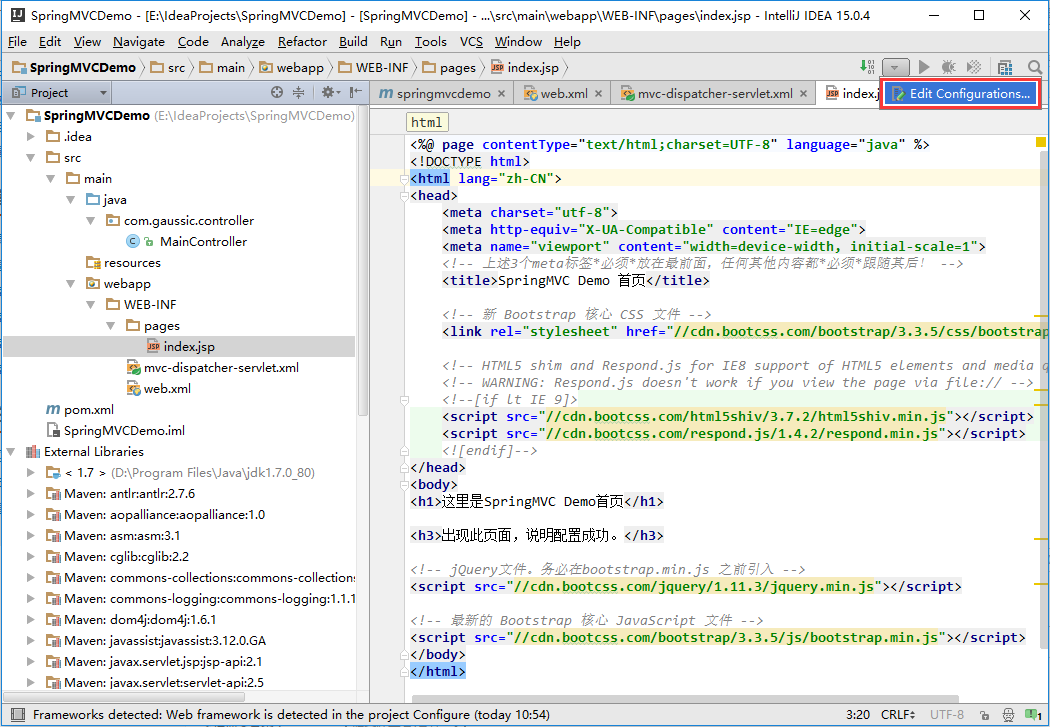
现在,需要配置 Tomcat 来运行该项目。点击界面右上角的向下箭头,选择 Edit Configurations:
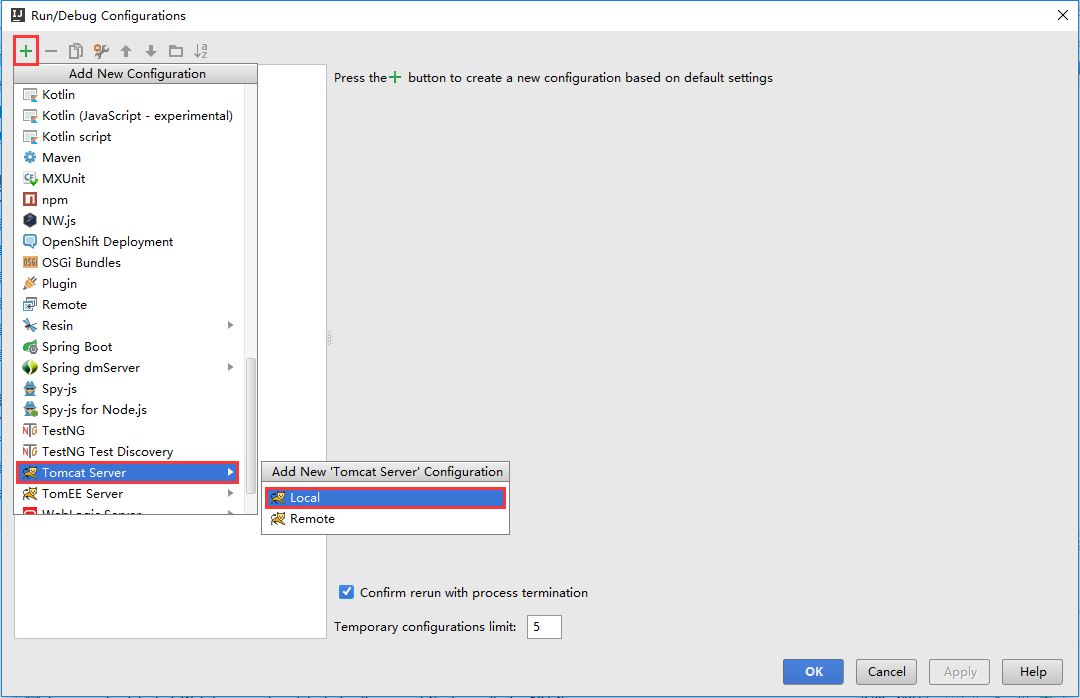
点击左上角的”+“号,选择Tomcat Server,(如果没有请选择最下方的33 items more,找到Tomcat Server),再选择Local:
进入如下界面:
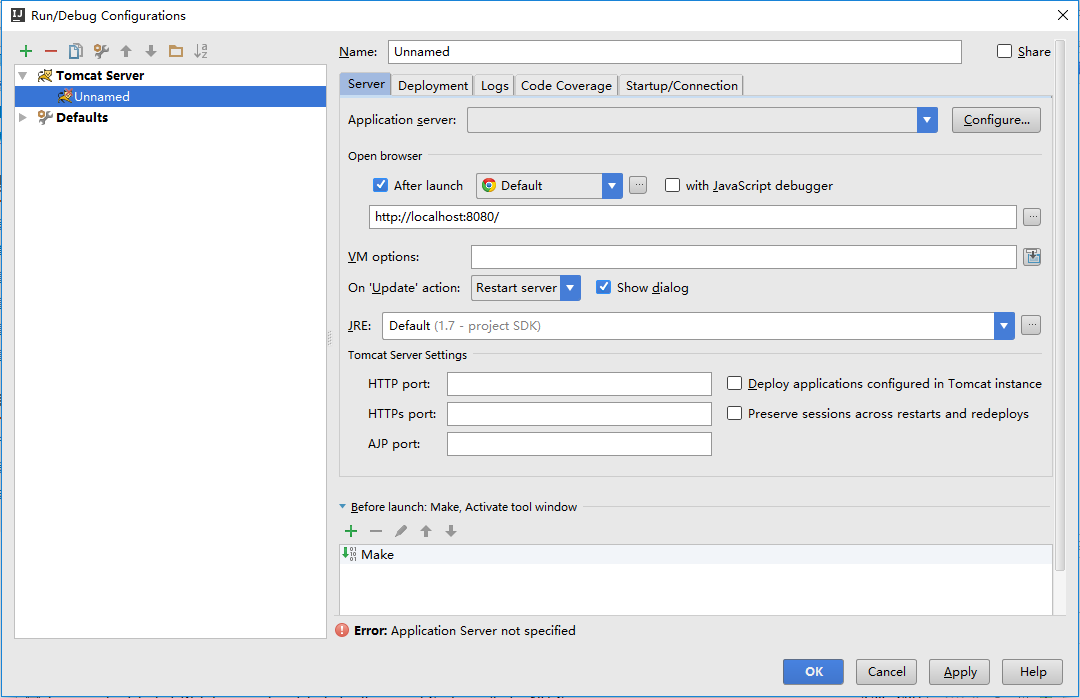
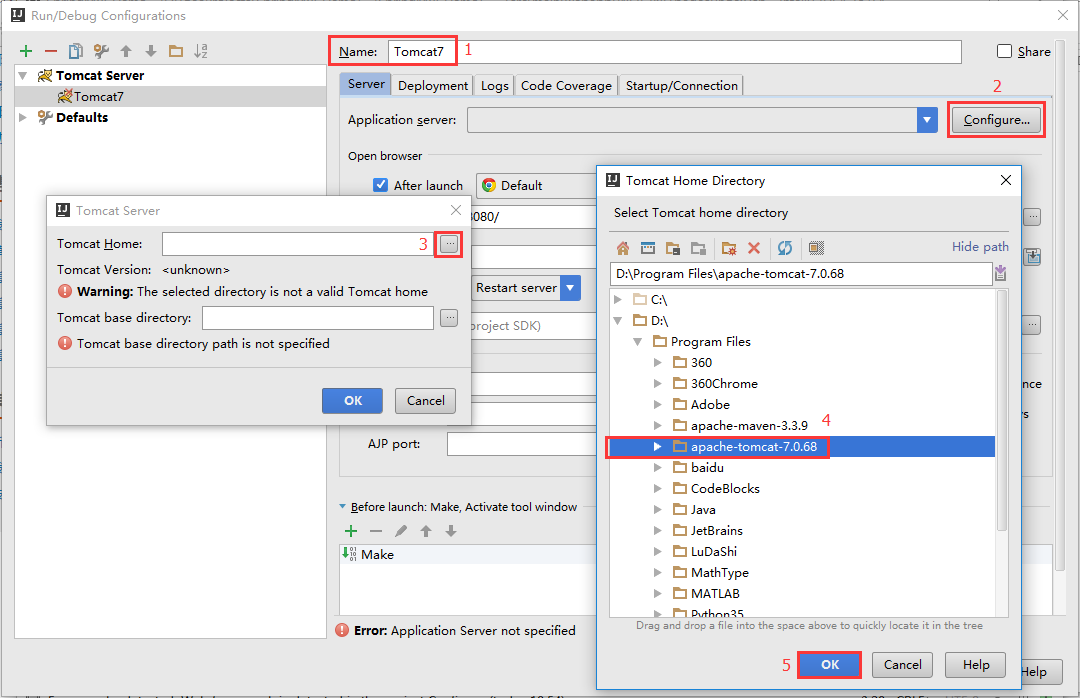
点击 Application server 右边的 Configure,导入Tomcat 目录(项目已更新到Tomcat8,请按照自身版本导入):
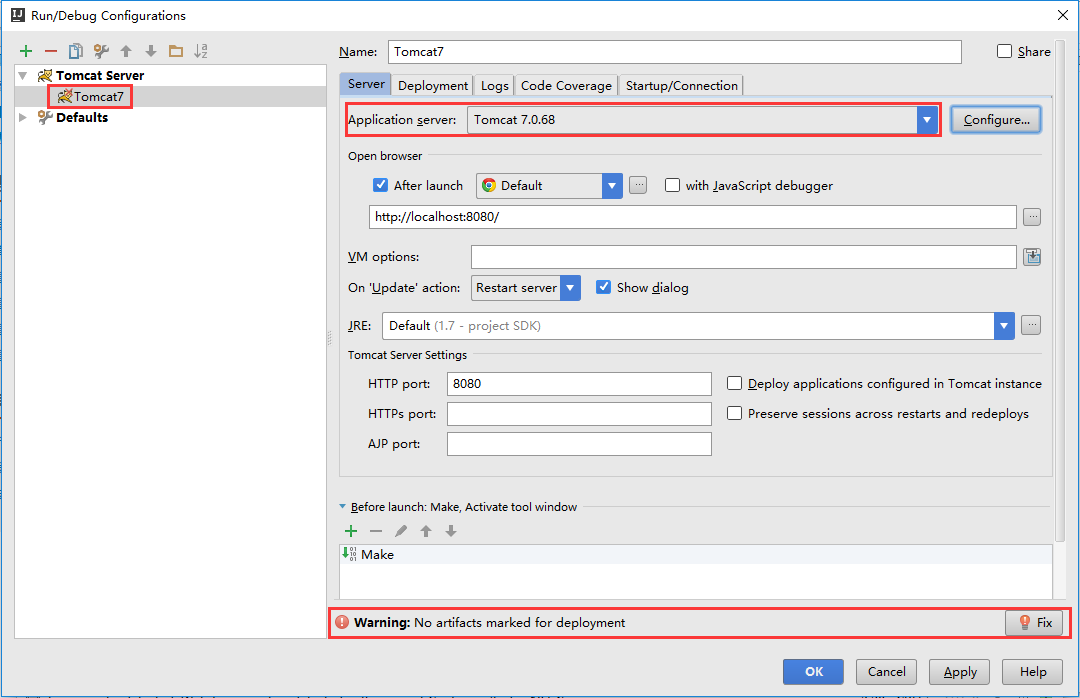
在配置好tomcat的路径后,如下图所示,发现依然存在警告,且左方的Tomcat7图标上有一个错误标记,说明还没有配置完全:
我们还需要将项目部署到 Tomcat 服务器中。点击 Deployment,再点击右边的”+“号,添加一个Artifact:
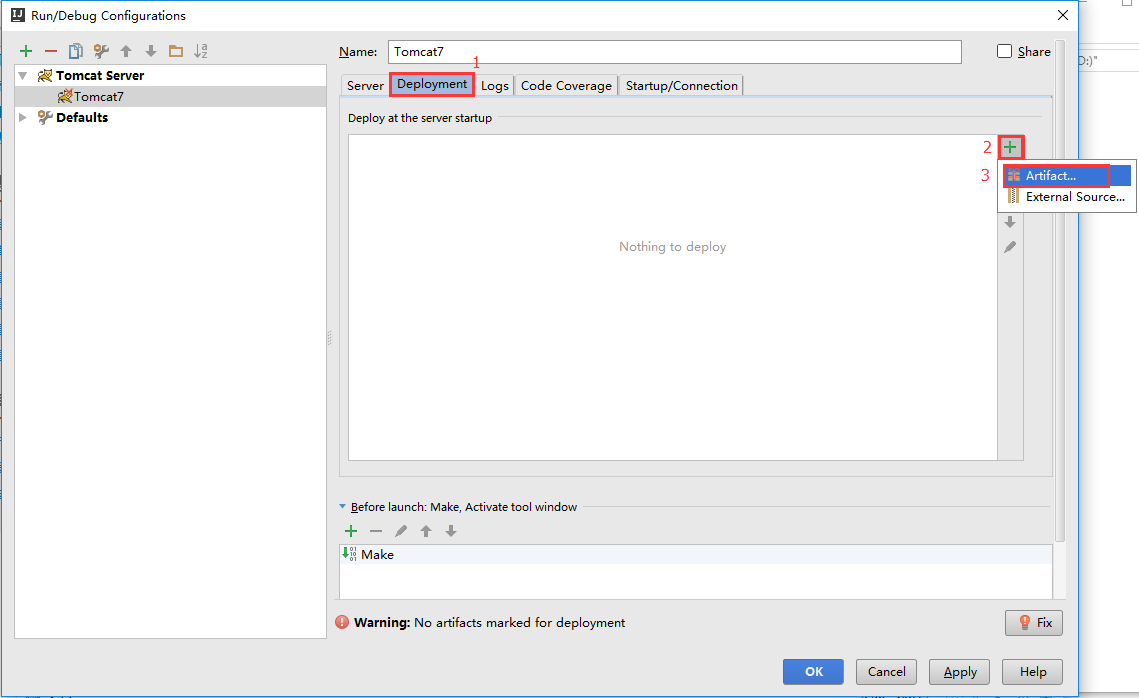
选择第二个:war exploded,点击OK,这样,该项目就已经部署到了tomcat中:

再点击OK,整个Tomcat配置结束:

点击界面右上角的红框中的绿色箭头,就可以启动 Tomcat 了,其控制台输出将在 IDEA 下方显示
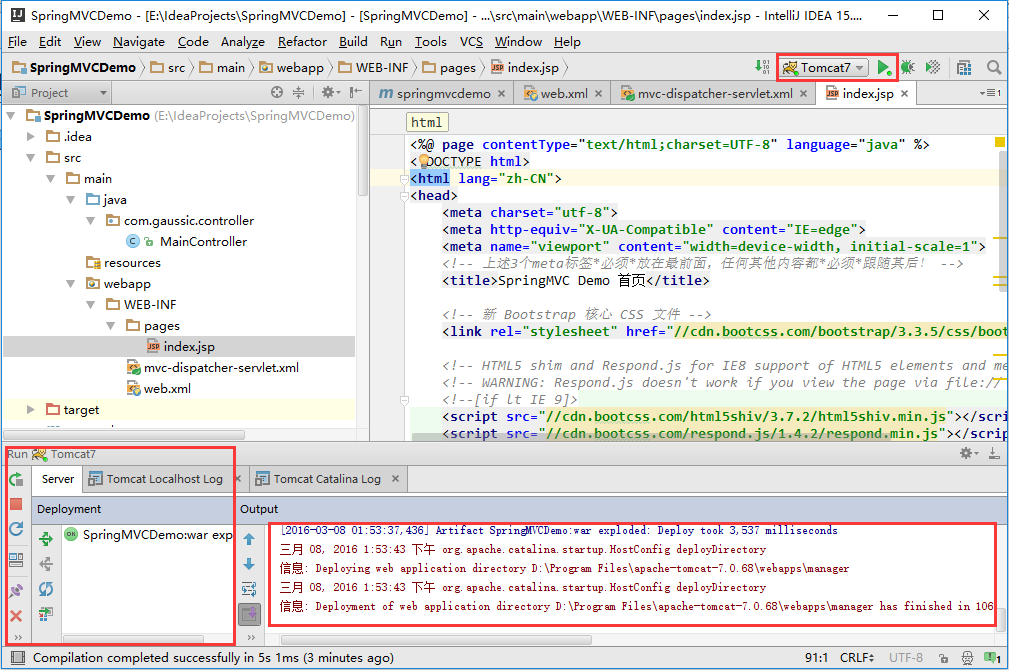
启动后,浏览器将自动弹出项目首页:
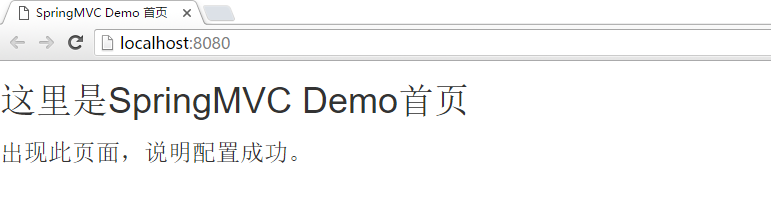
这样,说明配置完成。这里总结一下其相关机制:首先,浏览器访问 localhost:8080,后台controller拦截该请求,进行相应的处理(此处无),在跳转到视图 index.jsp进行显示。此后,将会进行详细的介绍。
- 使用IntelliJ IDEA开发SpringMVC网站(二)框架配置
- 使用IntelliJ IDEA开发SpringMVC网站(二)框架配置
- 使用IntelliJ IDEA开发SpringMVC网站(二)框架配置
- 使用IntelliJ IDEA开发SpringMVC网站(二)框架配置
- 使用IntelliJ IDEA开发SpringMVC网站(二)框架配置
- 使用IntelliJ IDEA开发SpringMVC网站(二)框架配置
- 使用IntelliJ IDEA开发SpringMVC网站(二)框架配置
- 使用IntelliJ IDEA开发SpringMVC网站(二)框架配置
- 使用IntelliJ IDEA开发SpringMVC网站(二)框架配置
- 使用IntelliJ IDEA开发SpringMVC网站(二)框架配置
- 使用IntelliJ IDEA开发SpringMVC网站(三)数据库配置
- 使用IntelliJ IDEA开发SpringMVC网站(三)数据库配置
- 使用IntelliJ IDEA开发SpringMVC网站(三)数据库配置
- 使用IntelliJ IDEA开发SpringMVC网站(三)数据库配置
- 使用IntelliJ IDEA开发SpringMVC网站(三)数据库配置
- 使用IntelliJ IDEA开发SpringMVC网站(三)数据库配置
- 使用IntelliJ IDEA开发SpringMVC网站(三)数据库配置
- 使用IntelliJ IDEA开发SpringMVC网站(三)数据库配置
- 空间出口搜索问题
- new和malloc区别
- SpringMvc 及 Spring 工作原理和作用
- 解读NoSQL技术代表之作Dynamo
- Demo 收集
- 使用IntelliJ IDEA开发SpringMVC网站(二)框架配置
- MySQL 行列转换
- jmeterHTTP协议接口测试基础教程
- IOS开发之日期格式化时间
- Java网页数据抓取实例(httpclient4.2.1+jsoup1.7.2)
- java枚举类Enum方法简介(valueof,value,ordinal)
- Flux实例流程解析
- echarts esl加载路径---未配置模块
- 瓦尔登湖