Springboot系列:Springboot与Thymeleaf模板引擎整合基础教程(附源码)
来源:互联网 发布:淘宝团队管理制度 编辑:程序博客网 时间:2024/05/16 11:38
前言
由于在开发My Blog项目时使用了大量的技术整合,针对于部分框架的使用和整合的流程没有做详细的介绍和记录,导致有些朋友用起来有些吃力,因此打算在接下来的时间里做一些基础整合的介绍,当然,可能也不会特别的基础,但是源码会开放给大家,方便大家学习,此次的源码地址为springboot-thymeleaf,多谢大家支持。
简介

Thymeleaf是一个跟Velocity、FreeMarker类似的模板引擎,它可以完全替代JSP,相较与其他的模板引擎,它有如下三个极吸引人的特点:
- Thymeleaf在有网络和无网络的环境下皆可运行,即它可以让美工在浏览器查看页面的静态效果,也可以让程序员在服务器查看带数据的动态页面效果。这是由于它支持 html 原型,然后在 html 标签里增加额外的属性来达到模板+数据的展示方式。浏览器解释 html 时会忽略未定义的标签属性,所以thymeleaf的模板可以静态地运行;当有数据返回到页面时,Thymeleaf 标签会动态地替换掉静态内容,使页面动态显示。
- Thymeleaf开箱即用的特性。它提供标准和spring标准两种方言,可以直接套用模板实现JSTL、OGNL表达式效果,避免每天套模板、改jstl、改标签的困扰。同时开发人员也可以扩展和创建自定义的方言。
- Thymeleaf提供spring标准方言和一个与SpringMVC完美集成的可选模块,可以快速的实现表单绑定、属性编辑器、国际化等功能。
整合过程
编辑pom文件,引入Thymeleaf
<?xml version="1.0" encoding="UTF-8"?><project xmlns="http://maven.apache.org/POM/4.0.0" xmlns:xsi="http://www.w3.org/2001/XMLSchema-instance" xsi:schemaLocation="http://maven.apache.org/POM/4.0.0 http://maven.apache.org/xsd/maven-4.0.0.xsd"> <modelVersion>4.0.0</modelVersion> <artifactId>com.my.blog</artifactId> <name>springboot-thymeleaf</name> <description>springboot-thymeleaf</description> <parent> <groupId>org.springframework.boot</groupId> <artifactId>spring-boot-starter-parent</artifactId> <version>1.5.1.RELEASE</version> </parent> <properties> <java.version>1.7</java.version> </properties> <dependencies> <dependency> <groupId>org.springframework.boot</groupId> <artifactId>spring-boot-starter-thymeleaf</artifactId> </dependency> </dependencies> <build> <plugins> <plugin> <groupId>org.springframework.boot</groupId> <artifactId>spring-boot-maven-plugin</artifactId> </plugin> </plugins> </build></project>Thymeleaf配置
# thymeleafspring.thymeleaf.prefix=classpath:/templates/spring.thymeleaf.check-template-location=truespring.thymeleaf.suffix=.htmlspring.thymeleaf.encoding=UTF-8spring.thymeleaf.content-type=text/htmlspring.thymeleaf.mode=HTML5spring.thymeleaf.cache=false新建模板文件
在resources文件夹下新增templates目录,用于存放模板文件,新增hello.html。
<!DOCTYPE html><html lang="en" xmlns:th="http://www.thymeleaf.org"><head> <meta charset="UTF-8"/> <title>springboot-thymeleaf demo</title></head><body> <p th:text="'hello, ' + ${name} + '!'" /></body></html>编辑业务代码及启动类
HelloController :
/** * author:13 * date:2017-09-14 */@Controllerpublic class HelloController { @RequestMapping("/hello") public String hello(HttpServletRequest request, @RequestParam(value = "name", required = false, defaultValue = "springboot-thymeleaf") String name) { request.setAttribute("name", name); return "hello"; }}WebApplication :
/** * author:13 * date:2017-09-14 */@SpringBootApplicationpublic class WebApplication extends SpringBootServletInitializer { @Override protected SpringApplicationBuilder configure(SpringApplicationBuilder application) { return application.sources(WebApplication.class); } public static void main(String[] args) throws Exception { SpringApplication.run(WebApplication.class, args); }}验证
项目启动后,在浏览器端输入以下urlhttp://localhost:8080/hello: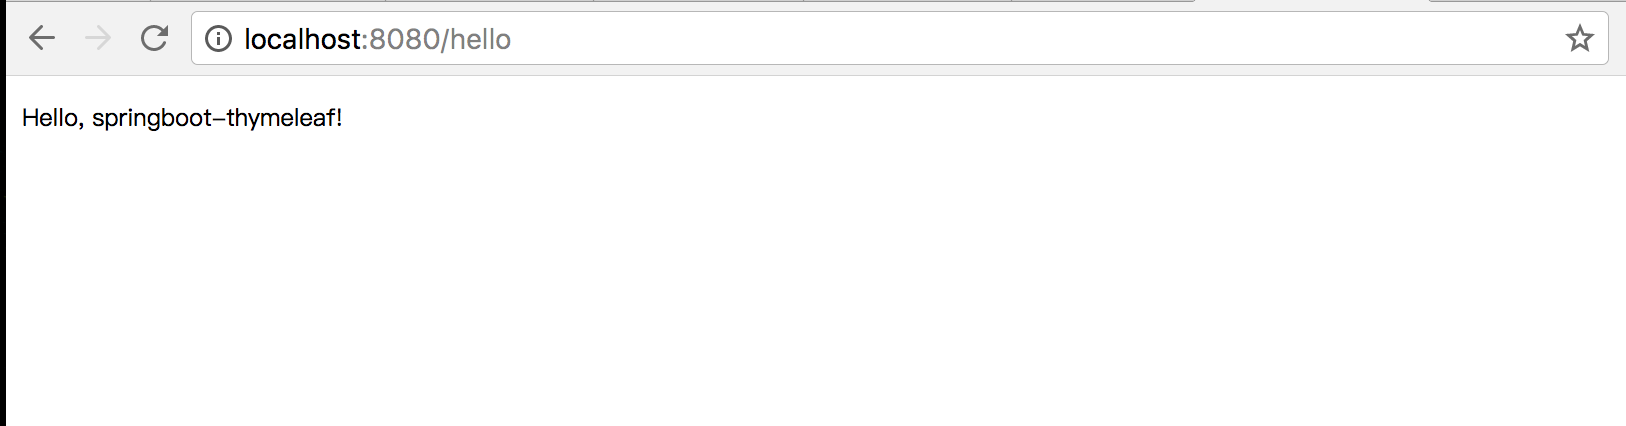
结语
首发于我的个人博客。
如果有问题或者有一些好的创意,欢迎给我留言,也感谢向我指出项目中存在问题的朋友。
代码和这次的问题都是My Blog项目中的,如果你想继续了解该项目可以查看整个系列文章Java开源博客My-Blog(SpringBoot+Docker)系列文章,也可以到我的GitHub仓库或者开源中国代码仓库中查看源码及详细的部署过程和使用文档。
阅读全文
0 0
- Springboot系列:Springboot与Thymeleaf模板引擎整合基础教程(附源码)
- Springboot系列:Springboot与Thymeleaf模板引擎整合基础教程(附源码)
- Springboot系列:Springboot与Thymeleaf模板引擎整合基础教程(附源码)
- Springboot系列:Springboot与Thymeleaf模板引擎整合基础教程(附源码)
- Springboot系列:Springboot与Thymeleaf模板引擎整合基础教程(附源码)
- Springboot系列:Springboot与Thymeleaf模板引擎整合基础教程(附源码)
- Springboot系列:Springboot与Thymeleaf模板引擎整合基础教程(附源码)
- Springboot系列:Springboot与Thymeleaf模板引擎整合基础教程(附源码)
- Springboot系列:Springboot与Thymeleaf模板引擎整合基础教程(附源码)
- Springboot系列:Springboot与Thymeleaf模板引擎整合基础教程(附源码)
- Springboot系列:Springboot与Thymeleaf模板引擎整合基础教程(附源码)
- Springboot系列:Springboot与Thymeleaf模板引擎整合基础教程(附源码)
- Springboot系列:Springboot与Thymeleaf模板引擎整合基础教程(附源码)
- Springboot系列:Springboot与Thymeleaf模板引擎整合基础教程(附源码)
- Springboot系列:Springboot与Thymeleaf模板引擎整合基础教程(附源码)
- Springboot系列:Springboot与Thymeleaf模板引擎整合基础教程(附源码)
- Springboot系列:Springboot与Thymeleaf模板引擎整合基础教程(附源码)
- Springboot系列:Springboot与Thymeleaf模板引擎整合基础教程(附源码)
- Lintcode二进制求和
- Python爬虫小记(一)
- 高精度非负数模板
- Java Web 会话保留技术
- Cordova 学习笔记一
- Springboot系列:Springboot与Thymeleaf模板引擎整合基础教程(附源码)
- c#从控制台输入问题
- request response session
- Ajax的ajax()和post()的使用
- 最大子串和问题
- LeetCode | 80. Remove Duplicates from Sorted Array II
- C++ STL-Vector动态数组
- (剑指offer)旋转数组的最小数字
- #正念奇迹#ZQ0003《搞定:无压工作的艺术》