JavaFX打砖块游戏开发 第一课
来源:互联网 发布:淘宝的拍卖玉器可信吗 编辑:程序博客网 时间:2024/04/30 14:24
突然发现,之前还有个JavaFX游戏开发 第一课。不过,这两个教程并不冲突。目前这个系列是做一个完整的打砖块游戏。
第一课主要用到的知识有,JavaFX的动态绑定,Rectangle的使用,简单的MouseMove事件,BoxBlur特效。
那么,我们首先创建一个名叫BrickBlock的JavaFX Project。本人是使用的e(fx)clipse进行开发的。
e(fx)clipse的官方网站为:http://www.efxclipse.org/ ,下载整合插件的eclipse即可。
首先创建一个游戏对象的基类BaseObject,继承于Parent。
import javafx.beans.property.DoubleProperty;import javafx.beans.property.SimpleDoubleProperty;import javafx.scene.Parent;/** * @author wing * @date 2012/7/26 */public abstract class BaseObject extends Parent{ protected DoubleProperty widthProperty = new SimpleDoubleProperty(0); protected DoubleProperty heightProperty = new SimpleDoubleProperty(0); protected DoubleProperty xProperty = new SimpleDoubleProperty(0); protected DoubleProperty yProperty = new SimpleDoubleProperty(0); public DoubleProperty widthProperty() { return widthProperty; } public double getWidth(){ return widthProperty.get(); } public void setWidth(double width){ this.widthProperty.set(width); } public DoubleProperty heightProperty() { return heightProperty; } public double getHeight(){ return heightProperty.get(); } public void setHeight(double height){ this.heightProperty.set(height); } public DoubleProperty xProperty() { return xProperty; } public double getX(){ return xProperty.get(); } public void setX(double x){ this.xProperty.set(x); } public DoubleProperty yProperty() { return yProperty; } public double getY(){ return yProperty.get(); } public void setY(double y){ this.yProperty.set(y); } public void moveX(double x){ this.xProperty.set(getX() + x); } public void moveY(double y){ this.yProperty.set(getY() + y); } public boolean isCollisionWith(BaseObject baseObject){ if(getX() + getWidth() > baseObject.getX() && getX() < baseObject.getX() + baseObject.getWidth() && getY() + getHeight() > baseObject.getY() && getY() < baseObject.getY() + baseObject.getHeight()){ return true; } return false; } }可以看到,基类BaseObject中,包含有坐标和宽高的属性,并且还有一个检测碰撞的isCollisionWith方法。
大家可以看到,基类BaseObject中没有使用常规的数据类型,而是使用的DoubleProperty。而DoubleProperty这样
的类型,也正是JavaFX中的动态绑定的机制,set get方法只是改变DoubleProperty的值。
为了方便,isCollisionWith只是简单的矩形碰撞。
下面我们创建一个打砖块中底部拦截的游戏对象类MainBrick。
import javafx.scene.effect.BoxBlur;import javafx.scene.input.MouseEvent;import javafx.scene.paint.Color;import javafx.scene.shape.Rectangle;import org.wing.game.BrickBlock;/** * @author wing * @date 2012/7/25 */public class MainBrick extends BaseObject{ private Rectangle mRectangle; private BoxBlur mBlur; public MainBrick(){ mRectangle = new Rectangle(); mRectangle.widthProperty().bindBidirectional(widthProperty()); mRectangle.heightProperty().bindBidirectional(heightProperty()); mRectangle.xProperty().bindBidirectional(xProperty()); mRectangle.yProperty().bindBidirectional(yProperty()); mRectangle.setArcWidth(20); mRectangle.setArcHeight(20); mRectangle.setFill(Color.YELLOW); mBlur = new BoxBlur(); mBlur.setWidth(5); mBlur.setHeight(5); mRectangle.setEffect(mBlur); setWidth(150); setHeight(25); getChildren().add(mRectangle); } public void onMouseMove(MouseEvent event){ if (event.getX() >= getWidth()/2 && event.getX() <= BrickBlock.WIDTH - getWidth()/2) { setX(event.getX() - getWidth()/2); } } }MainBrick中的代码也很简单。
1.创建了一个Rectangle,这里使用了bindBidirectional方法,这个方法在JavaFX中的意义是双向绑定,只能对Property使用。
我们将Rectangle的宽度,高度,坐标与基类的属性进行了双向绑定,也就是说整个MainBrick已经是一个Rectangle了。
2.设置Rectangle的圆角,让它成为一个圆角矩形。
3.创建了一个BoxBlur效果,通过setEffect给Rectangle设置BoxBlur效果。
4.设置MainBrick的宽度和高度,由于进行了双向绑定,在这里setWidth,setHeight属性将会同步更新到Rectangle的width和height属性。
5.这里还有一个onMouseMove的事件,主要是让Rectangle跟着鼠标动,通过判断使矩形不会超出左右边界,并且将Rectangle中心与鼠标对齐。当然,这个事件现在是不能执行的。
接下来,我们创建一个游戏场景类GameScene,继承Parent。
import org.wing.game.object.MainBrick;import javafx.animation.KeyFrame;import javafx.animation.Timeline;import javafx.event.ActionEvent;import javafx.event.EventHandler;import javafx.scene.Parent;import javafx.scene.input.MouseEvent;import javafx.scene.paint.Color;import javafx.scene.shape.Rectangle;import javafx.util.Duration;public class GameScene extends Parent { private int width, height; private Rectangle background; private MainBrick mainBrick = new MainBrick(); public GameScene(int width, int height){ this.width = width; this.height = height; initGameObjects(); } private void initGameObjects(){ background = new Rectangle(0, 0, this.width, this.height); background.setOnMouseMoved(new EventHandler<MouseEvent>() { @Override public void handle(MouseEvent event) { mainBrick.onMouseMove(event); } }); background.setFill(Color.BLACK); mainBrick.setX(0); mainBrick.setY(height - mainBrick.getHeight()); getChildren().add(background); getChildren().add(mainBrick); }}在游戏场景类GameScene中,我们通过构造函数,传入场景的宽度和高度。
然后创建了一个背景Rectangle。
设置Rectangle的onMouseMove事件,在其中执行MainBrick中我们刚才写的onMouseMove函数。通过setFill将Rectangle的填充色设为黑色。
接下来,将MainBrick的作为设置为屏幕最下方。
最后,通过getChildern().add()将背景Rectangle和MainBrick添加进GameScene中。
最后就是我们的JavaFX Main Class了。
import javafx.application.Application;import javafx.scene.Scene;import javafx.stage.Stage;/** * @author wing * @date 2012/7/26 */public class BrickBlock extends Application { public static final int WIDTH = 800; public static final int HEIGHT = 600; public static void main(String[] args) { launch(args); } @Override public void start(Stage primaryStage) { GameScene root = new GameScene(WIDTH, HEIGHT); primaryStage.setTitle("BrickBlock"); primaryStage.setScene(new Scene(root, WIDTH, HEIGHT)); primaryStage.show(); }}大家可以看到,由于将游戏对象和游戏场景都分离出来,主类已经变得很简洁了。
那么我们运行运行看看效果。
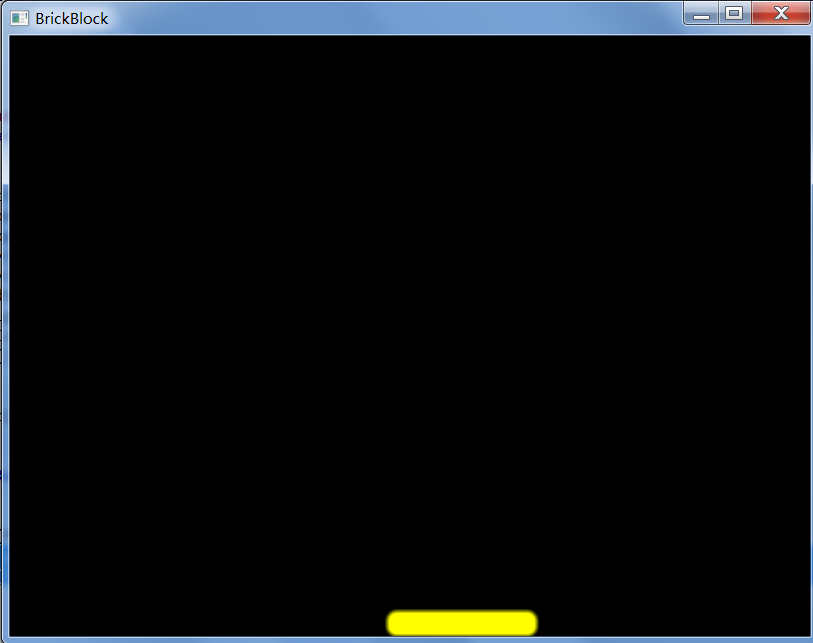
图中的黄色的砖块会跟着鼠标移动,并且不会超过左右的边界。(截图看不到鼠标...)
看似效果很简单,不过我们整体的结构已经差不多了,这将有利于我们后续的开发。
在第二课中,我们将会增加一个小球在这个空间中弹来弹去,并且可以与图中的黄色砖块进行碰撞。
转载请注明出处:http://blog.csdn.net/ml3947/
- JavaFX打砖块游戏开发 第一课
- JavaFX打砖块游戏开发 第二课
- JavaFX打砖块游戏开发 第三课
- JavaFX游戏开发--第一课 精灵动画
- JavaFX游戏开发--第一课 精灵动画
- 基于Unity3D的打砖块游戏开发
- 打砖块游戏源码
- Qt打砖块游戏
- android 打砖块游戏
- js打砖块游戏
- JavaFX战旗类游戏开发 第一课 概述
- Js版游戏打砖块开发过程详细
- Flash游戏开发实例①打砖块-3-部署砖块(1)
- Flash游戏开发实例①打砖块-3-部署砖块(2)
- 打砖块游戏 version 0.2
- java打砖块游戏初稿
- Python+pyGame 打砖块游戏
- 一个打砖块游戏算法
- 写博客喽
- PSTN与PBX业务
- 扩展名文件过滤
- 我的程序员之路
- FreeSWITCH初步
- JavaFX打砖块游戏开发 第一课
- Adroid 网络开发与地图开发的只言片语
- IBM Websphere Message Broker(MB) 教程系列-(2) 创建Broker
- poj 3903 最长上升子序列,nlog(n)的算法
- erlang学习规划
- ffmpeg-0.10.2 xcode4.3 IOS5.1 真机调试编译过程
- ArcGIS Online介绍
- LITTLE SHOP OF FLOWERS (P1157)
- win7 能够安装VC6.0!