Meme App with UIKit
来源:互联网 发布:淘宝新开店铺卖什么好 编辑:程序博客网 时间:2024/06/05 10:42
APP里用到的相关的UIKit
- UIImagePickerController
- UIActivityViewController -
隐藏status bar
在info.plist中添加属性
1.View controller-based status bar appearance 并设置为No 
2. 在代码内开关statusBar
UIApplication.sharedApplication().statusBarHidden = trueUIImagePickerController
用来呈现相册或者直接调用摄像头
通过调整sourceType来切换相册或者摄像头
private func pickUpAnImage(source:UIImagePickerControllerSourceType){ let imagePickerVC = UIImagePickerController() imagePickerVC.delegate = self imagePickerVC.sourceType = source presentViewController(imagePickerVC, animated: true, completion: nil) }设置textField文本属性
利用defaultTextAttributes属性
let memeTextAttributes = [ NSStrokeColorAttributeName: UIColor.blackColor(), NSForegroundColorAttributeName: UIColor.whiteColor(), NSFontAttributeName: UIFont(name: "HelveticaNeue-CondensedBlack", size: 40)!, NSStrokeWidthAttributeName: -3.0 ]topTextField.defaultTextAttributes = memeTextAttributes在 Nav Bar中添加button item
- 在 storyboard中添加navigation item 并且与对应的viewController作outlet
- 调用navItem来添加button
navItem.leftBarButtonItem = UIBarButtonItem(barButtonSystemItem: .Action, target: self, action: #selector(shareYourMeme)) navItem.rightBarButtonItem = UIBarButtonItem(title: "Cancel", style: .Plain, target: self, action: #selector(cancelMeme))使用UIGraphics来绘图制作UIImage
private func generateMemedImage() -> UIImage { //hide toolbar and navbar configureBars(true) //UIGraphicsBeginImageContext(self.view.frame.size) UIGraphicsBeginImageContextWithOptions(self.view.frame.size, false, 0) view.drawViewHierarchyInRect(self.view.frame, afterScreenUpdates: true) let memedImage: UIImage = UIGraphicsGetImageFromCurrentImageContext() UIGraphicsEndImageContext() //show navbar and toolbar configureBars(false) return memedImage }利用NSNotification来处理屏幕和键盘的关系
普通Notification流程
1. 定义通知的Key
2. 将通知 Post到NSNotificationCenter.defaultCenter()上
3. 添加在NSNotificationCenter.defaultCenter()上添加observers
4. 定义Observer收到Notification时的方法
在这里我们用系统定义好的
UIKeyboardWillShowNotification
UIKeyboardWillHideNotification
//compute keyboard height and change frame var oldKeyboard:CGFloat = CGFloat(0) func keyboardWillShow(notification: NSNotification){ if bottomTextField.isFirstResponder(){ let newKeyBoard = getKeyboardHeight(notification) if keyboardHasOnScreen{ view.frame.origin.y += oldKeyboard } view.frame.origin.y -= newKeyBoard oldKeyboard = newKeyBoard keyboardHasOnScreen = true } } func keyboardWillHide(notification: NSNotification){ if keyboardHasOnScreen && bottomTextField.isFirstResponder(){ view.frame.origin.y += getKeyboardHeight(notification) keyboardHasOnScreen = false } } private func getKeyboardHeight(notification: NSNotification) -> CGFloat { let userInfo = notification.userInfo let keyboardSize = userInfo![UIKeyboardFrameEndUserInfoKey] as! NSValue return keyboardSize.CGRectValue().height } //noticifations func subscribeToKeyboardNotifications(){ NSNotificationCenter.defaultCenter().addObserver(self, selector: #selector(MemeEditorViewController.keyboardWillShow(_:)), name: UIKeyboardWillShowNotification, object: nil) NSNotificationCenter.defaultCenter().addObserver(self, selector: #selector(MemeEditorViewController.keyboardWillHide(_:)), name: UIKeyboardWillHideNotification, object: nil) } func unsubscribeFromKeyboardNotifications() { NSNotificationCenter.defaultCenter().removeObserver(self, name: UIKeyboardWillShowNotification, object: nil) NSNotificationCenter.defaultCenter().removeObserver(self, name: UIKeyboardWillHideNotification, object: nil) }TableViewController & CollectionView
自定义化Cell
- 在storyBoard中在tableViewcell中设置为custom,设置Identifier,并且摆放部件. 在collectionViewCell中设置Identifier,并且摆放部件
- 添加一个对应的Cell的文件,并且与刚刚在storyBoard创建的view建立outlets
- 在各自设置cell的delegate函数中使用刚刚定义的identifier来取得cell并且转化成对应的type
let cell = tableView.dequeueReusableCellWithIdentifier("SentMemesTableViewCell") as! SentMemesTableViewCelllet cell = collectionView.dequeueReusableCellWithReuseIdentifier(reuseIdentifier, forIndexPath: indexPath) as! SentMemesCollectionViewCell经常需要完成的delegate(前俩是必须要完成的)

设置collectionView Item之间的布局
使用UICollectionViewFlowLayout
将storyboard中的collectionViewCell的flowLayout与你的controller先做出outlet
//MARK: Outlets @IBOutlet weak var flowLayout: UICollectionViewFlowLayout!然后通过flowLayout来定义Item之间的最小间距,行/列最小间距,以及ItemSize
flowLayout.minimumLineSpacing = itemSpcaeflowLayout.minimumInteritemSpacing = itemSpcae利用
UIInterfaceOrientationIsLandscape(UIApplication.sharedApplication().statusBarOrientation)来判断屏幕旋转后的方向
private func adjustCellSize(space: CGFloat){ var dimensison = (view.frame.size.width - 2 * space) / 3 if UIInterfaceOrientationIsLandscape(UIApplication.sharedApplication().statusBarOrientation){ dimensison = (view.frame.size.width - 4 * space) / 5 } flowLayout.itemSize = CGSizeMake(dimensison, dimensison) }用viewWillLayoutSubviews()来相应屏幕旋转并重新利用flowLayout来调节itemSize
override func viewWillLayoutSubviews() { adjustCellSize(itemSpcae) }unwind Segue
1.在目的地controller中做一个@IBaction
@IBAction func backToMemeList(segue: UIStoryboardSegue){ self.navigationController?.popViewControllerAnimated(true) }- 在storyboard中创建unwind segue
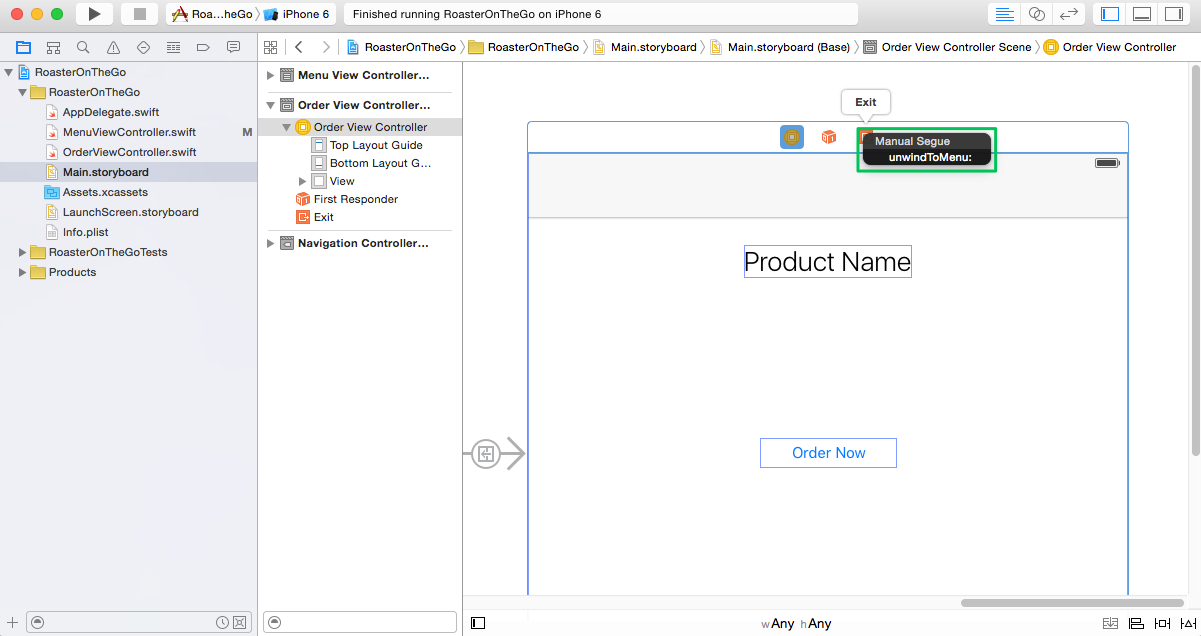
3.调用segue,
self.performSegueWithIdentifier("backToMemeList", sender: self) 1 0
- Meme App with UIKit
- UIKit Animations with TexturePacker
- Meme,Meme,I like you!
- UIKit
- 【UIKit】-11-UIAppearance - 全局设置,整个 app 统一
- MEME软件包的调试问题
- MEME从安装到使用
- Develop j2me app with Eclipse
- Learning D3.js with App
- Erlang App. Management with Rebar
- [引爆流行]Meme Engine话题(一)
- [引爆流行]Meme Engine话题(一)
- Creating a Web App with jQuery UI
- Debugging managed app with SOS - the start
- Communicate with App loaded by SWFLoader
- iPhone app crash with unknown error
- Spring global exception handling with standalone app
- app development with static initialization opencv
- gradle的简单介绍
- shell 语句
- WebElement.getText()为空解决方法
- mount:No medium found
- [c语言] 模拟实现c语言库函数atoi
- Meme App with UIKit
- 继承与派生——两个程序的比较
- linux网络编程--UDP协议
- window apache+openssl双向认证配置
- [置顶] Java面试题全集(中)
- MySQL数据同步(一主多从)
- 没有基础的人如何自学裁缝?
- [置顶] Java面试题全集(下)
- 第十四周项目3—数组类模板