eclipse开发opencv官方教程
来源:互联网 发布:编程判断字母大小写 编辑:程序博客网 时间:2024/05/15 23:48
Introduction to Java Development
Last updated: 12 February, 2013.
As of OpenCV 2.4.4, OpenCV supports desktop Java development using nearly the same interface as for Android development. This guide will help you to create your first Java (or Scala) application using OpenCV. We will use either Eclipse, Apache Ant or the Simple Build Tool (SBT) to build the application.
For further reading after this guide, look at the Introduction into Android Development tutorials.
What we’ll do in this guide
In this guide, we will:
- Get OpenCV with desktop Java support
- Create an Ant, Eclipse or SBT project
- Write a simple OpenCV application in Java or Scala
The same process was used to create the samples in the samples/java folder of the OpenCV repository, so consult those files if you get lost.
Get OpenCV with desktop Java support
Starting from version 2.4.4 OpenCV includes desktop Java bindings. The most simple way to get it is downloading the appropriate package of version 2.4.4 or higher from the OpenCV SourceForge repository.
Note
Windows users can find the prebuilt files needed for Java development in the opencv/build/java/ folder inside the package. For other OSes it’s required to build OpenCV from sources.
Another option to get OpenCV sources is to clone OpenCV git repository. In order to build OpenCV with Java bindings you need JDK (we recommend Oracle/Sun JDK 6 or 7), Apache Ant and Python v2.6 or higher to be installed.
Build OpenCV
Let’s build OpenCV:
Generate a Makefile or a MS Visual Studio* solution, or whatever you use for building executables in your system:
or
Note
When OpenCV is built as a set of static libraries (-DBUILD_SHARED_LIBS=OFF option) the Java bindings dynamic library is all-sufficient, i.e. doesn’t depend on other OpenCV libs, but includes all the OpenCV code inside.
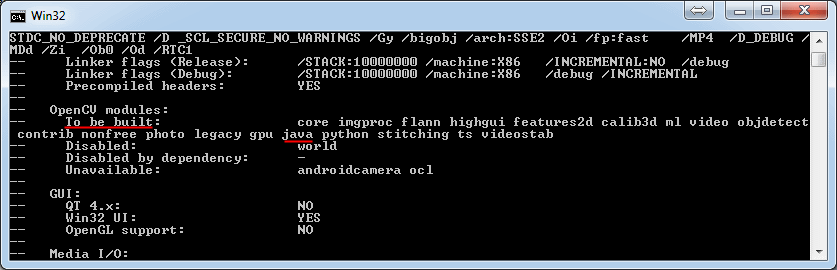
Examine the output of CMake and ensure java is one of the modules “To be built”. If not, it’s likely you’re missing a dependency. You should troubleshoot by looking through the CMake output for any Java-related tools that aren’t found and installing them.
Now start the build:
or
Besides all this will create a jar containing the Java interface (bin/opencv_2.4.4.jar) and a native dynamic library containing Java bindings and all the OpenCV stuff (bin/Release/opencv_java244.dllor bin/libopencv_java244.so respectively). We’ll use these files later.
Create a simple Java sample and an Ant build file for it
Note
The described sample is provided with OpenCV library in the opencv/samples/java/ant folder.
Create a folder where you’ll develop this sample application.
In this folder create an XML file with the following content using any text editor:
Note
This XML file can be reused for building other Java applications. It describes a common folder structure in the lines 3 - 12 and common targets for compiling and running the application.
When reusing this XML don’t forget to modify the project name in the line 1, that is also the name of the main class (line 14). The paths to OpenCV jar and jni lib are expected as parameters ("${ocvJarDir}" in line 5 and "${ocvLibDir}" in line 37), but you can hardcode these paths for your convenience. See Ant documentation for detailed description of its build file format.
Create an src folder next to the build.xml file and a SimpleSample.java file in it.
- Put the following Java code into the SimpleSample.java file:
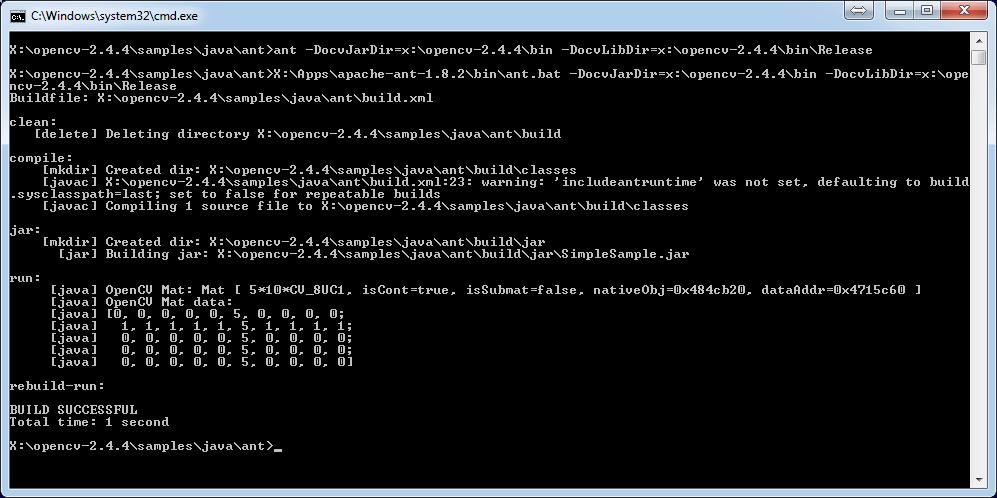
- Run the following command in console in the folder containing build.xml:
For example:
The command should initiate [re]building and running the sample. You should see on the screen something like this:
Create a simple Java project in Eclipse
Now let’s look at the possiblity of using OpenCV in Java when developing in Eclipse IDE.
Create a new Eclipse workspace
Create a new Java project via File –> New –> Java Project
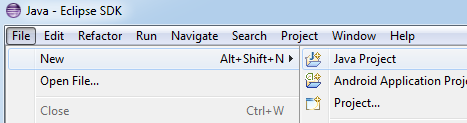
Call it say “HelloCV”.
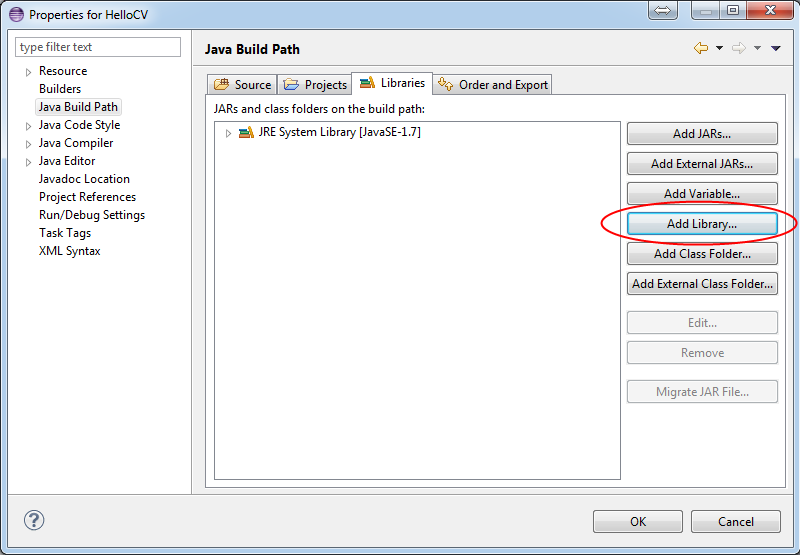
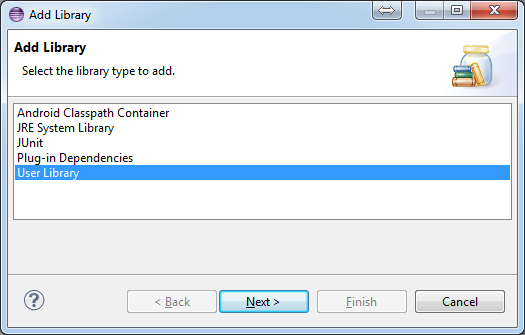
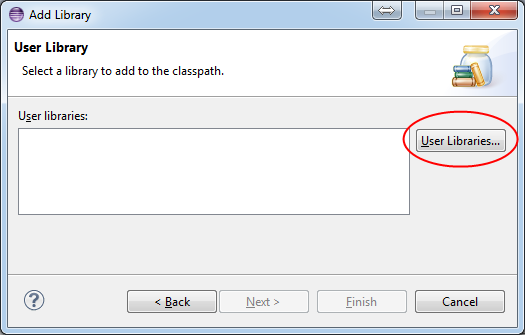
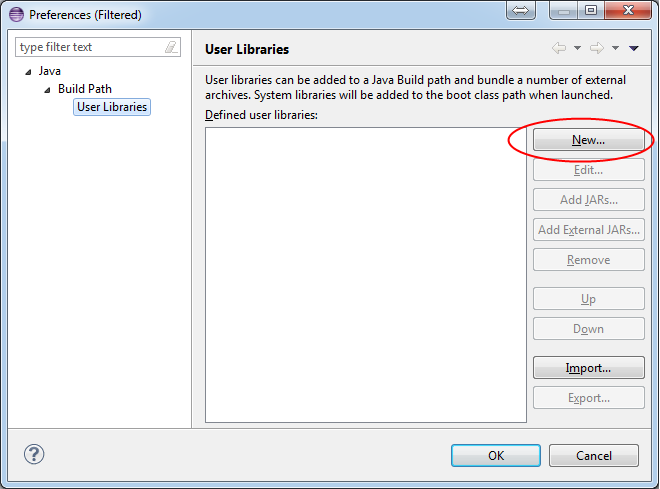
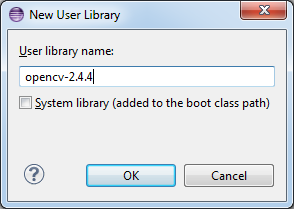
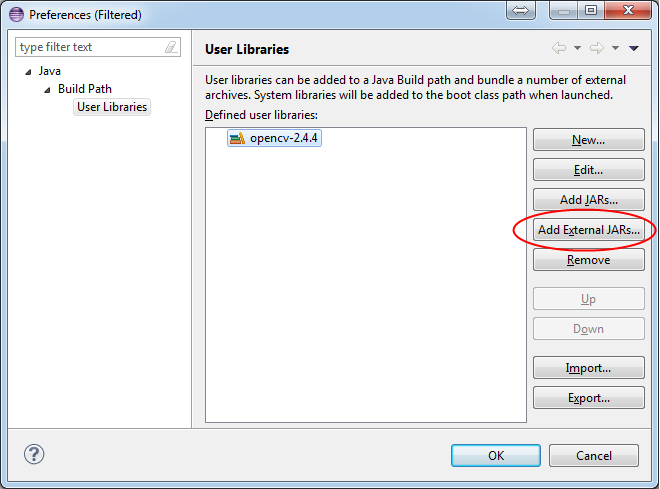
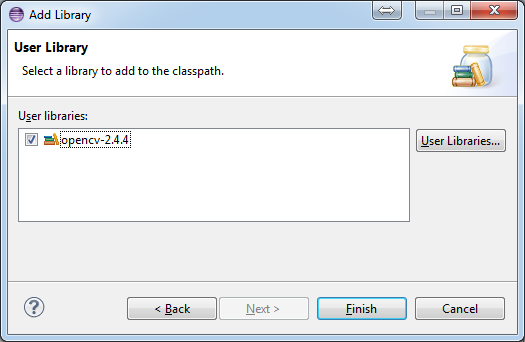
- Open Java Build Path tab on Project Properties dialog
and configure additional library (OpenCV) reference (jar and native library location):
` `
` `
` `
` `
` `
` `

` `
` `
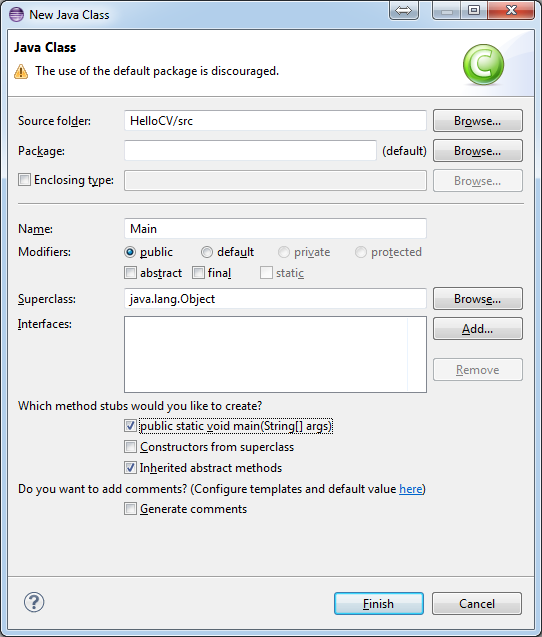
Add a new Java class (say Main) containing the application entry:
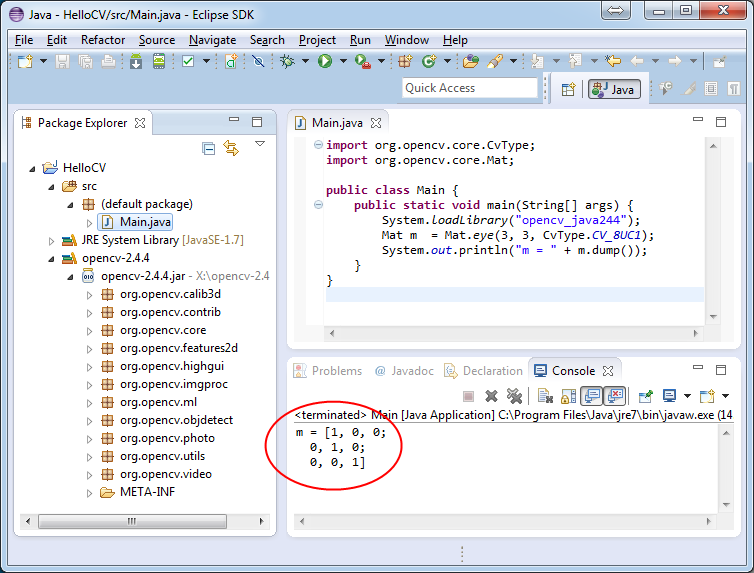
- Put some simple OpenCV calls there, e.g.:
Press Run button and find the identity matrix content in the Eclipse Console window.
Create an SBT project and samples in Java and Scala
Now we’ll create a simple Java application using SBT. This serves as a brief introduction to those unfamiliar with this build tool. We’re using SBT because it is particularly easy and powerful.
First, download and install SBT using the instructions on its web site.
Next, navigate to a new directory where you’d like the application source to live (outside opencv dir). Let’s call it “JavaSample” and create a directory for it:
Now we will create the necessary folders and an SBT project:
Now open project/build.scala in your favorite editor and paste the following. It defines your project:
Now edit project/plugins.sbt and paste the following. This will enable auto-generation of an Eclipse project:
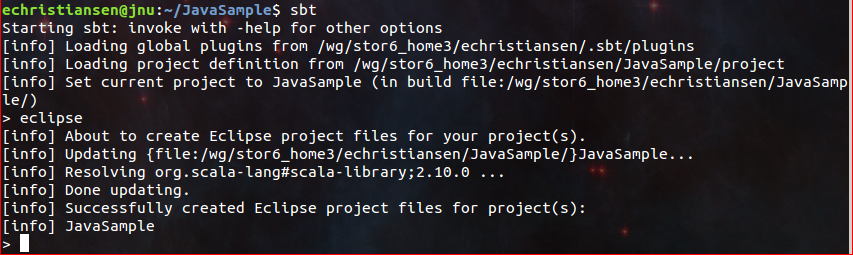
Now run sbt from the JavaSample root and from within SBT run eclipse to generate an eclipse project:
You should see something like this:
You can now import the SBT project to Eclipse using Import ... -> Existing projects into workspace. Whether you actually do this is optional for the guide; we’ll be using SBT to build the project, so if you choose to use Eclipse it will just serve as a text editor.
To test that everything is working, create a simple “Hello OpenCV” application. Do this by creating a file src/main/java/HelloOpenCV.java with the following contents:
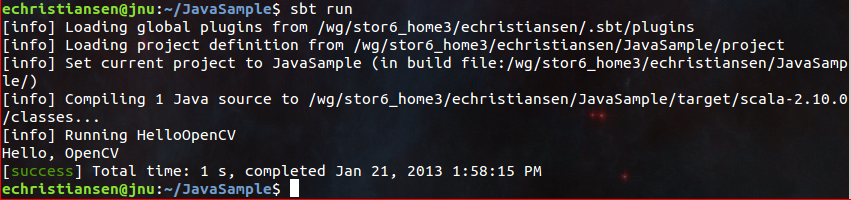
Now execute run from the sbt console, or more concisely, run sbt run from the command line:
You should see something like this:
Copy the OpenCV jar and write a simple application
Now we’ll create a simple face detection application using OpenCV.
First, create a lib/ folder and copy the OpenCV jar into it. By default, SBT adds jars in the lib folder to the Java library search path. You can optionally rerun sbt eclipse to update your Eclipse project.
Next, create the directory src/main/resources and download this Lena image into it:
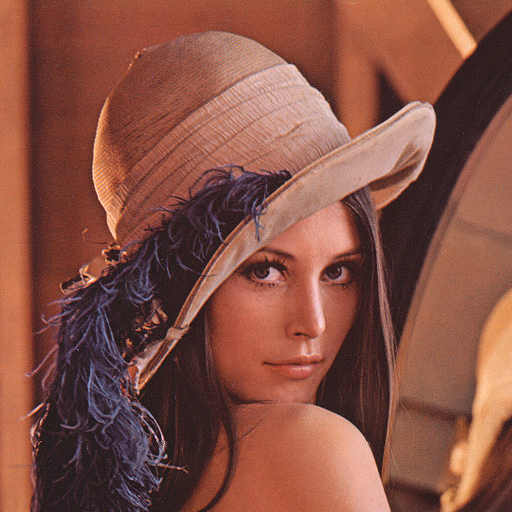
Make sure it’s called "lena.png". Items in the resources directory are available to the Java application at runtime.
Next, copy lbpcascade_frontalface.xml from opencv/data/ into the resources directory:
Now modify src/main/java/HelloOpenCV.java so it contains the following Java code:
Note the call to System.loadLibrary("opencv_java244"). This command must be executed exactly once per Java process prior to using any native OpenCV methods. If you don’t call it, you will getUnsatisfiedLink errors. You will also get errors if you try to load OpenCV when it has already been loaded.
Now run the face detection app using sbt run:
You should see something like this:
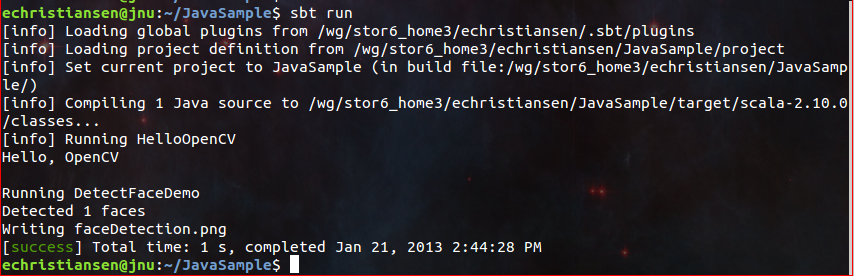
It should also write the following image to faceDetection.png:

You’re done! Now you have a sample Java application working with OpenCV, so you can start the work on your own. We wish you good luck and many years of joyful life!
- eclipse开发opencv官方教程
- opencv官方推荐配置教程
- Apple 官方开发教程
- Window系统Eclipse+NDK+Android+OpenCv开发教程
- eclipse下android开发opencv配置图文教程
- Android 用eclipse+opencv开发的安装教程
- 【opencv 官方教程】翻译4 highgui module
- 【opencv 官方教程】翻译5 视频输入输出
- 【opencv 官方教程】翻译7 机器学习
- 【opencv 官方教程】翻译9 GPU加速
- WebApp开发-Google官方教程
- [OpenCV教程-1]通过Eclipse使用OpenCV
- eclipse 官方切换成中文版教程
- 使用Eclipse开发OpenCV应用
- OpenCV官方教程中文版(For Python) PDF
- 【opencv 官方教程】翻译2 核心功能 上
- 【opencv 官方教程】翻译3 图像处理 上
- 【opencv 官方教程】翻译3 图像处理 下
- 《剑指offer》-扑克牌顺子
- 【代码笔记】iOS-页面调的时候隐藏工具条
- 性能测试——处理器分析方法
- [JQ权威指南]getScript函数获取数据
- nodejs内置模块os-操作系统模块
- eclipse开发opencv官方教程
- PAT堆栈模拟队列
- 网页常用JS代码
- HDU2039(基础题)
- 2016年,我们为什么要学习C++
- 1 介绍
- [Cloud Computing]Mechanisms: Hardened Virtual Server Image
- 设计模式之外观模式(Facade)
- PAT判断搜索树