Ubuntu 14.04 安装 Nginx PHP5 MySQL
来源:互联网 发布:易语言游戏多开器源码 编辑:程序博客网 时间:2024/05/22 02:18
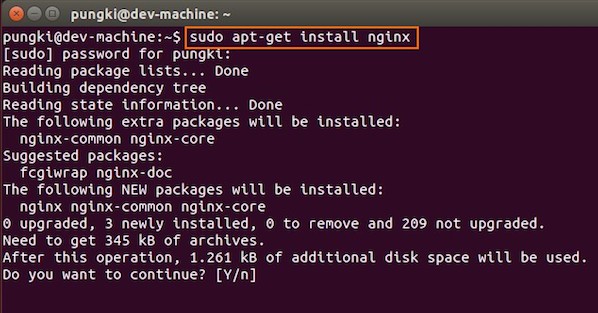
一、安装nginx
$ sudo apt-get update$ sudo apt-get install nginx
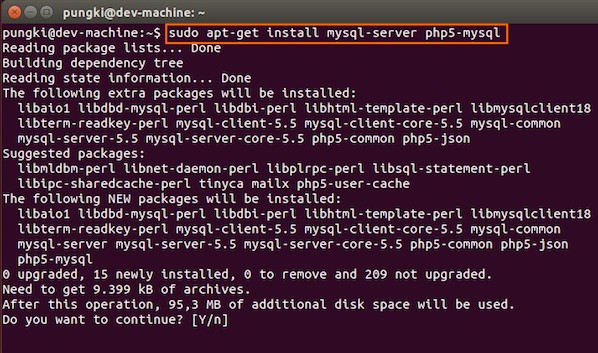
$ sudo apt-get install mysql-server php5-mysql
mysql -u root -p 如果出现让你输入密码,就没有问题.
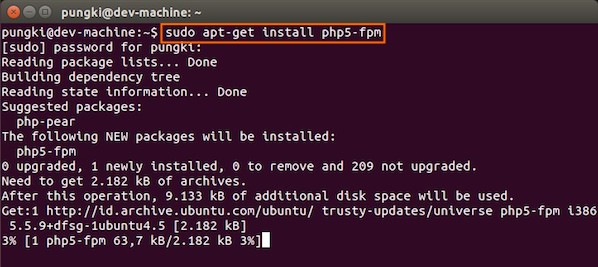
三、安装php
$ sudo apt-get install php5-fpm
1.配置php5
2.配置nginx
(1)删除 /etc/nginx/sites-available/default
(2)/etc/php5/fpm/pool.d/www.conf
里面找到这样一段代码:
listen = 127.0.0.1:9000
在这上面代码的下面添加一行:
listen = /var/run/php5-fpm.sock
(3)/etc/php5/fpm/pool.d/www.conf里面找到这样一段代码,取消注释
listen.owner = www-data listen.group = www-data listen.mode = 0660 重启 service php5-fpm restart
3.插件wkhtmltopdf安装:
$ sudo apt-get install xfonts-75dpi$ wget http://download.gna.org/wkhtmltopdf/0.12/0.12.2/wkhtmltox-0.12.2_linux-trusty-amd64.deb$ sudo dpkg -i wkhtmltox-0.12.2_linux-trusty-amd64.deb$ wkhtmltopdf http://www.google.com test.pdf4.rsync配置:
1.ubuntu 14.04默认已安装rsync,rsync服务默认不是启动的,我们要修改下面的文件。
- sudo vim /etc/default/rsync
- RSYNC_ENABLE=true #false改true
2.修改配置文件
- sudo cp /usr/share/doc/rsync/examples/rsyncd.conf /etc #已默认安装的软件,默认不启动的似乎都要这么
# sample rsyncd.conf configuration file
# GLOBAL OPTIONS
#motd file=/etc/motd
log file=/var/log/rsyncd
# for pid file, do not use /var/run/rsync.pid if
# you are going to run rsync out of the init.d script.
pid file=/var/run/rsyncd.pid
syslog facility=daemon
#socket options=
# MODULE OPTIONS
[ftp]
comment = public archive
path = /var/www/bnqc/edusoho/edubnqc/web/files/rsync/UploadFiles #(路径)
use chroot = no
# max connections=10
lock file = /var/lock/rsyncd
# the default for read only is yes...
read only = no
list = yes
uid = www-data #(文件夹的项目主)
gid = www-data #(文件夹的项目组)
charset = UTF-8
# exclude =
# exclude from =
# include =
# include from =
# auth users =
# secrets file = /etc/rsyncd.secrets
strict modes = yes
# hosts allow =
# hosts deny =
ignore errors = no
ignore nonreadable = yes
transfer logging = no
# log format = %t: host %h (%a) %o %f (%l bytes). Total %b bytes.
timeout = 600
refuse options = checksum dry-run
dont compress = *.gz *.tgz *.zip *.z *.rpm *.deb *.iso *.bz2 *.tbz
然后重启各项服务、
sudo service php5-fpm restart
sudo service nginx restart
sudo service rsync restart
五、项目部署
1.数据库配置文件修改:将项目源文件夹拷贝到 /var/www目录下面,修改源文件夹下面的edubnqc/app/config/parameters.yml
parameters:
database_driver: pdo_mysql
database_host: 127.0.0.1 #(填写数据库的地址)
database_port: null
database_name: bnqc #数据库名称
database_user: root #数据库的用户名
database_password: 123456 #数据的密码
mailer_transport: smtp
mailer_host: 127.0.0.1
mailer_user: null
mailer_password: null
locale: zh_CN
secret: ThisTokenIsNotSoSecretChangeIt
2.数据库导入:将edubnqc/bnqc.sql 导入mysql数据库
3.服务器端口配置:将edubnqc/edubnqc 拷贝到/etc/nginx/sites-enabled 下面
编辑文件edubnq 修改:
listen:80 #端口
# 程序的安装路径
root /var/www/edubnqc/web;
# 日志路径
access_log /var/log/nginx/edubnqc.com.access.log;
error_log /var/log/nginx/edubnqc.com.error.log;
重启服务器 service nginx restart
- Ubuntu 14.04 安装 Nginx PHP5 MySQL
- Ubuntu 14.04 安装 Nginx PHP5 MySQL
- Ubuntu 14.04 LTS 安装 LNMP Nginx\PHP5 (PHP-FPM)\MySQL
- Ubuntu 14.04 LTS 安装 LNMP Nginx\PHP5 (PHP-FPM)\MySQL
- Ubuntu 14.04 LTS 安装 LNMP Nginx\PHP5 (PHP-FPM)\MySQL
- Ubuntu 14.04 LTS 安装 LNMP Nginx\PHP5 (PHP-FPM)\MySQL
- ubuntu+nginx+php5+mysql安装配置
- ubuntu编译安装php5 mysql nginx
- ubuntu编译安装php5 mysql nginx
- Ubuntu 11.04 安装nginx+php5+mysql 的web服务器
- Ubuntu安装nginx php5-fpm mysql (lnmp环境搭建)
- ubuntu server 安装 Nginx+PHP5 (PHP-FPM) +MySQL
- Ubuntu 11.04 安装nginx+php5+mysql 的web服务器
- Ubuntu下安装Nginx,PHP5(及PHP-FPM),MySQL
- Ubuntu安装nginx php5-fpm mysql (lnmp环境搭建)
- Ubuntu安装nginx php5-fpm mysql (lnmp环境搭建)
- Ubuntu下安装Nginx,PHP5(及PHP-FPM),MySQL
- Ubuntu 下安装 Nginx ( Nginx + Php5-fpm )
- adb已配置完成,却无法调试手机
- TFS的原理及应用
- JS中undefined、null以及NaN之间的区别,以及对象属性赋值的面试题,undefinednan
- 浅析淘宝首页菜单加载
- Vr资料收集
- Ubuntu 14.04 安装 Nginx PHP5 MySQL
- STM32的USB例程JoyStickMouse代码分析(全)
- RS232通信协议详解
- java代码优化总结
- maven eclipse基本知识
- javascript callee 与 caller 的用法
- Python基础01 Hello World!
- 调用门详解
- Python2.7安装Numpy+Scipy+Matplotlib+Scikit-Learn