用python简单处理图片(2):图像通道\几何变换\裁剪
来源:互联网 发布:网络机柜的尺寸 编辑:程序博客网 时间:2024/04/28 17:21
一、图像通道
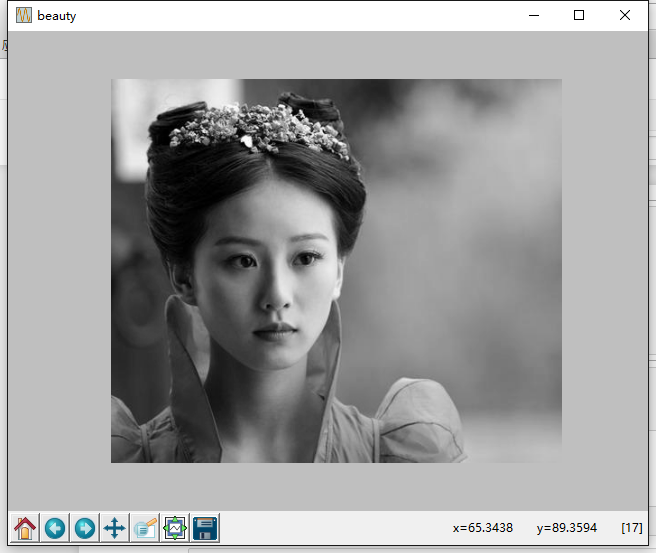
1、彩色图像转灰度图

from PIL import Imageimport matplotlib.pyplot as pltimg=Image.open('d:/ex.jpg')gray=img.convert('L')plt.figure("beauty")plt.imshow(gray,cmap='gray')plt.axis('off')plt.show()
使用函数convert()来进行转换,它是图像实例对象的一个方法,接受一个 mode 参数,用以指定一种色彩模式,mode 的取值可以是如下几种:
· 1 (1-bit pixels, black and white, stored with one pixel per byte)
· L (8-bit pixels, black and white)
· P (8-bit pixels, mapped to any other mode using a colour palette)
· RGB (3x8-bit pixels, true colour)
· RGBA (4x8-bit pixels, true colour with transparency mask)
· CMYK (4x8-bit pixels, colour separation)
· YCbCr (3x8-bit pixels, colour video format)
· I (32-bit signed integer pixels)
· F (32-bit floating point pixels)
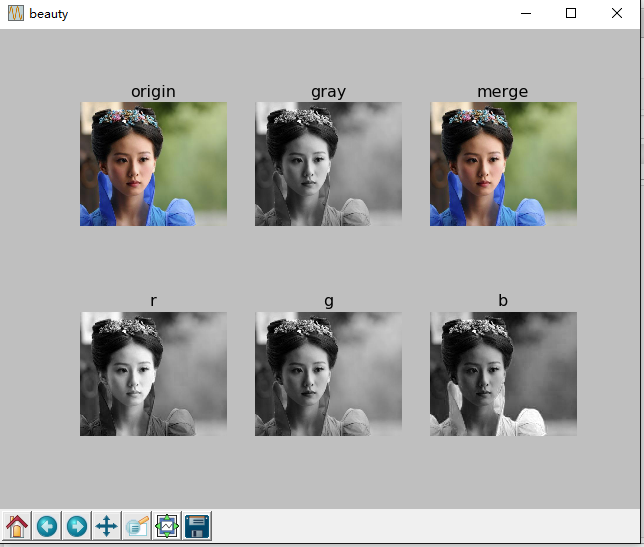
2、通道分离与合并
from PIL import Imageimport matplotlib.pyplot as pltimg=Image.open('d:/ex.jpg') #打开图像gray=img.convert('L') #转换成灰度r,g,b=img.split() #分离三通道pic=Image.merge('RGB',(r,g,b)) #合并三通道plt.figure("beauty")plt.subplot(2,3,1), plt.title('origin')plt.imshow(img),plt.axis('off')plt.subplot(2,3,2), plt.title('gray')plt.imshow(gray,cmap='gray'),plt.axis('off')plt.subplot(2,3,3), plt.title('merge')plt.imshow(pic),plt.axis('off')plt.subplot(2,3,4), plt.title('r')plt.imshow(r,cmap='gray'),plt.axis('off')plt.subplot(2,3,5), plt.title('g')plt.imshow(g,cmap='gray'),plt.axis('off')plt.subplot(2,3,6), plt.title('b')plt.imshow(b,cmap='gray'),plt.axis('off')plt.show()
二、裁剪图片
从原图片中裁剪感兴趣区域(roi),裁剪区域由4-tuple决定,该tuple中信息为(left, upper, right, lower)。 Pillow左边系统的原点(0,0)为图片的左上角。坐标中的数字单位为像素点。
from PIL import Imageimport matplotlib.pyplot as pltimg=Image.open('d:/ex.jpg') #打开图像plt.figure("beauty")plt.subplot(1,2,1), plt.title('origin')plt.imshow(img),plt.axis('off')box=(80,100,260,300)roi=img.crop(box)plt.subplot(1,2,2), plt.title('roi')plt.imshow(roi),plt.axis('off')plt.show()
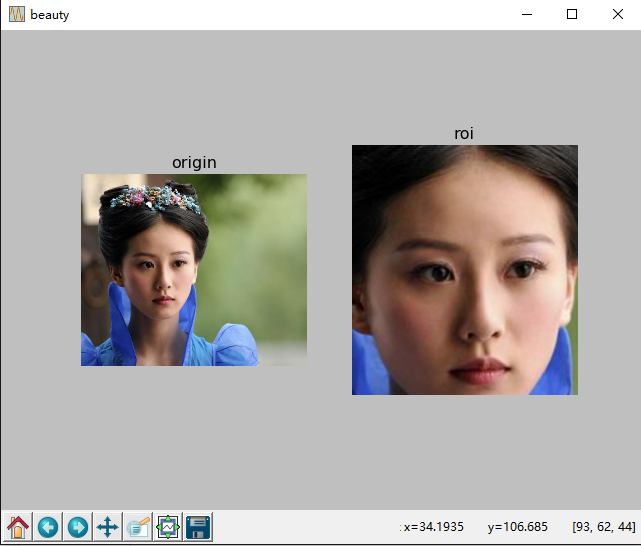
用plot绘制显示出图片后,将鼠标移动到图片上,会在右下角出现当前点的坐标,以及像素值。
三、几何变换
Image类有resize()、rotate()和transpose()方法进行几何变换。
1、图像的缩放和旋转
dst = img.resize((128, 128))dst = img.rotate(45) # 顺时针角度表示
2、转换图像
dst = im.transpose(Image.FLIP_LEFT_RIGHT) #左右互换dst = im.transpose(Image.FLIP_TOP_BOTTOM) #上下互换dst = im.transpose(Image.ROTATE_90) #顺时针旋转dst = im.transpose(Image.ROTATE_180)dst = im.transpose(Image.ROTATE_270)
transpose()和rotate()没有性能差别。 0 0
- 用python简单处理图片(2):图像通道\几何变换\裁剪
- 用python简单处理图片(2):图像通道\几何变换\裁剪
- 用python简单处理图片(2):图像通道\几何变换\裁剪
- 用python简单处理图片(2):图像通道\几何变换\裁剪
- 【数字图像处理】图像的简单几何变换
- 【OpenCV3图像处理】图像简单几何变换:旋转、平移、缩放
- 图像通道变换python-opencv
- OpenCV图像处理(2)-空间变换,几何变换,阈值处理
- 图像处理的几何变换
- 图像处理中的几何变换
- 【OpenCV图像处理】四、图像的几何变换(上)
- 【OpenCV图像处理】五、图像的几何变换(下)
- Opencv3.0-python的那些事儿:(三)、Opencv的图像处理中的几何变换
- 用python简单处理图片(5):图像直方图
- 用python简单处理图片(5):图像直方图
- 用python简单处理图片(5):图像直方图
- Python(1):简单图像处理(图片->二进制->图片)
- Python3+OpenCV学习笔记(二):图像几何变换及补边、裁剪
- 【转】java运算符优先级助记口诀
- TCP三次握手和四次挥手
- 经典笔试面试题-数组中最大的子数组之和
- java处理图片-大图片输出小图片
- Elasticsearch 常用命令
- 用python简单处理图片(2):图像通道\几何变换\裁剪
- SpringMvc Bean转Json格式
- opengl学习第二天
- 自定义控件其实很简单1/4
- 分治法实验-寻找第k小元素
- SSM整合
- Spark 基础函数
- android基础笔记----Activity的启动与之间的信息传递
- Spring MVC 和 Struts2 的对比